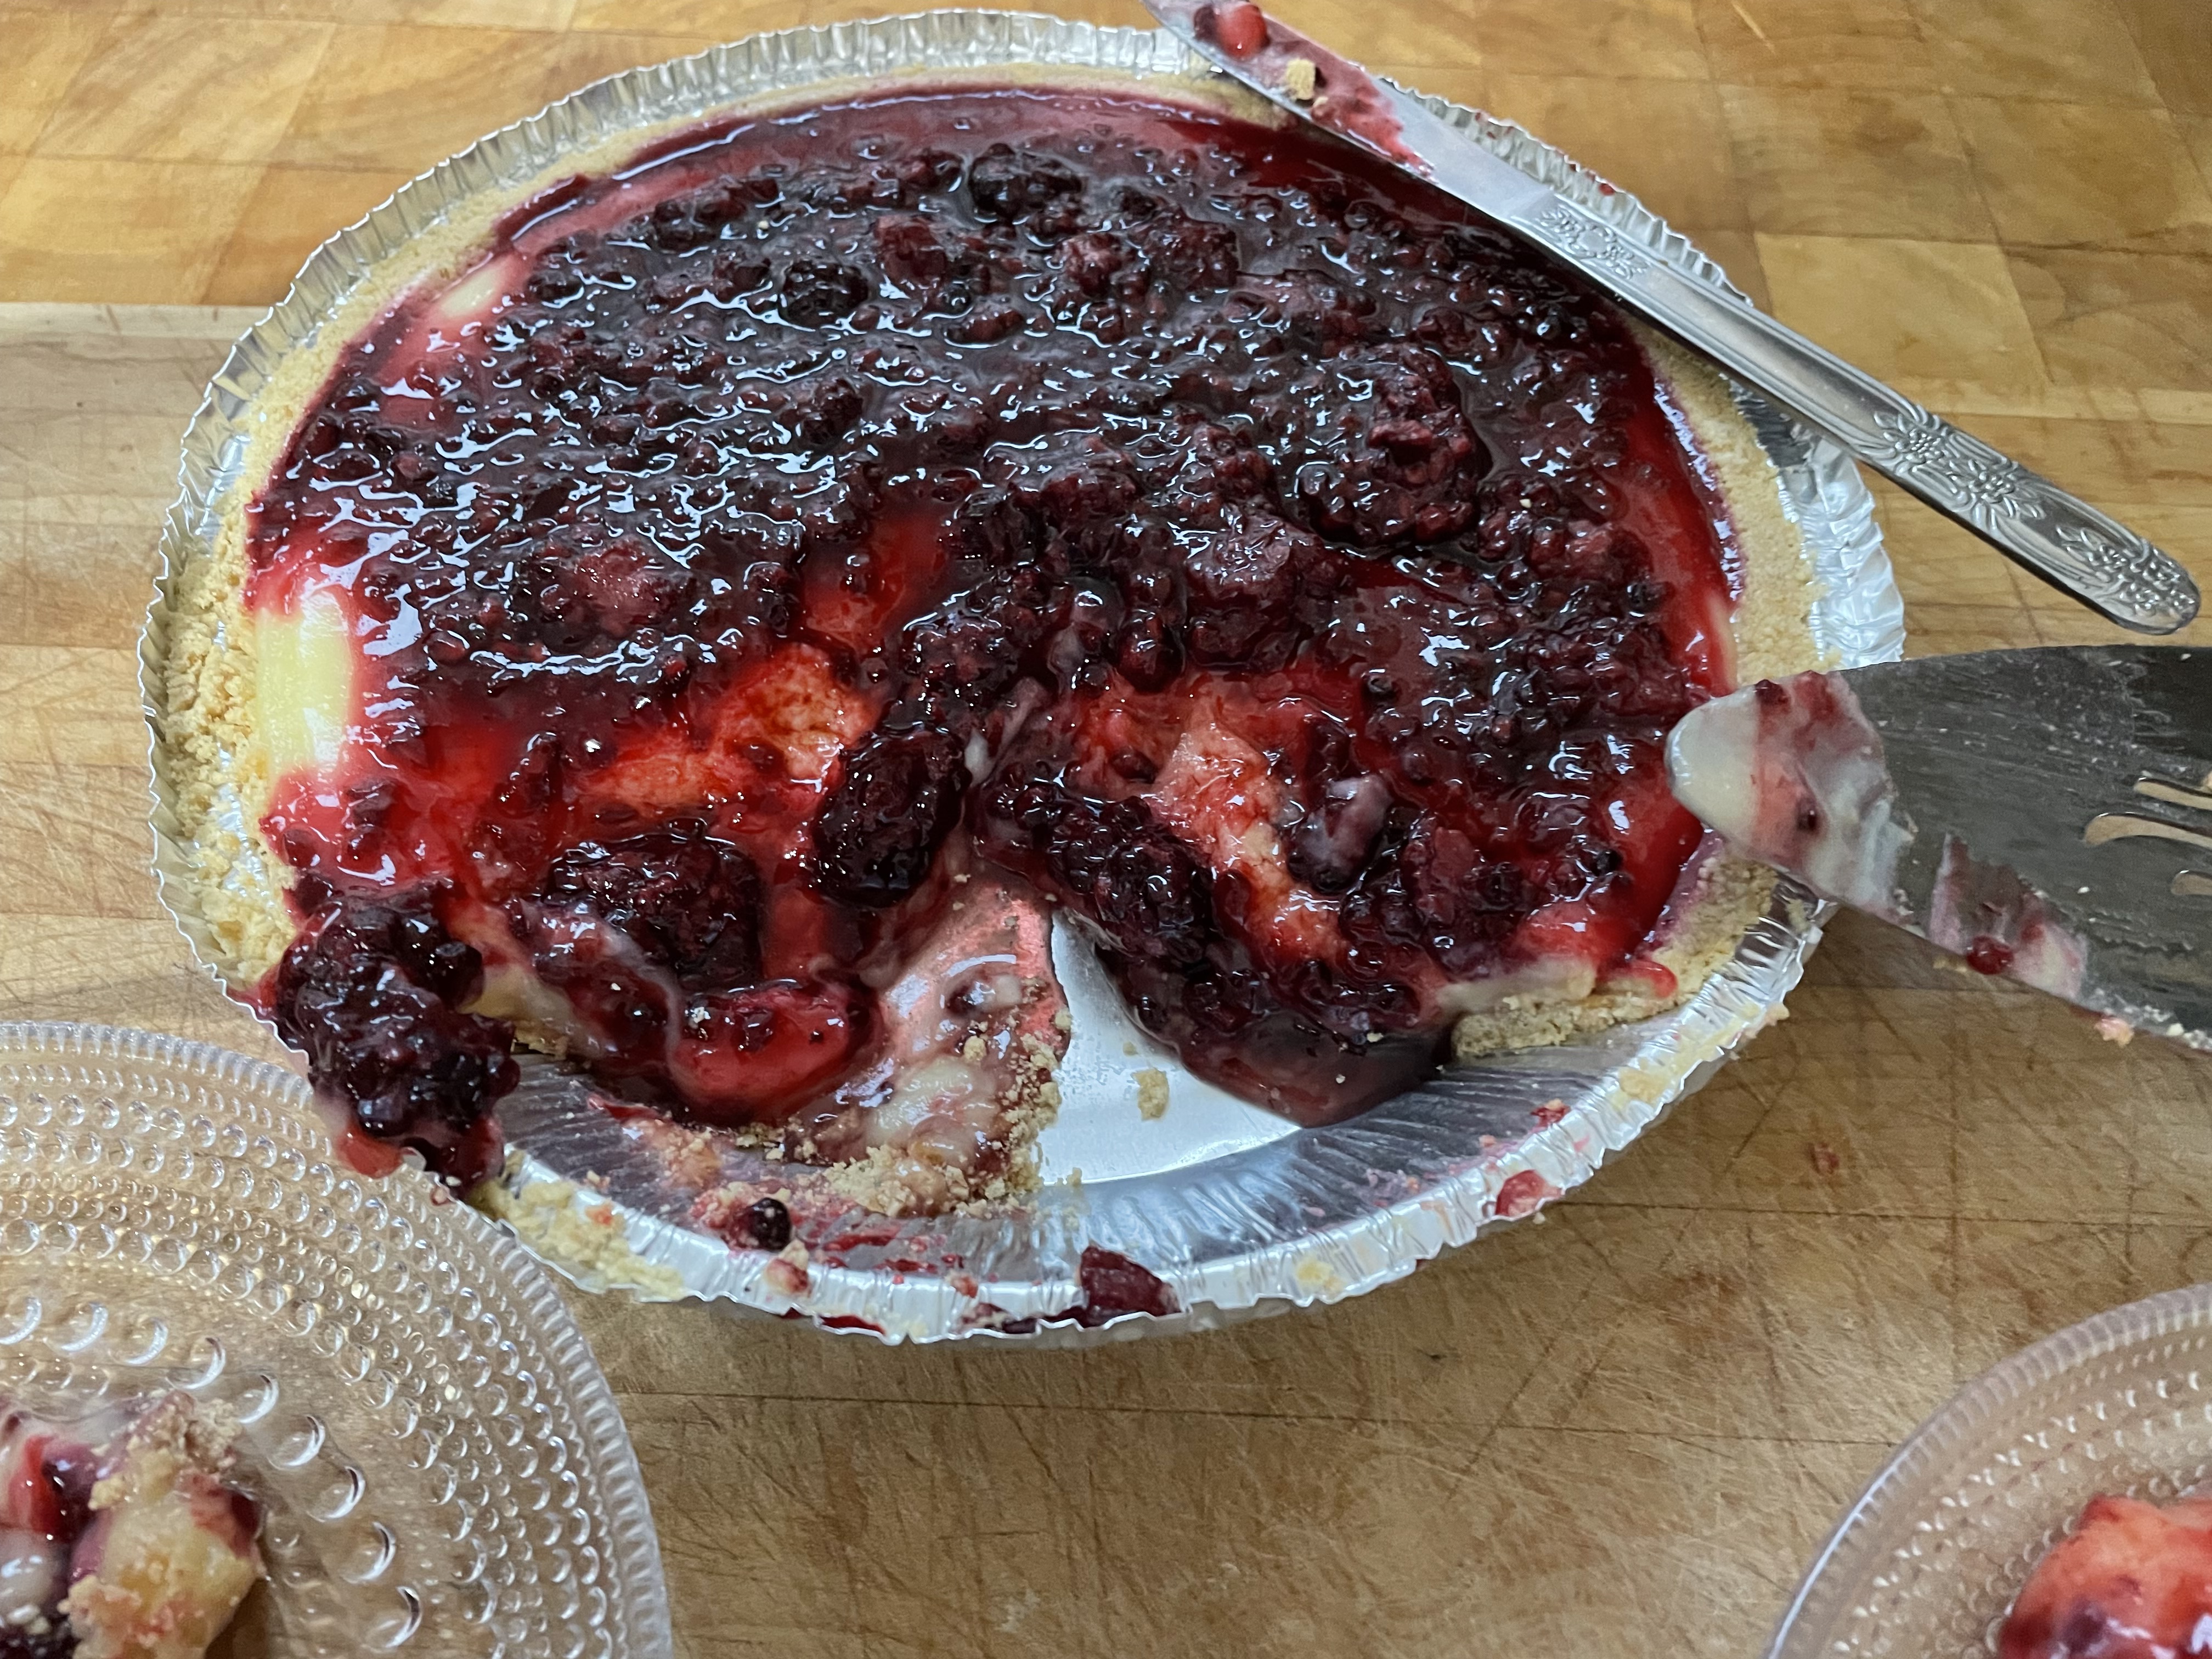
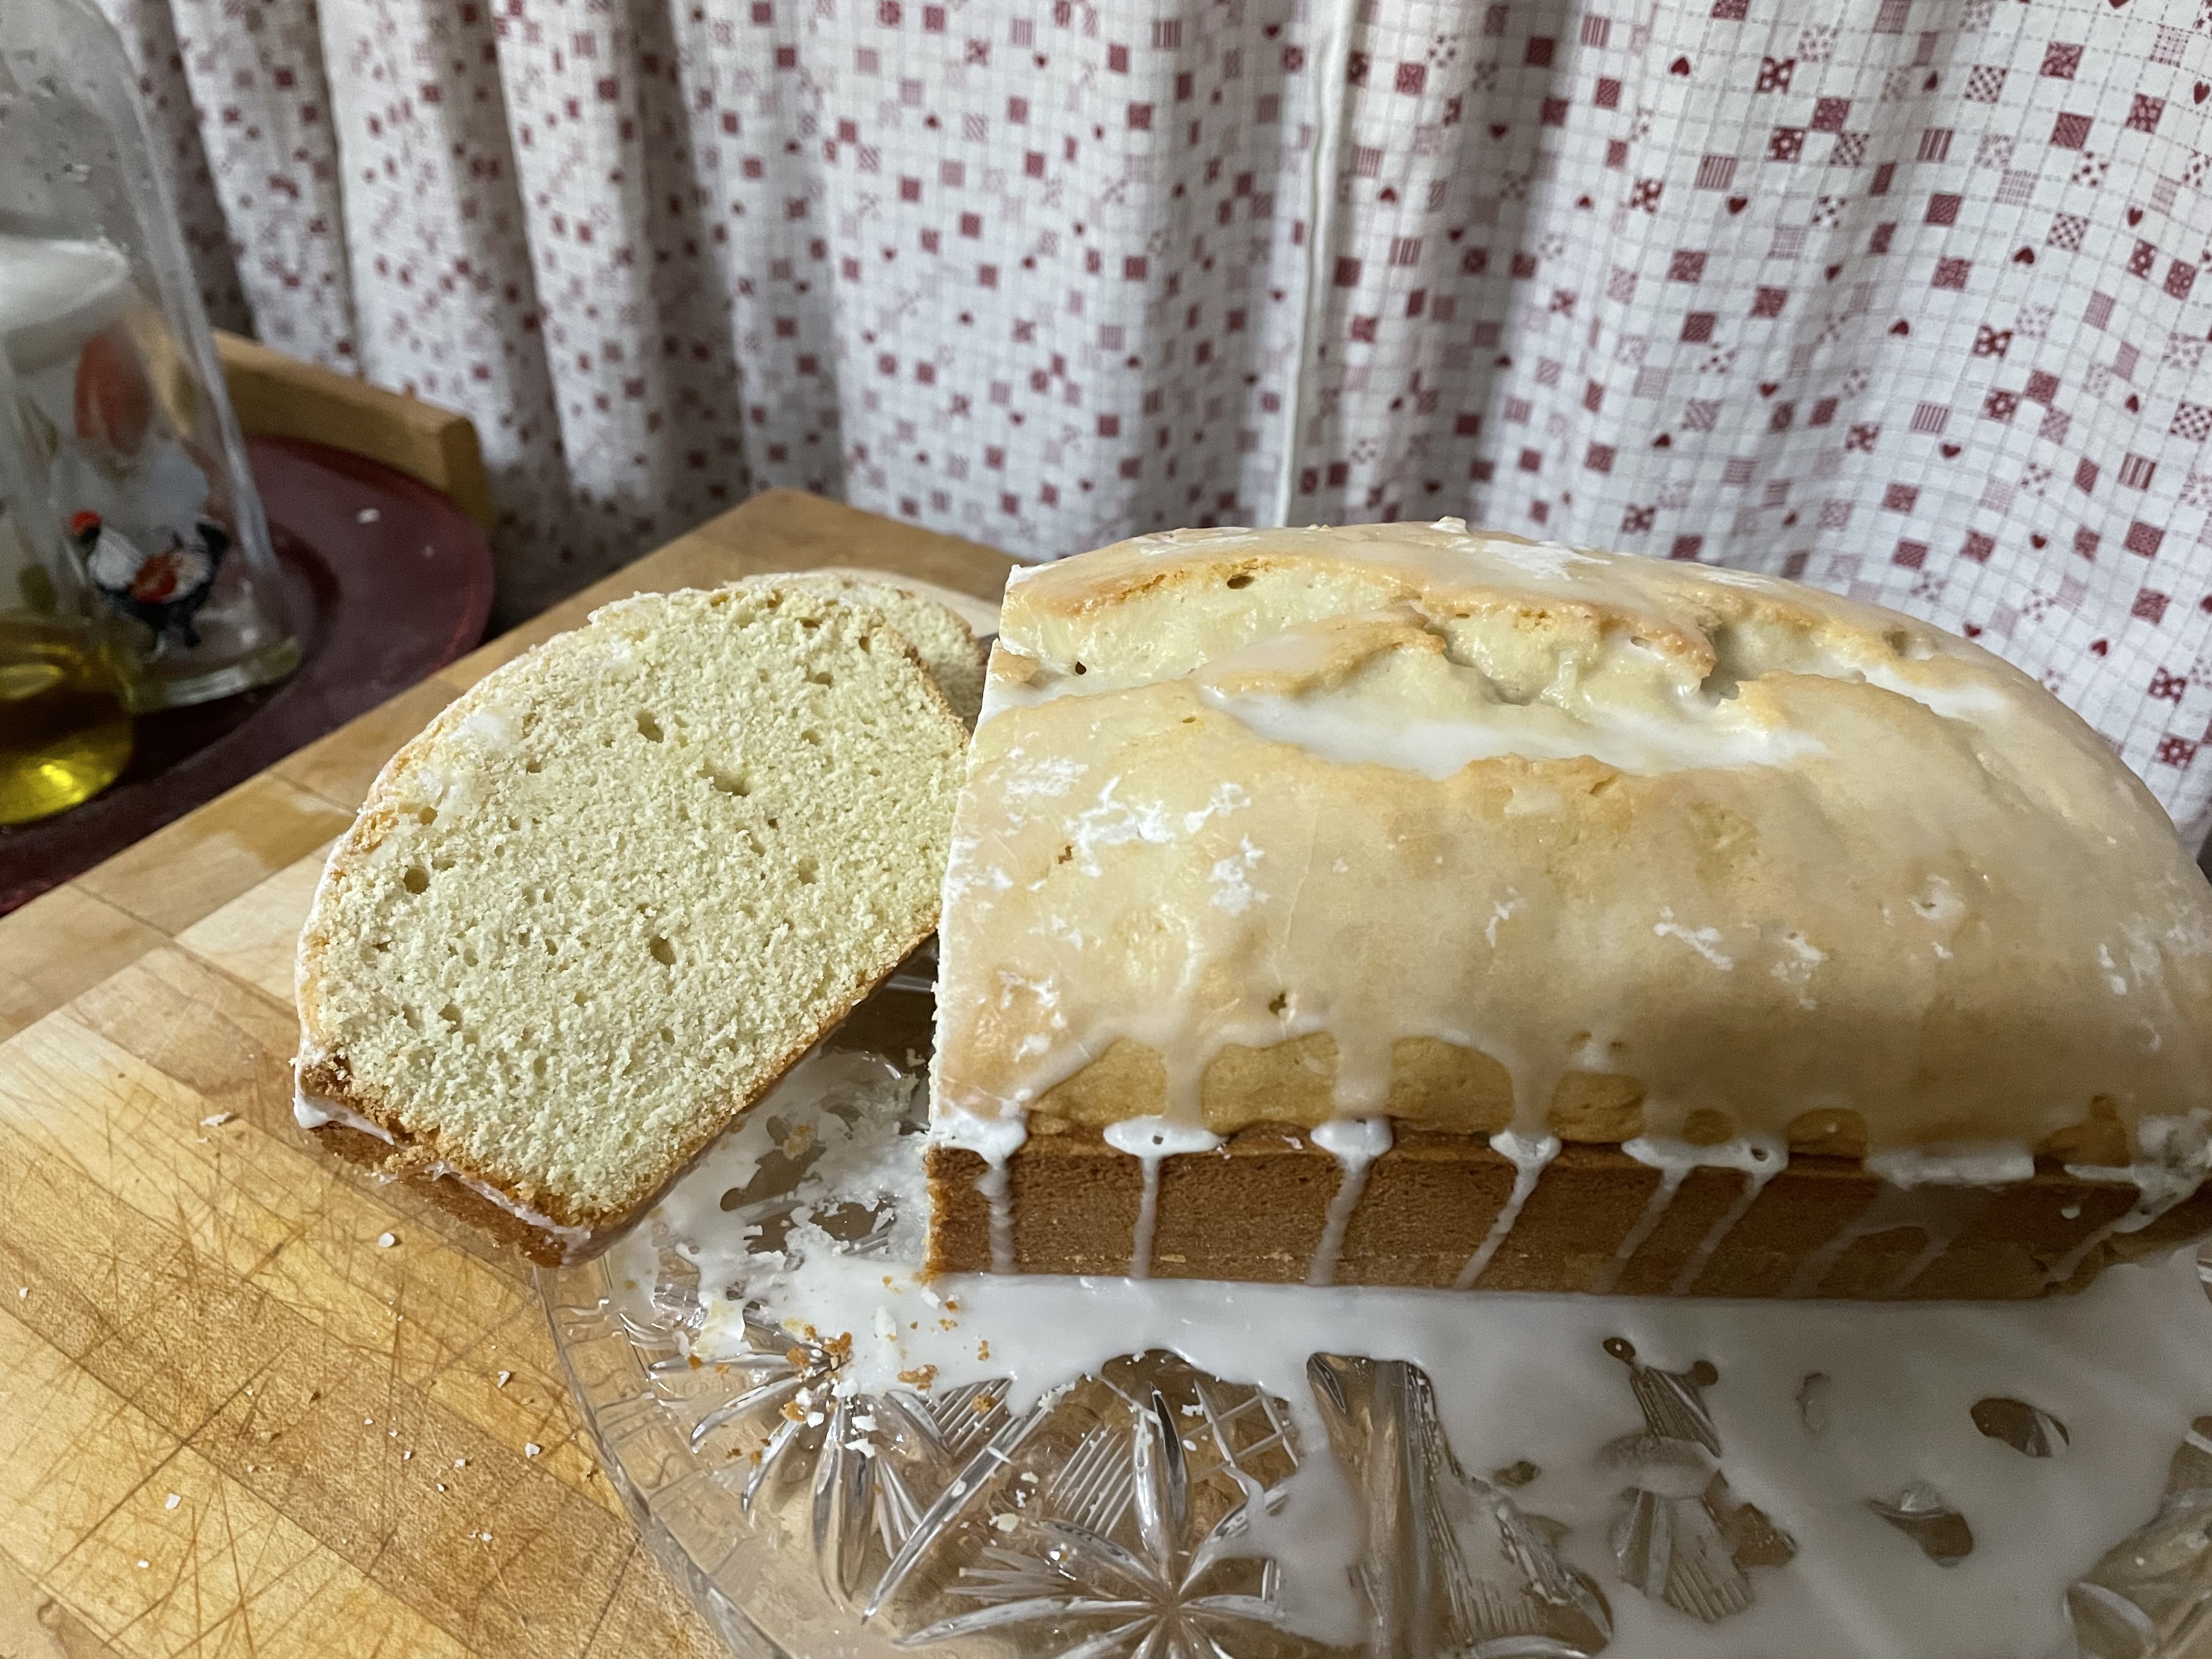
Ginger Beef

Well I seemed to have lost momentum for writing. So I’ll try again. It’s not like I don’t have time. My time is my own as I am retired. There are some demands on my time such as Stepdaughter’s wedding, Easter celebrations with grandkids complete with burnt cinnamon rolls, attempts to keep an exercise routine going, various healthcare appointments, etc.

And I am cooking and baking just not writing about it partly because I don’t always make something new and I try other bloggers’ recipes. And some of those are very worthwhile to make over and over again!

I was gifted by a friend several (actually a lot) packages of frozen meats. I have ground pork from which I will be trying to make younger Stepdaughter’s pork pie. But what to do with ground beef? There is just so much chili my aging stomach can tolerate. Hubby will be making his fancy meatloaf at some point, and we have preformed burger patties ready and waiting already. So I perused a few of my many cookbooks, looked at the NYTimes Cooking app, and decided to make Stir-Fried Beef with Onions and Ginger from Mark Bittman’s How to Cook Everything but with ground sirloin instead of flank steak. My ingredients are as follows:

  • 1 medium onion, chopped
  • 1 garlic clove, minced
  • Olive oil for sauteing the onion, and then some more for the pan to brown the meat
  • 1 inch ginger root, minced
  • 1 pound ground sirloin beef
  • 1/2 cup vegetable broth, homemade
  • 1 Tablespoon soy sauce

First, brown the onion on high heat until beginning to char, then I added the garlic just at the end. Sprinkle with salt and pepper and remove from pan. Add more oil, most of the ginger and the beef. Stir cooking this until the beef is no longer pink. Add the rest of the ginger, the broth, and the soy sauce. Cook and stir until most of the liquid is gone, but leave some. This process took less than 20 minutes with the ingredients prepped already.

I served this with rice and a cucumber/carrot salad with sesame dressing.

Thoughts: the fat in the ground sirloin (90/10) and the onion overpowered the ginger. The sesame dressing on the salad had more flavor. It also needed a sauce. Very thinly sliced flank steak would be the choice of meat as in the original recipe. For the leftovers I will douse this with teriyaki sauce. It could then be served over more rice or in a wrap.

Until next time…thanks for reading!

Another Summer Pie

I was reading recipes and came across one with lemon curd and blackberries. That sounded like a fabulous combination and I found blackberries at the store and bought a bunch of lemons as well. Now what to create? What about a lemon curd pie topped with blackberry sauce? (I probably saw these somewhere so the idea is not very original.)

Here’s what I did:

  • made lemon curd: I used a microwave lemon curd recipe from the Allrecipes.com website; there are plenty to chose from.
  • purchased a premade graham cracker crust: in general I do not prefer these but it is summer and these do not have to be baked.
  • made a blackberry sauce with one cup of blackberries: smush these in a sauce pan with a tablespoon or two of sugar and a splash of lemon juice. Thicken with one teaspoon cornstarch and two teaspoons of water. Bring to a boil and simmer for 5 minutes or so.
  • assembled into a pie and chilled for several hours
  • served with whipped cream and fresh blackberries

Whipped cream covers a variety of errors! This was tasty but not pretty. The lemon curd did not set as I expected. Perhaps cooking it one minute longer would have made a difference. Mixing fresh blackberries into the cooked sauce may have also made it prettier that it was. But Hubby and I ate two pieces the first night!

Blueberry Cream Pie

My local newspaper sends the weekly advertising flyers in a “food section” through the mail every week. Sometimes there are interesting recipes that I keep to try out. Sometimes there is an article or two about wine or other food issues that are interesting to read. I confess, I mostly peruse the recipes and cut a few out with the intention of making them.

This recipe is from America’s Test Kitchen and was summer appropriate using blueberries. You can find this on their website if you are a member. I found it in my newspaper flyer. I bought a graham cracker crust instead of making my own. I thought that would be the easiest way to take it to share with “the girls” with whom I go to the Cape with for a week each summer.

  • one graham cracker crust
  • 1/2 cup sugar
  • 4 teaspoons cornstarch
  • 1/4 teaspoon salt
  • 2 pints blueberries, divided
  • 1 tablespoon lemon juice
  • 8 ounces cream cheese
  • 1/4 cup sugar
  • 1 teaspoon vanilla extract
  • 1 cup heavy cream, chilled: I bought a can of whipping cream instead; this does effect the results.

For the filling, whisk sugar, cornstarch, and salt in medium saucepan until no lumps remain. One is supposed to process 2 cups (1 pint) of the blueberries in a food processor until smooth. Well, I merely used an immersion blender so my blueberries at this point are mushed but not smooth as silk. One is also supposed to strain this blueberry puree into the sugar mixture. I did not. This will effect the ability to pipe the cream later. Bring this mixture to medium heat and cook until whisk leaves a trail that slowly fills in. I cooked this to a simmer and then for 1-2 minutes longer. Whisk in the lemon juice. Reserve 2 Tablespoons of the puree for piping. Stir in the remaining pint of blueberries and spread in the graham cracker crust.

For the topping beat the cream cheese, sugar, and vanilla in a stand mixture until smooth. I then folded in the canned whipped cream instead of mixing in heavy cream and beating until stiff peaks formed. Put this mixture into a pastry bag along with smears of the reserved puree to pipe decoratively onto the pie. My blueberries got stuck in the tip and my whipped cream was collapsing so my pie does not look as pretty as the pie in the newspaper picture.

But it was fantastically tasty! The girls and I gobbled this down the first evening at the Cape, even those concerned about carb watching and sugar content. I hope to make this again!

Moonrise at the Cape over the Atlantic

Orzo Casserole, my way

I cooked! I read a recipe in the New York Times cooking section and thought “I could make that!” Mind you, I did not have all the ingredients but “what the hey!” Here is the original: https://cooking.nytimes.com/recipes/1024402-one-pan-zucchini-pesto-orzo?action=click&module=RecipeBox&pgType=recipebox-page&region=all&rank=0

So I had no zucchini nor mozzarella cheese nor mint nor a lemon nor parmesan. What I did have was orzo pasta, I thought I had a jar of pesto, and my neighbor’s garden fresh tomatoes. What I did: I substituted fresh basil for the mint, jarred lemon juice for the lemon juice and zest, the little bit of homemade pesto for the pesto, and Feta for the mozzarella. And cooked chicken for some protein.

  • about one cup chopped cooked chicken; this was the meat from two thighs
  • 1 yellow onion, sliced
  • olive oil for the skillet
  • sprinkle of red pepper flakes
  • pinch of fine sea salt
  • 1 3/4 cups chicken stock, homemade and previously frozen
  • 1 cup orzo
  • scant 1/4 cup lemon juice
  • 2 medium sized tomatoes, chopped
  • 4 ounces of crumbled Feta cheese
  • handful of fresh basil leaves, coarsely chopped, and one sprig of fresh oregano leaves removed from the stem
  • grated Romano cheese, about 1/4 cup
  • about 1/4 cup pesto from previously frozen homemade

In a large skillet I sautéed the onion in olive oil with the red pepper flakes and a bit of salt until slightly browned and then added the chicken. Then I stirred in the stock and brought to simmer, added the orzo and lemon juice and another pinch of salt. Covered this and let cook for 10-12 minutes.

Meanwhile in a small bowl I tossed together the tomatoes, fresh herbs, another pinch of salt, and another shake of red pepper flakes with a drizzle of olive oil. This marinated while the orzo cooked.

When the orzo was done, I added the Romano cheese and the pesto. Stirred this and let cook one more minute with the lid on the pan.

To serve top with the tomato mixture and more Romano cheese.

This was very tasty. It could have served three people but we had not had lunch that day so Hubby and I ate it all.

The Joys of Store-Bought!

Granted, there is nothing like home-baked cakes, cookies, and pies. But sometimes one has to “just buy it”. Usually I succumb to this urge at bakeries and/or bakery sections of grocery stores. Especially if I go shopping when I’m hungry.

There are some things that home-made cannot beat. Oreos come to mind right away. A home-baked chocolate sandwich cookie is more of a Whoopie Pie and definitely not an Oreo. Although I have tried to make crackers which come out “alright”, these I think are also best bought in a box. And unless you want to spend the time and effort to make croissants and puff pastry (which I have done) these are also items I buy already made. And then there is Angel Food Cake. I tried to bake one from scratch eons ago and it turned out to be a hockey puck so I haven’t given that a second try.

What about box mixes? When I was in high school Mom would sometimes buy cake mixes on sale. I remember them on sale 4 for a $1 at times! I generally try to stay away from these except for cornbread mixes for the camping trailer. I also get tins of biscuits and cinnamon rolls for camping but never for home. If I think about it I could mix all the dry ingredients for a cake and then list the wet ingredients to add such as eggs, butter, and milk. This would be what one adds to cake mixes anyway. I’ve never tried this but think about it from time to time. I could mix the dry ingredients for a chocolate cake and take it to bake camping. Or I could just bake the cake at home and bring it along. Or just buy a small cake. Our most recent camping trip I bought cupcakes at the bakery section of a grocery store and the grandkids loved them. For the grandboy’s birthday coming up I will make a chocolate cake and bring it along. That cake will be from scratch. I need to remember if he wanted yellow or green frosting!

For our Father’s Day backyard picnic I made the potato salad and coleslaw which are best made from scratch in my opinion. I have in the past bought them at the deli section but at what price for a small amount! I opened a can of baked beans. I hope to try these from scratch sometime this summer as I have found a few recipes to throw into a crockpot. The hotdog buns and rolls were store-bought. For dessert I sliced strawberries for the store-bought angel food cake and canned whipped topping. Real whipped cream is easy to make but so is squirting it from a can!

Returning to Writing

I’m back! Well, I never went away but I did stop writing about the recipes I’ve made. This is mostly because I find I am making other people’s recipes, from blogs and from websites and from magazines. I tend to stick to standards and have not been inventive lately. I have been laid up with broken bones so Hubby had to do shopping, planning, prepping, and cooking. I am blessed to have a Hubby that cooks.

So now that I am no longer an “invalid” I have begun to cook again but not in an inventive way. This week we had pork chops with mashed potatoes and mushroom gravy, with peas as the green vegetable. We also had grilled salmon with baked potato and salad. And another dinner was fish sticks with broccoli. I also made a vegetable quiche with the magic ratio of 2 cups milk and 4 eggs. The liquid can be reduced to 1 ½ cups if there is a lot of filling items such as vegetables and the like.

Baking leads to overeating of sweets. This past week I baked brownies. From a mix. It was gluten-free. I must have bought this before my daughter had to give up sugar. It was about to expire. They were very rich and chocolate-y. I was able to store/hide them in the bread box so they were not eaten all at once. I need to avoid baking cookies because they get eaten in stacks. Even if I freeze some, I know where they are and a frozen cookie can be good to eat! Even store-bought cookies!

Do you pay attention to expiration dates on food products? To be honest I really only attend to dairy products such as milk, yogurt, and cottage cheese. On occasion I look at cans but most cans don’t stay in the pantry long enough to outlast themselves. I knew a woman once who actually honored the expiration date on a carton of eggs! We did go through the fridge to clear out old jarred items that were opened who knows how long ago.

Mostly I’ve been crocheting. Little things that finish quickly.

Here are some pictures: quiche, crocheted cup cozy, and dog Gracie hiding from the thunderstorm.

Basque Burnt Cheesecake

I had seen these on the internet and wanted to make one. Now that the cost of eggs has decreased slightly I figured I could afford to use 5-6 eggs on a dessert. There were so many recipes to choose from so I went with King Arthur Flour. It had the shortest list of ingredients. I did however add vanilla extract and baked it at a slightly lower temperature than the recipe called for. Here is the link: https://www.kingarthurbaking.com/recipes/basque-style-cheesecake-tarta-de-queso-recipe

  • 3 8-ounce packages cream cheese at room temp
  • 1 1/2 cups granulated sugar
  • 5 large eggs at room temp
  • 1/2 teaspoon salt
  • 3/4 cup heavy cream (I used 1/2 cup half-and-half and 1/4 cup evaporated milk.)
  • 1 teaspoon vanilla

Interesting pan preparation: crumple sheets of parchment paper and line the 9-inch springform pan in an overlapping fashion to fully cover the bottom of the pan and then fold up and over the sides over the edge of the pan. Preheat oven to 450 degrees. I used this temperature because I thought 500 was too hot and the other recipe I used for reference had the oven set to 400. Hubby suggested the in-between.

KAF wants the batter mixed until it is smooth and lump free. They suggest an 11-cup capacity food processor. Mine is only 9-cup. So with all the ingredients in the bowl I mixed it in my stand mixer and then used an immersion blender to smooth it out which is the alternative method suggested by KAF. This makes a lot of air in the batter which may account for how light it tasted. Not a bad thing!

Poor into the prepared pan and bake. I set the timer first for 25 minutes but the top was not “burnt” so added 10 more minutes and it was nicely browned and not too jiggly in the middle.

Remove from oven and let cool on a wire rack until room temperature before removing from pan. They don’t tell you how to remove the cake smoothly from the parchment paper so mine broke a bit.

I chose to make the Hot Cocoa Drizzle from https://www.halfbakedharvest.com/vanilla-burnt-basque-cheesecake/ just because, with the only substitute being evaporated milk for the heavy cream.

Brown Bag Banana Bars

Having two very ripe bananas languishing on my counter and having recently talked with my sister who was baking banana bread, I needed to do something with these. I planned for banana bread but found this recipe in my King Arthur Flour cookbook. It only calls for one egg and less than a cup of sugar so I thought these would not be too sweet. I added mini chocolate chips and walnuts instead of the poppy seeds and golden raisins included in the original recipe.

  • 1/2 cup butter or margarine; I used margarine! Hey, it was in my fridge’s freezer so…
  • 2/3 cup brown sugar
  • 1 egg
  • 1 teaspoon vanilla
  • 1 1/2 cups mashed ripe bananas; I used the two I had.
  • 1 1/4 cups all-purpose flour
  • 1/2 cup whole wheat flour; I used whole wheat pastry flour
  • 1/4 cup cornmeal
  • 2 teaspoons baking powder
  • 1/2 teaspoon salt
  • 1/4 cup mini chocolate chips
  • 1/4 cup chopped walnuts

Put this together the usual way: cream butter, sugar, and add the egg. Beat in banana and vanilla. Mix dry ingredients and add, mixing just until combined. Stir in chocolate chips and nuts. This is baked in a 10 x 14 inch greased pan at 350 degrees F for 20-25 minutes.

Thoughts: I was hoping for a banana brownie-like bar cookie but this is light and cake-like. It tastes a bit salty and I am wondering if I accidentally doubled the salt. Actually, thinking about it now, I think I used fine crystal sea salt and that may be saltier than ordinary kitchen salt. I wonder if baking it in a 9 x 13-inch pan would make a difference? Even though I was going to say “nothing to write home about” I do find myself nibbling on these when i want a “Little Something” as Pooh would say.

I have just learned that Hubby is getting me a baguette pan, so it’ll be baguettes at our house for awhile!

“Old-fashioned pound cake”

I must say that my baking has taken on a more thoughtful approach than before. This is due to the high cost of eggs and butter. We did buy eggs in bulk at the local Walmart which came to $4 per dozen instead of the $4.50 at the Aldi. Our other favorite discount grocery closed and we miss it. Butter is $4.50 per pound at the discount grocers.

But it is Hubby’s birthday and his favorite cake is pound cake with a light vanilla glaze. But this is not really an old-fashioned pound cake because it is not using a pound of eggs, butter, and flour. This recipe is from the Kitchen-Aid Cookbook (1992) which I bought at a discount store (now defunct) and not the booklet that came with the mixer because I cannot locate that one at the moment.

I followed the instructions which used higher speeds than I usually use but changed out the lemon zest and juice with a teaspoon of vanilla extract.

  • 2 1/4 cups all-purpose flour
  • 1 teaspoon baking powder
  • 1 teaspoon salt
  • 1 1/4 cups sugar
  • 2/3 cup butter, softened
  • 1/2 cup milk, I used non-dairy almond milk.
  • 1 teaspoon vanilla extract
  • 3 eggs

Place the dry ingredients into the bowl of the stand mixer. Make a well in the center and add the butter and milk. Using the flat beater “stir” for 30 seconds; stop and scrape bowl and beat at Speed 4 for 1 minute. Add eggs and vanilla and beat at Speed 2 for 30 seconds. Stop and scrape bowl. Turn to Speed 6 and beat for 1 minute.

Pour batter into a greased and floured, or parchment lined, 9 inch x 5 inch loaf pan. Bake at 325 degrees F for 1 hour and 10 minutes. I then added 10 more minutes to the time. I think at 350 degrees the time in the recipe would have worked. Cool in pan for 10 minutes before turning out onto a wire rack to cool. If you use parchment paper like I did, you do not have to wait the 10 minutes.

To make the glaze I whisked together 1/2 cup powdered sugar with 1 1/2 tablespoons of water and a dash of vanilla extract. Hubby pronounced this “the best ever!”

Thoughts: As I was preparing to bake this and then when cleaning up my kitchen, it occurred to me that I have gluten all-over my kitchen. No wonder my daughter cleans everything twice when she is here and we are cooking together. She is very sensitive to gluten. I was going to get her a KitchenAid stand mixer for her birthday this year as she is experimenting with baking gluten free breads, cookies, and muffins and apparently gluten-free baking requires long mixing times.

But as it happens… I took her to France instead!

Not Paris Brest: cream puffs instead!

I had grand plans to make a Paris Brest for New Year’s Eve. I even looked up how to pronounce it properly along with its history. I thought I would use my French Feasts cookbook as it is “traditional” French home cooking. So this is a decorative ring of choux pastry filled with praline pastry cream.

First to make the pastry cream, or “crème pat” as I hear it said on the GBBO. I make the full recipe from the above mentioned cookbook with a few substitutes. I flavored mine with vanilla.

  • 4 cups milk (used 12 ounce can of evaporated milk with 12 ounces of water, topped off with the oatmeal milk from the fridge)
  • 2 eggs and 4 egg yolks ( I used the 6 egg yolks left over from making meringue for a Baked Alaska dessert for Christmas Eve)
  • 1 cup sugar
  • 2/3 cup all-purpose flour
  • 1/3 cup butter
  • 1 teaspoon vanilla extract

Whisk eggs and sugar. Add flour and mix well. Bring the milk and butter to a boil and then add the egg mixture. Simmer gently over low heat for 10 minutes. Dust with sugar and chill. Be sure to whisk frequently and temper the egg mixture with some of the liquid while cooking before adding it all so to avoid scrambled eggs. This makes a lot of crème pat. I apparently have made this before, or Son has, as there are notations for half of the ingredients written beside the recipe in the book.

I then proceeded to make the choux pastry from this same book. I failed to compare it to other choux recipes from other cookbooks. This called for a full cup of butter and 4 eggs. It cost me 5 eggs as one fell on to the floor. No other recipe calls for this much butter, not Jacques nor Julia. Perhaps it is a typo.

The pastry was tasty but very thick. It was more of a cookie than a pastry. It did not turn out well. It broke into chunks when I attempted to slice it to fill with the pastry cream. I have half this dough in the fridge and plan to roll it out into shortbread cookies as that is the consistency of the dough.

So the next day I went to my faithful Betty Crocker Cookbook and made cream puff pastry dough which I have successfully made before.

  • 1/2 cup water
  • 1/4 cup butter
  • 1/2 cup all-purpose flour
  • 2 eggs

Heat water and butter to boiling. Stir in flour and stir vigorously over low heat until it forms a ball. Remove from heat and beat in eggs all at once. Continue beating until smooth. Drop dough on ungreased cookie sheet in 1/4 cupful. Makes six. Bake at 350 degrees F for 35-40 minutes. Let cool. Cut off tops. Fill with pastry cream. Replace tops. Glaze or frost as desired.

I melted dark chocolate chips mixed with some chopped almonds and teaspoon of oil for the chocolate icing. Yummy!

Now what to do with all that Patisserie Crème I have left in my fridge?