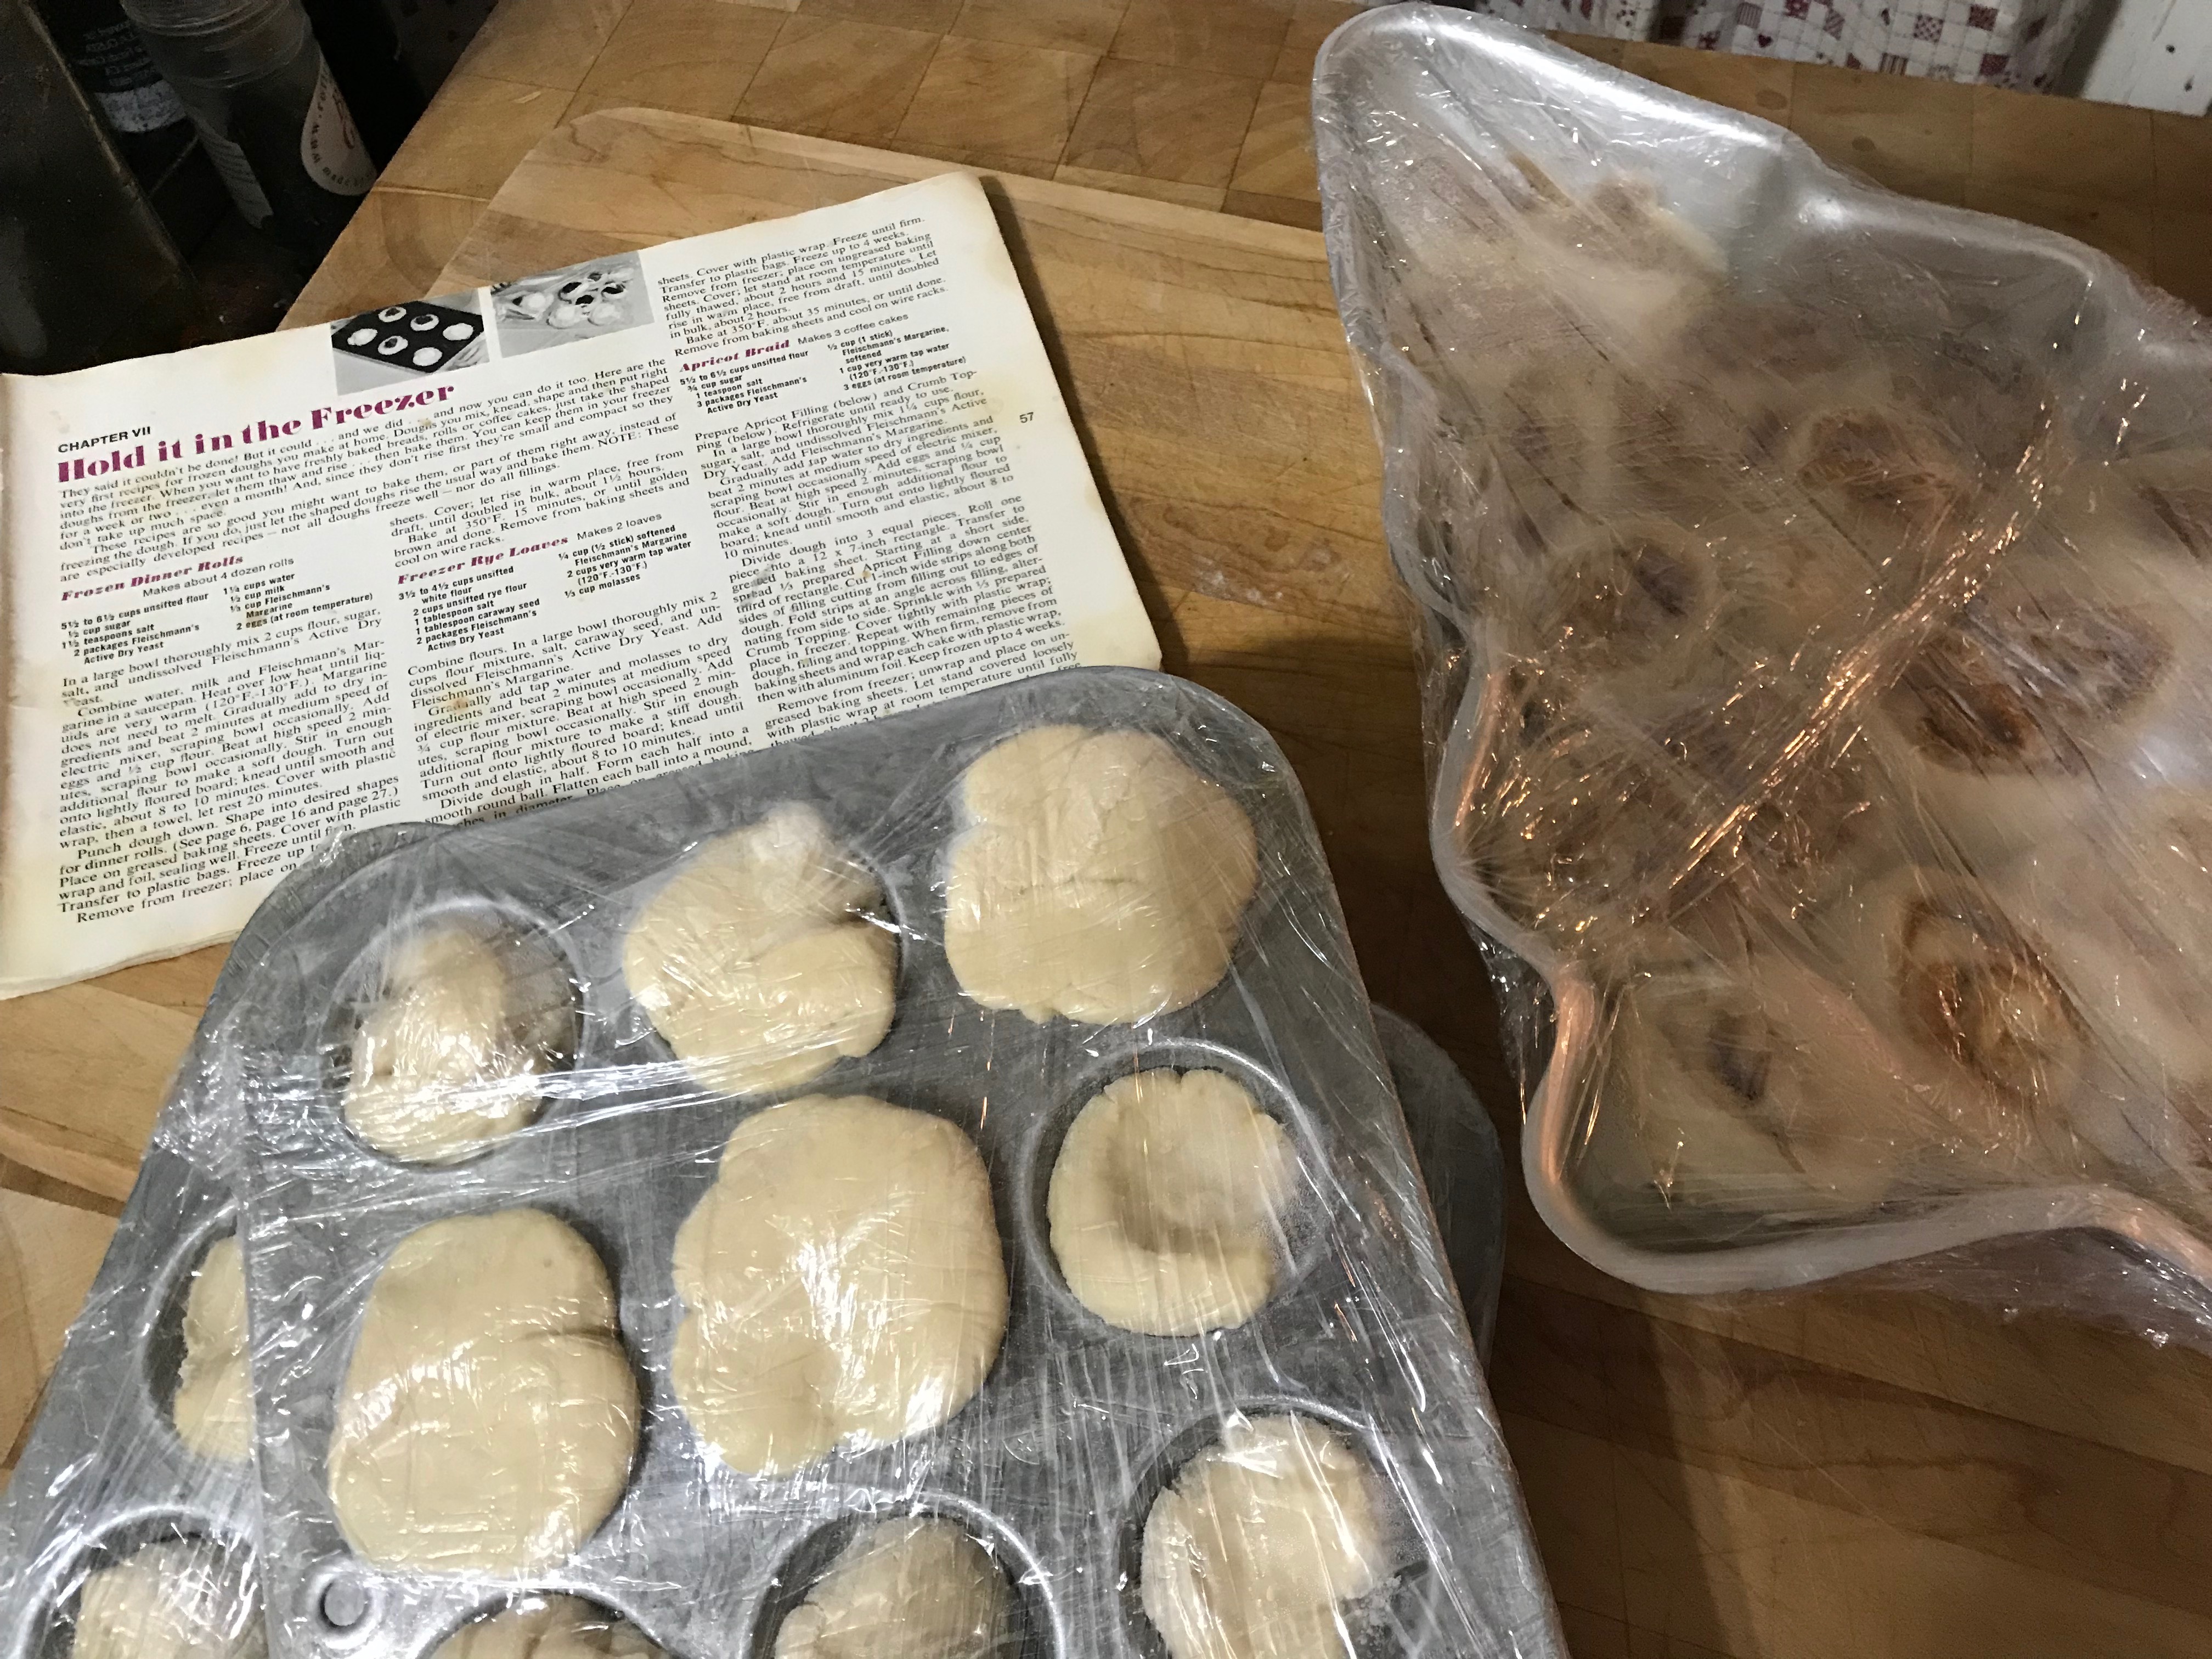
Here’s the setting: Thanksgiving Eve afternoon Granddaughter and I are making bread rolls. I had found a recipe that makes three dozen which is the amount needed, a dozen for our annual Thanksgiving Eve Birthday Feast (for Granddaughter and Son-in-Law) and two dozen to take with us to Step-daughter’s house on Thanksgiving Day. Granddaughter and I were enjoying watching the dough being kneaded in the KitchenAid mixer and admiring how it pulled away from the sides. We enjoyed poking at the dough and were pleased with its elasticity. We divided the dough after the first rise into three sections. I showed her how to divide her section up into twelve “equal” pieces and she set about making cloverleaf rolls in the muffin tin. I arranged two dozen rolls in the 9 x 13-inch pan for overnight rise and baking in the morning. All was good.
Except…for some reason I decided to actually paint the rolls with egg wash. Granddaughter painted her rolls with the brush and then I had her paint mine. We let her rolls rise and then baked them for our dinner feast and they were delicious. No leftovers. The larger pan was covered loosely with plastic wrap and put in the fridge for overnight.
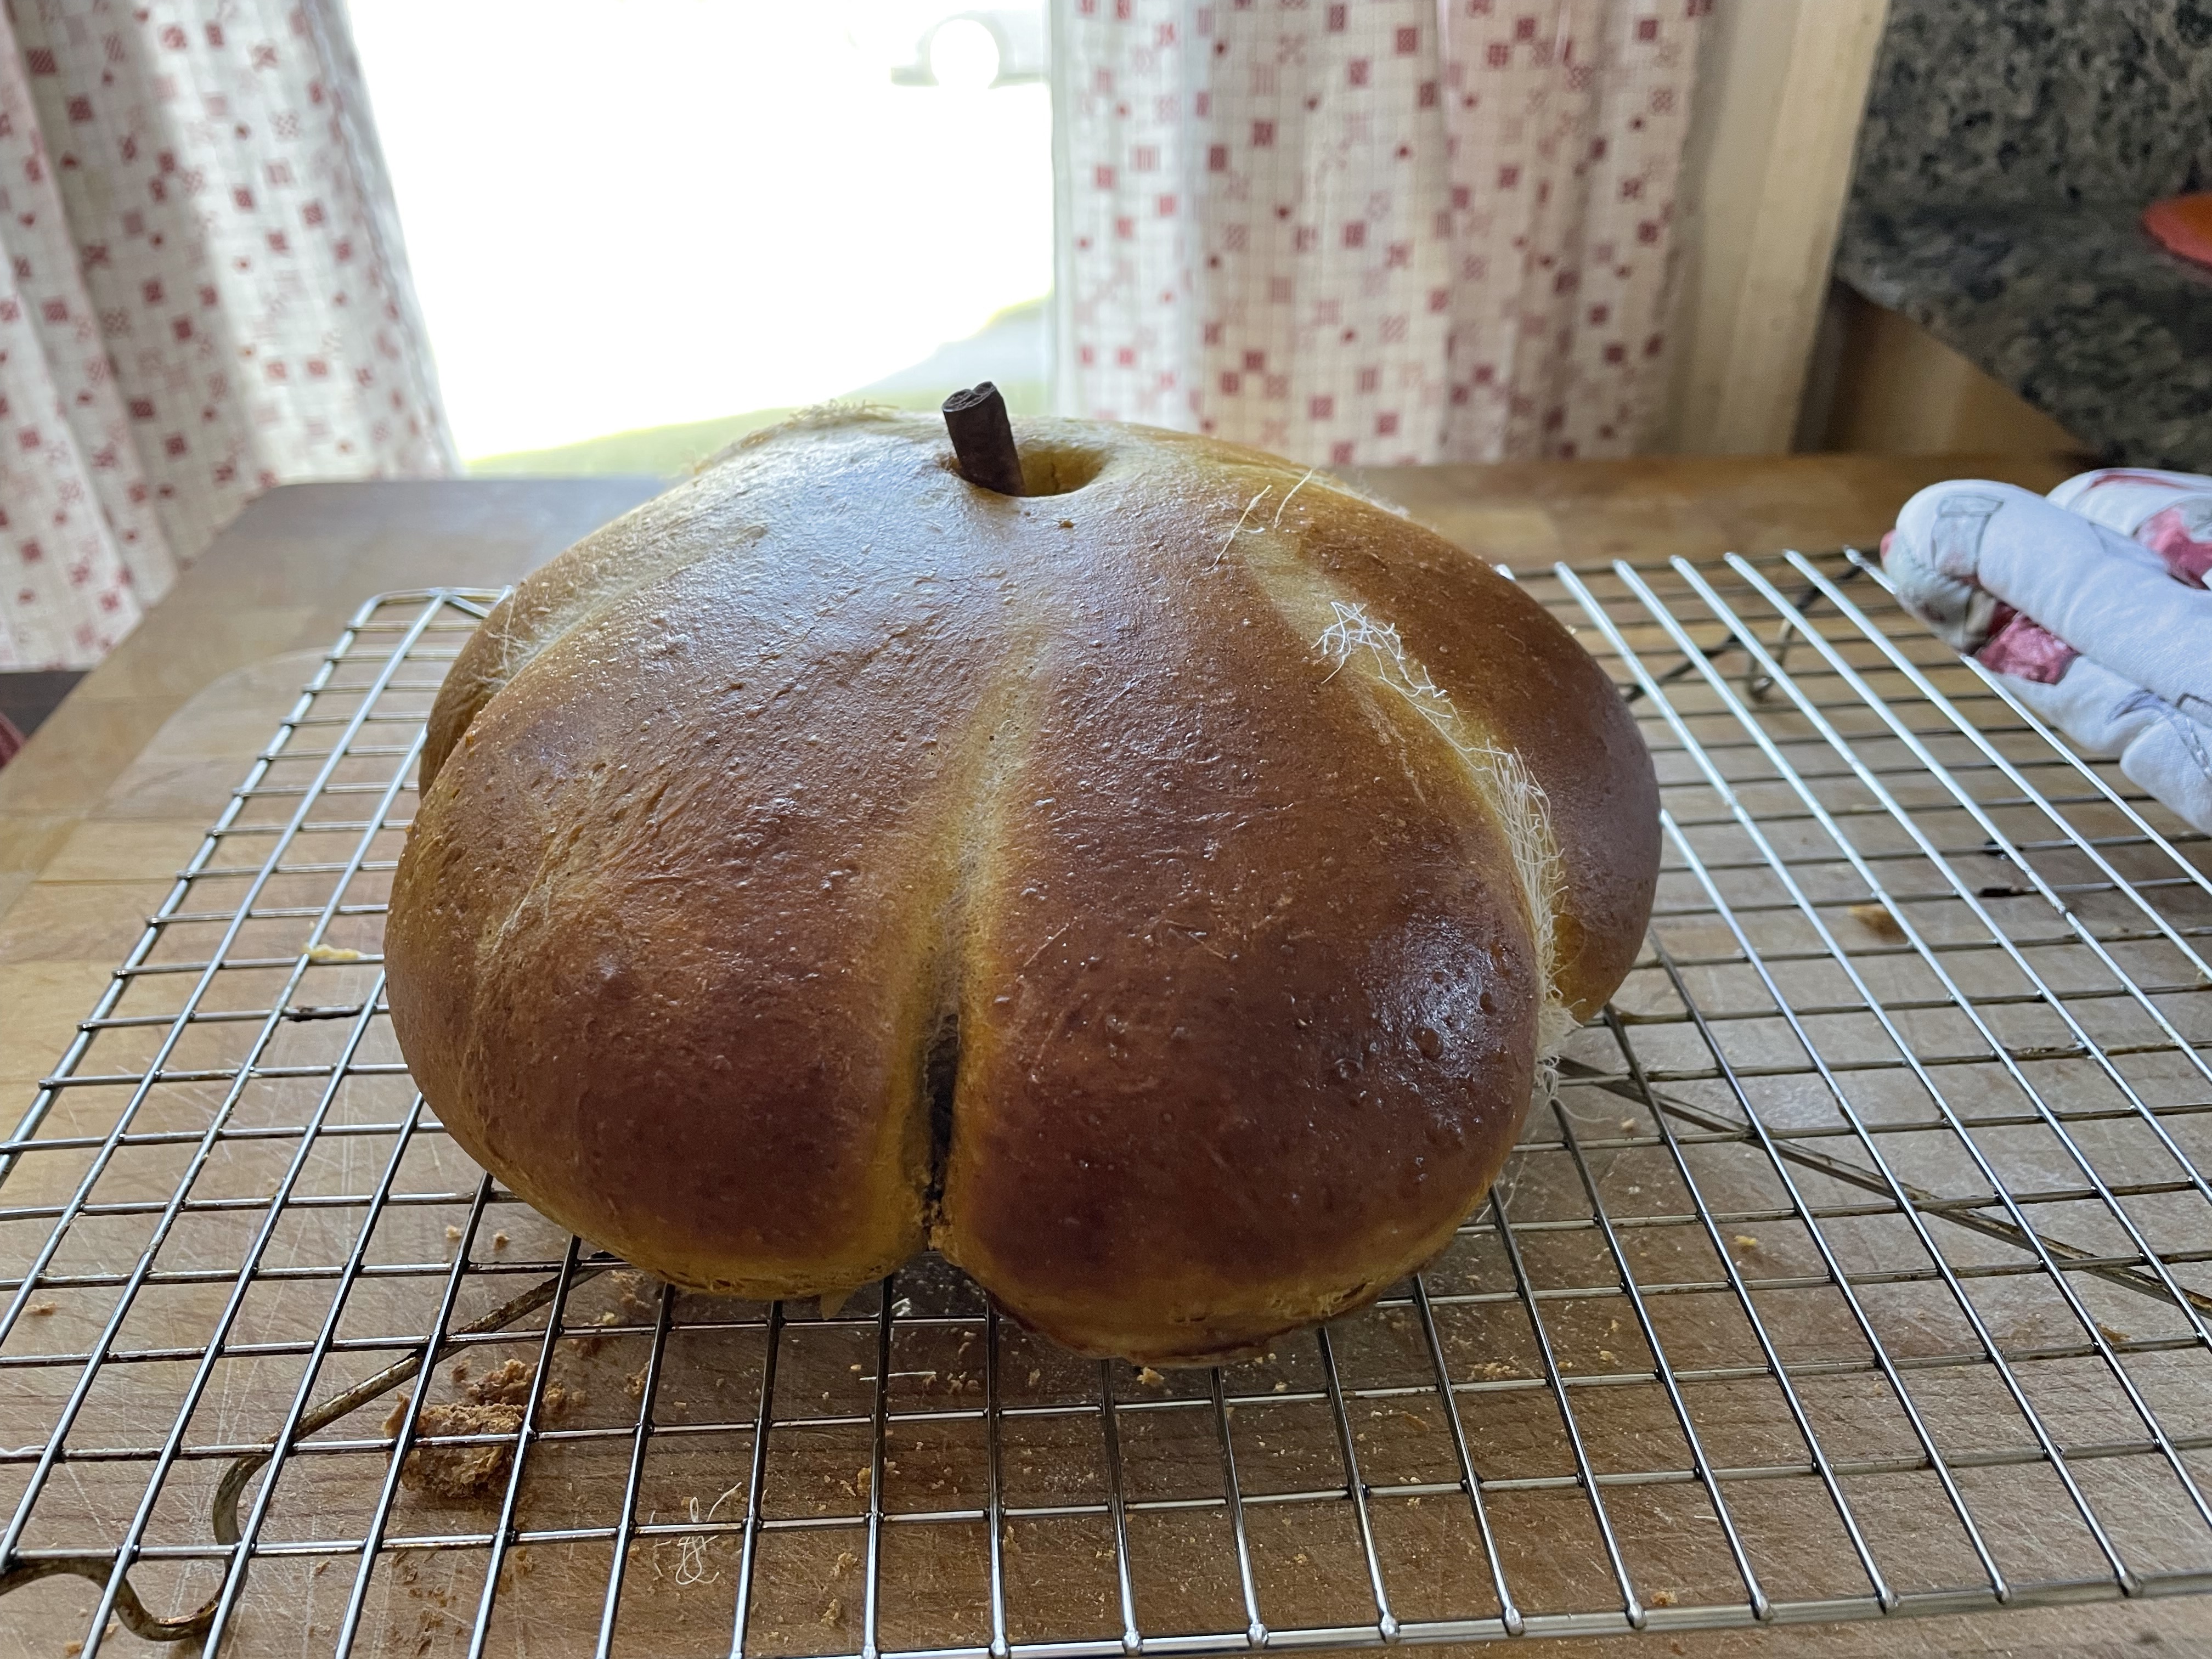
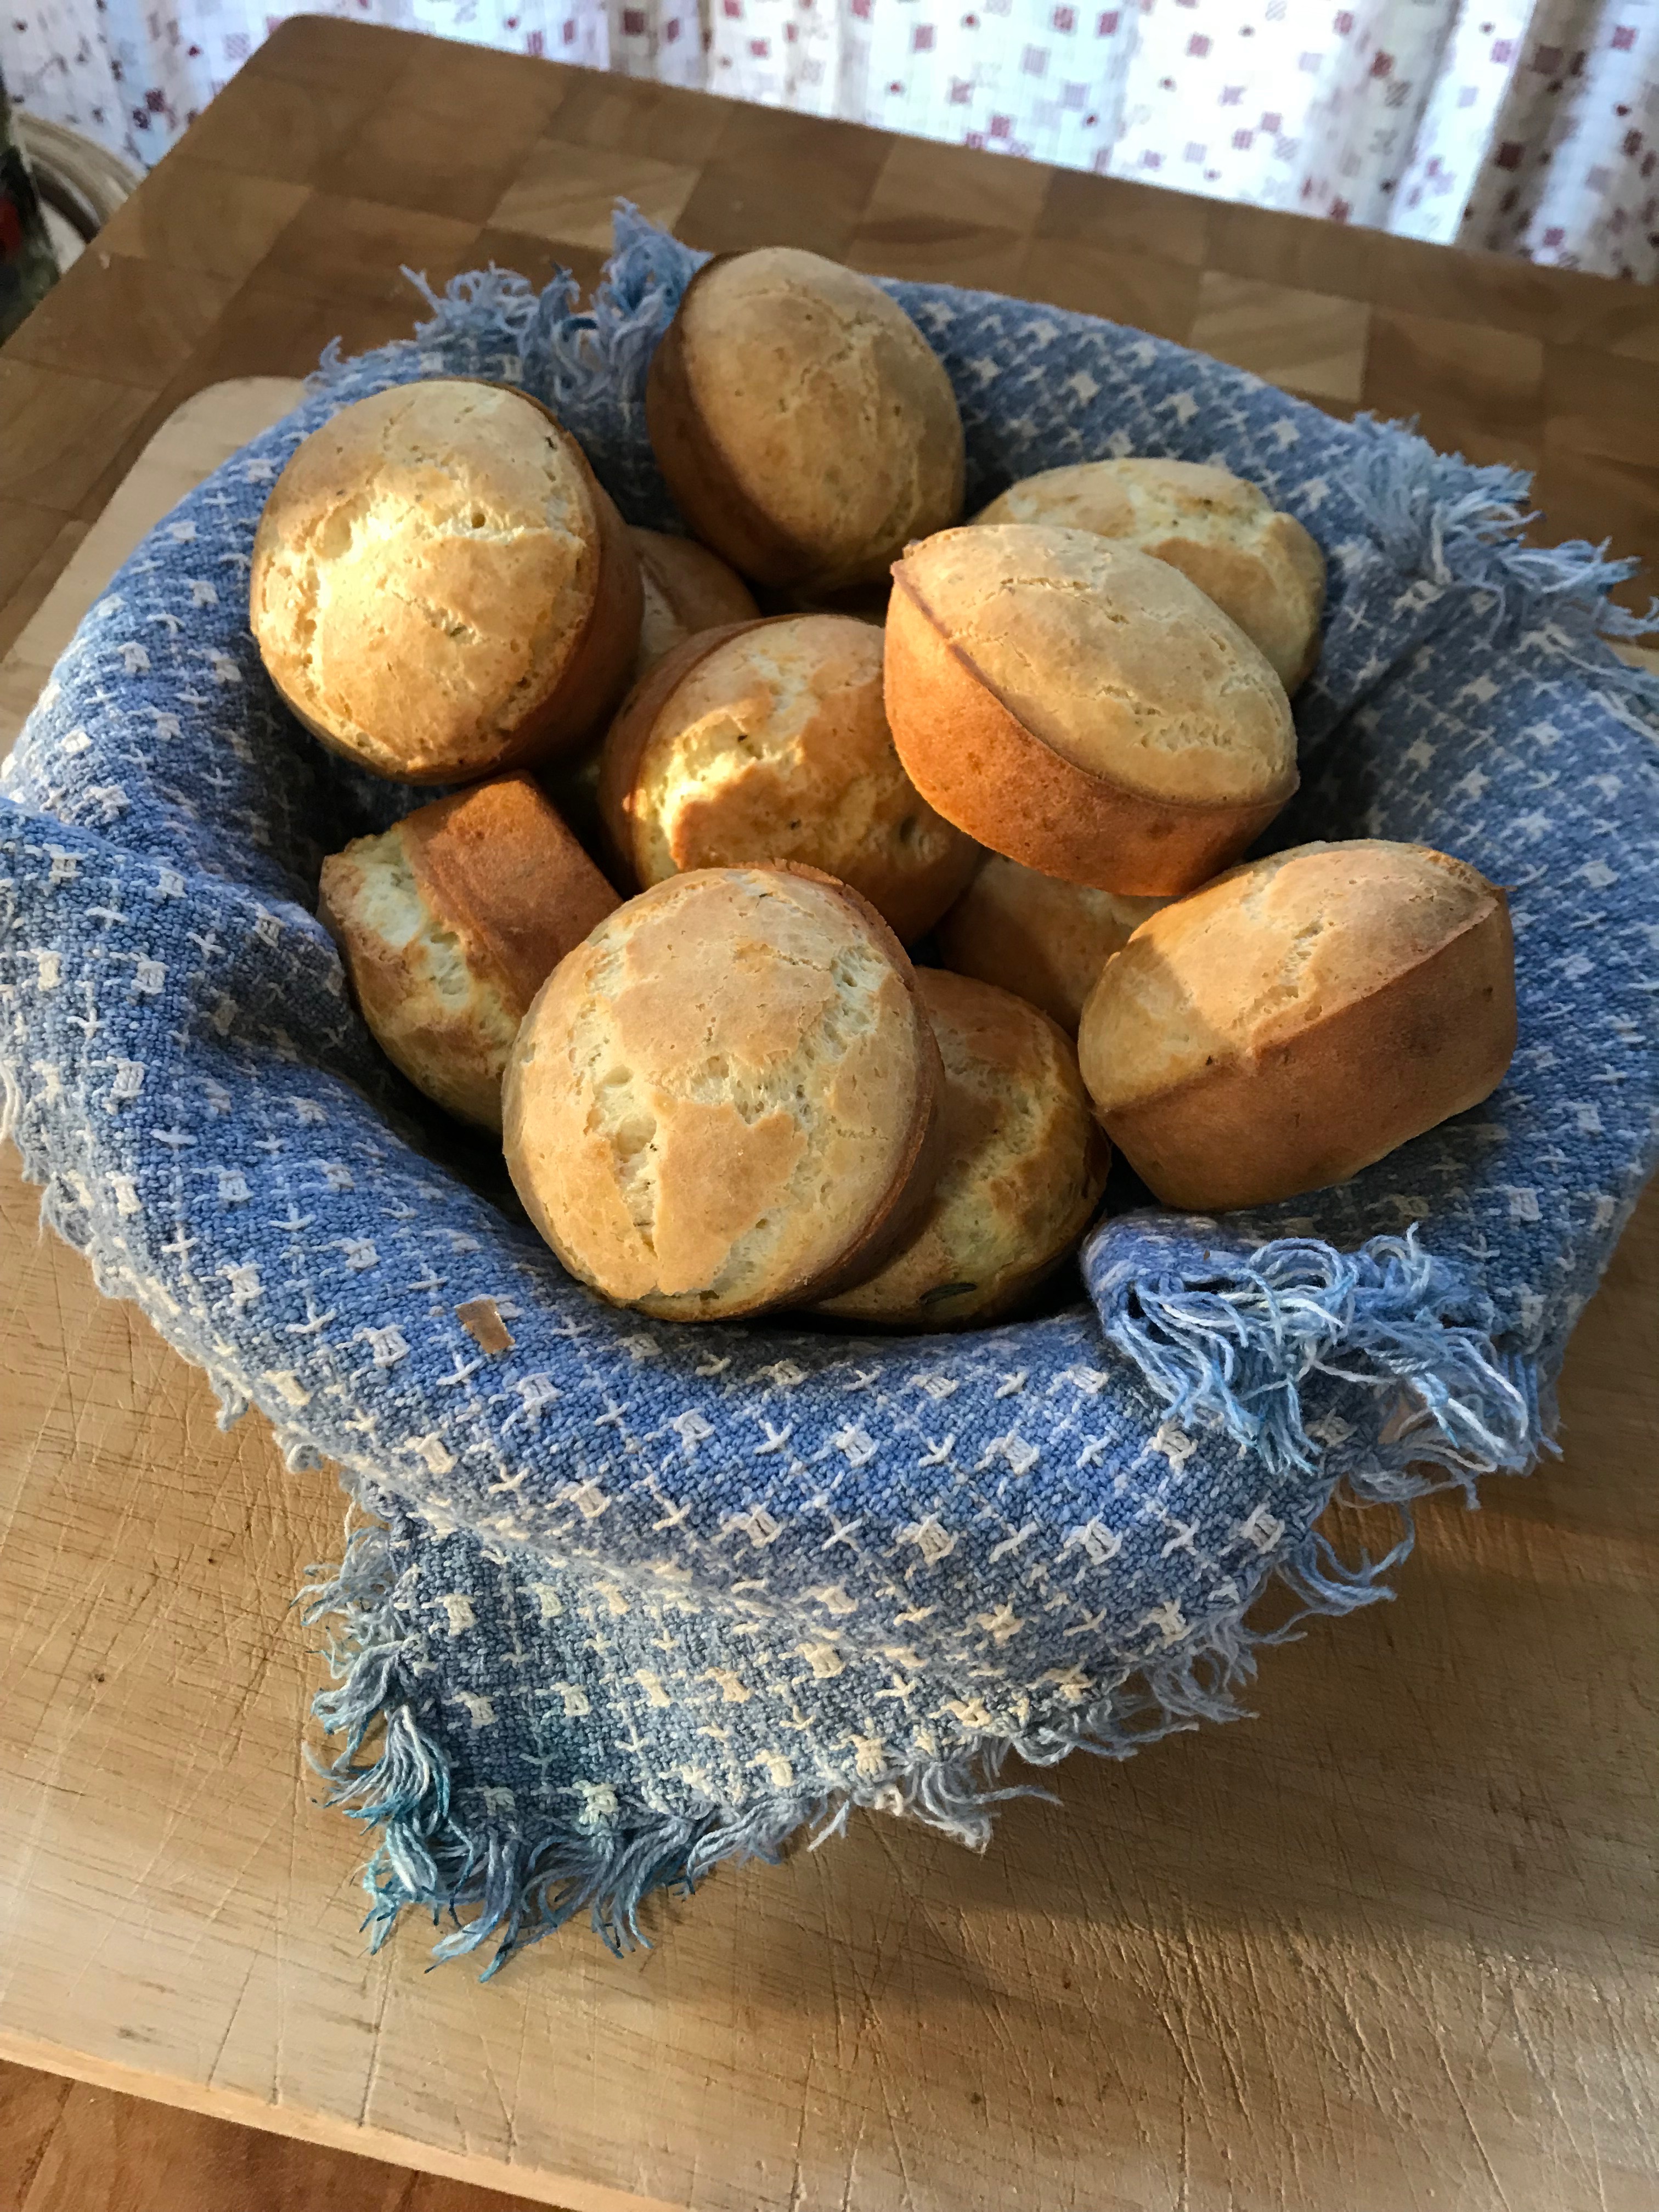
Thanksgiving morning arrives. We have our breakfast of eggs, bacon, juice and of course coffee. I have let the overnight rolls sit on the counter for at least an hour to take the chill off. They look okay. I figure they will have an oven rise and puff up nicely. They bake and when I pull them out of the oven they look sad. They are done but they look very sad.

What to do? We are trying to leave the house by 10:00 AM to drive 3 1/2 hours to New Jersey for dinner today.
I have a reputation as a baker to maintain in this family. I don’t think I can take these and present them in good conscience. It’s 9:10 AM at this point. This is where 60-minute rolls come in. I have them in the Fleischmann’s Bake-it-easy Yeast Book, which is more of a booklet. The one I have was published and printed in 1971. This has been a standard roll recipe through the years and I am relieved to have thought of this. I’m making the bread dough and am at the second rising when Hubby starts shooing folks on their way saying we are wanting to leave at 10:00 and it was now 9:50 AM. I have to tell him we are slightly delayed because the rolls are not baked yet. Daughter reports she remembers using this recipe for our Christmas Eve dinner and half for Cinnamon Rolls for Christmas morning when it was just her, Son, and me. We say our goodbyes to the visiting family all who have other destinations for the day and start packing the car for our journey. We are on the road by 10:45 AM. All told the Sixty Minute Rolls took 1 hour and 10 minutes.
- 3 1/2 to 4 1/2 cups all-purpose flour
- 3 Tablespoons sugar
- 1 teaspoon salt
- 2 packages active dry yeast
- 1 cup milk
- 1/2 cup water
- 1/4 cup butter
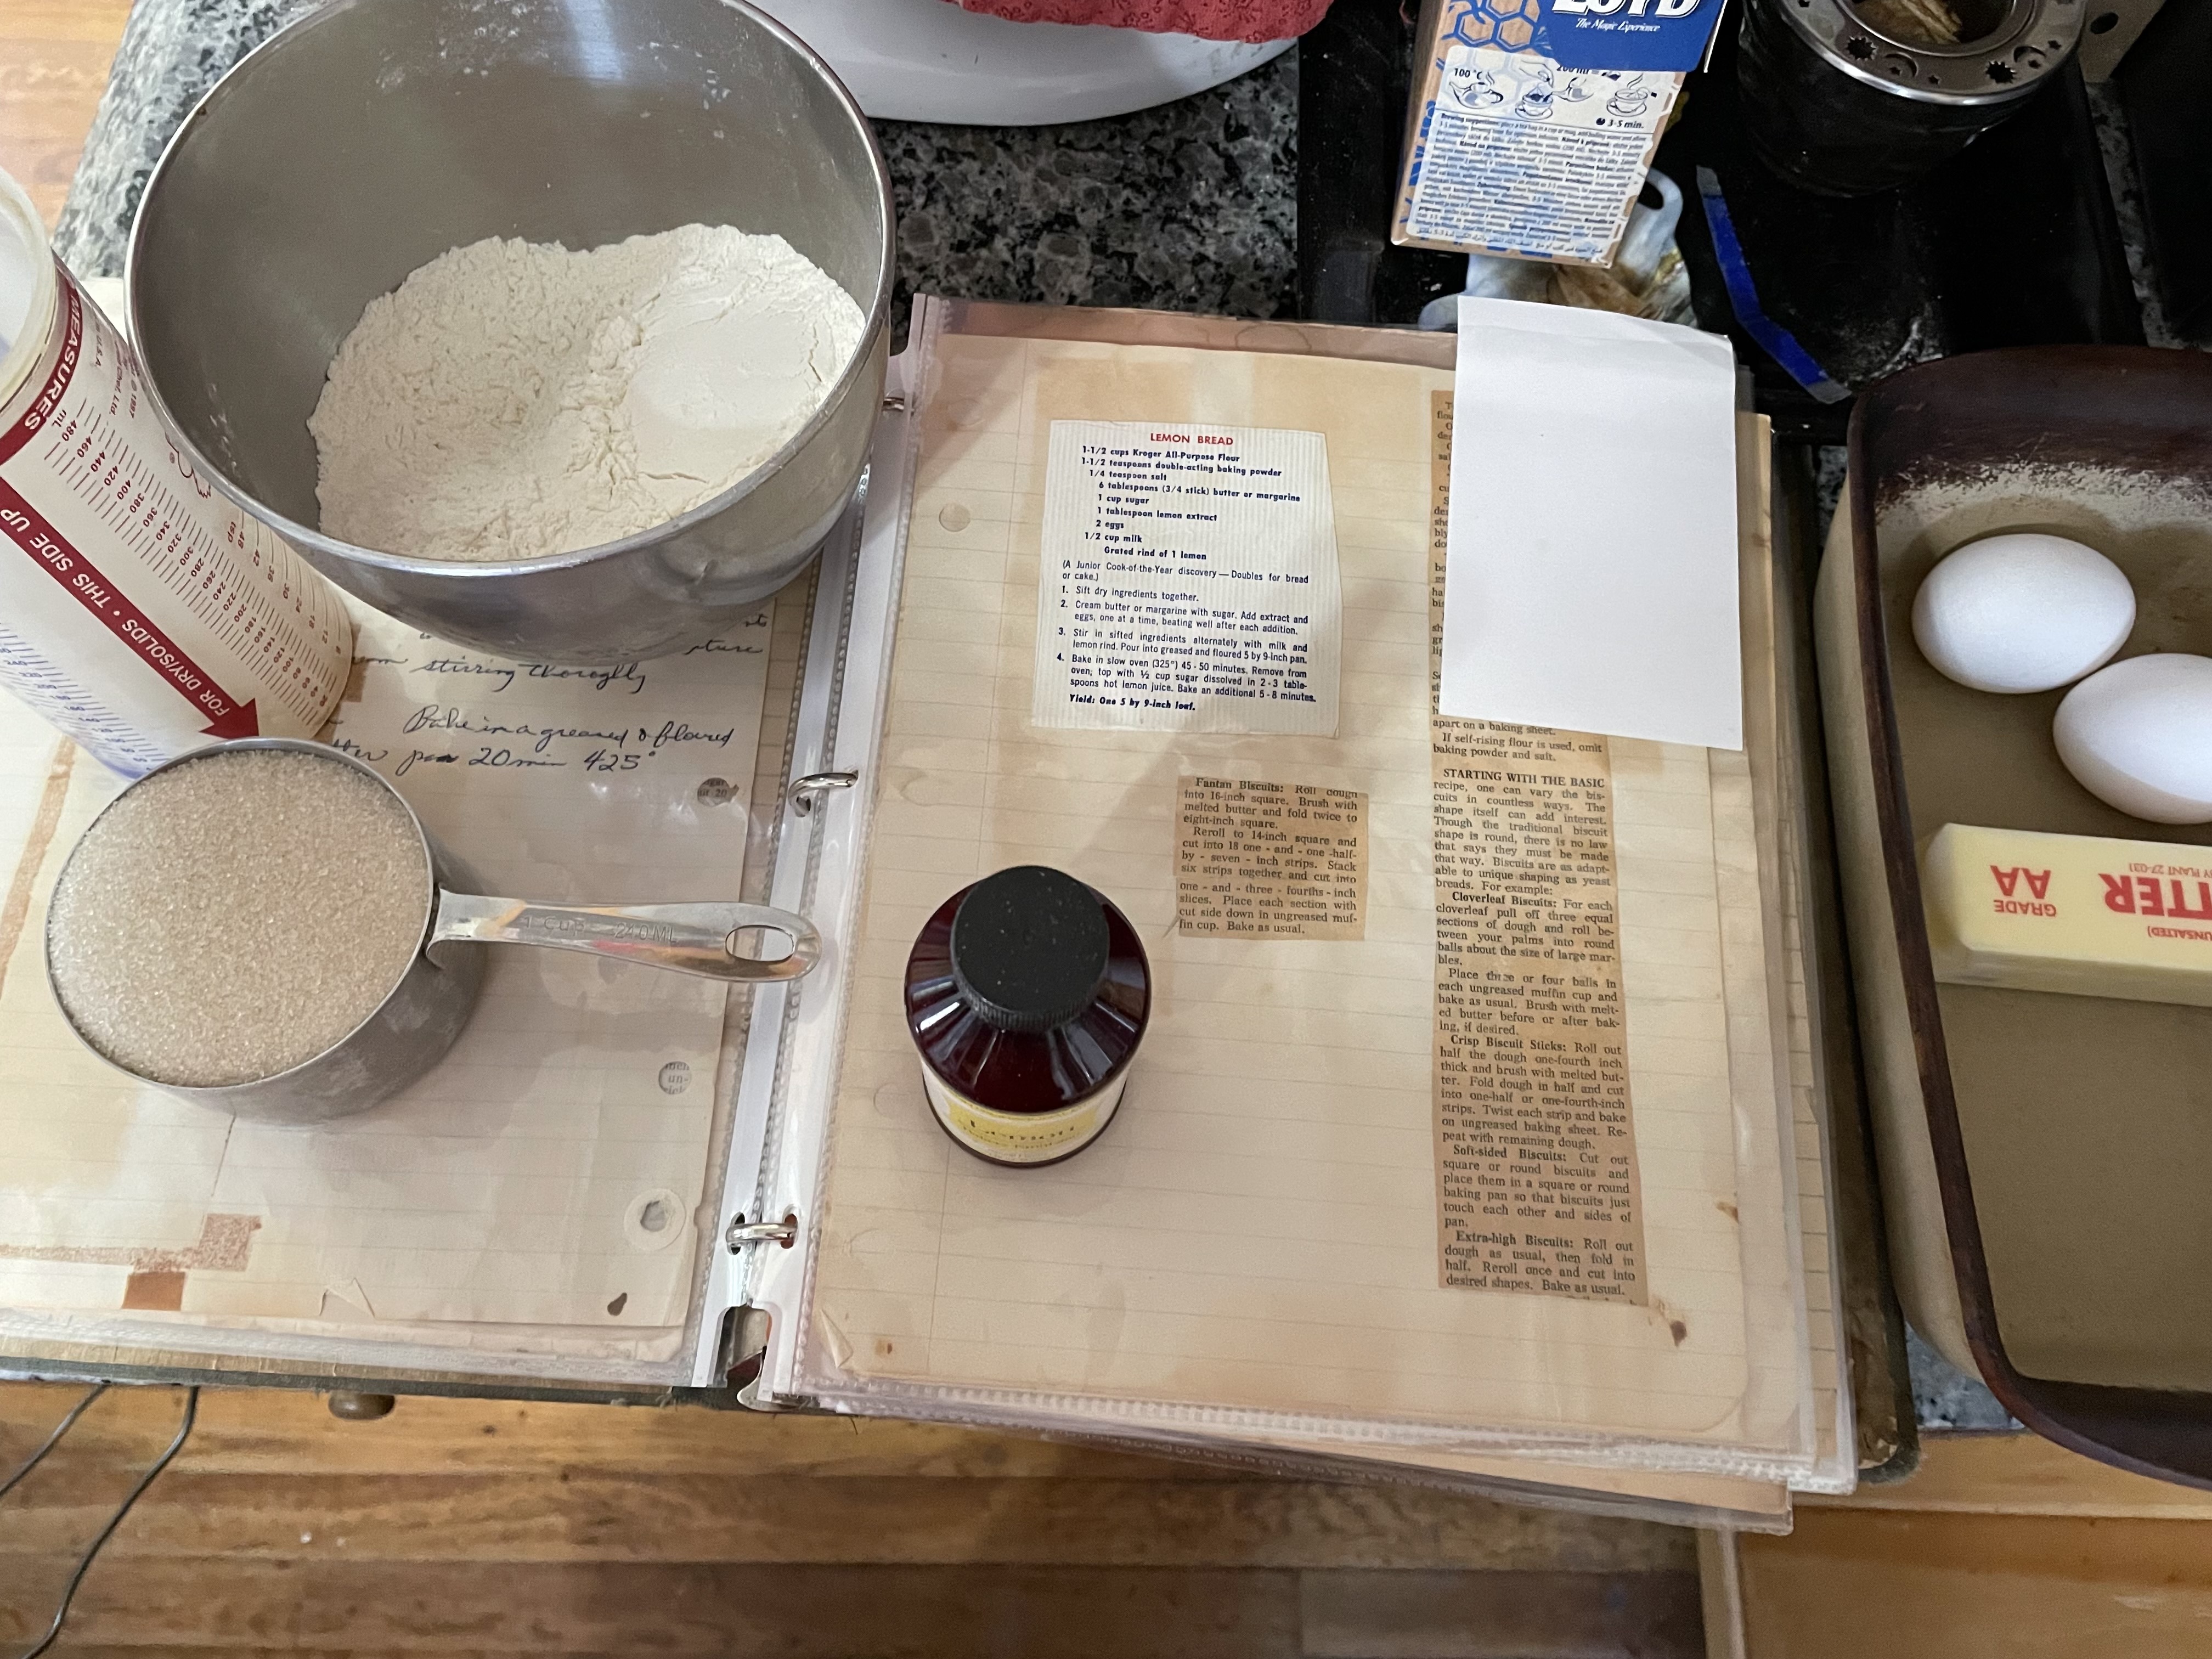
In the large bowl of the stand mixer thoroughly mix 1 1/2 cups flour, sugar, salt, and undissolved yeast.
Combine milk and water and butter in a Pyrex measuring cup and microwave for about 1 1/2 minutes until the temperature is between 120 and 130 degrees F. Butter does not have to melt. Gradually add this to the dry ingredients and beat 2 minutes at medium speed, scraping bowl occasionally. Add 1/2 cup more flour and beat at high speed for 2 minutes. Add additional flour to make a soft dough. Knead until smooth and elastic, about 5 minutes. I use the bread hook of the mixer. Put in greased bowl, turing to grease the top. Cover and let rise in warm place for about 15 minutes.
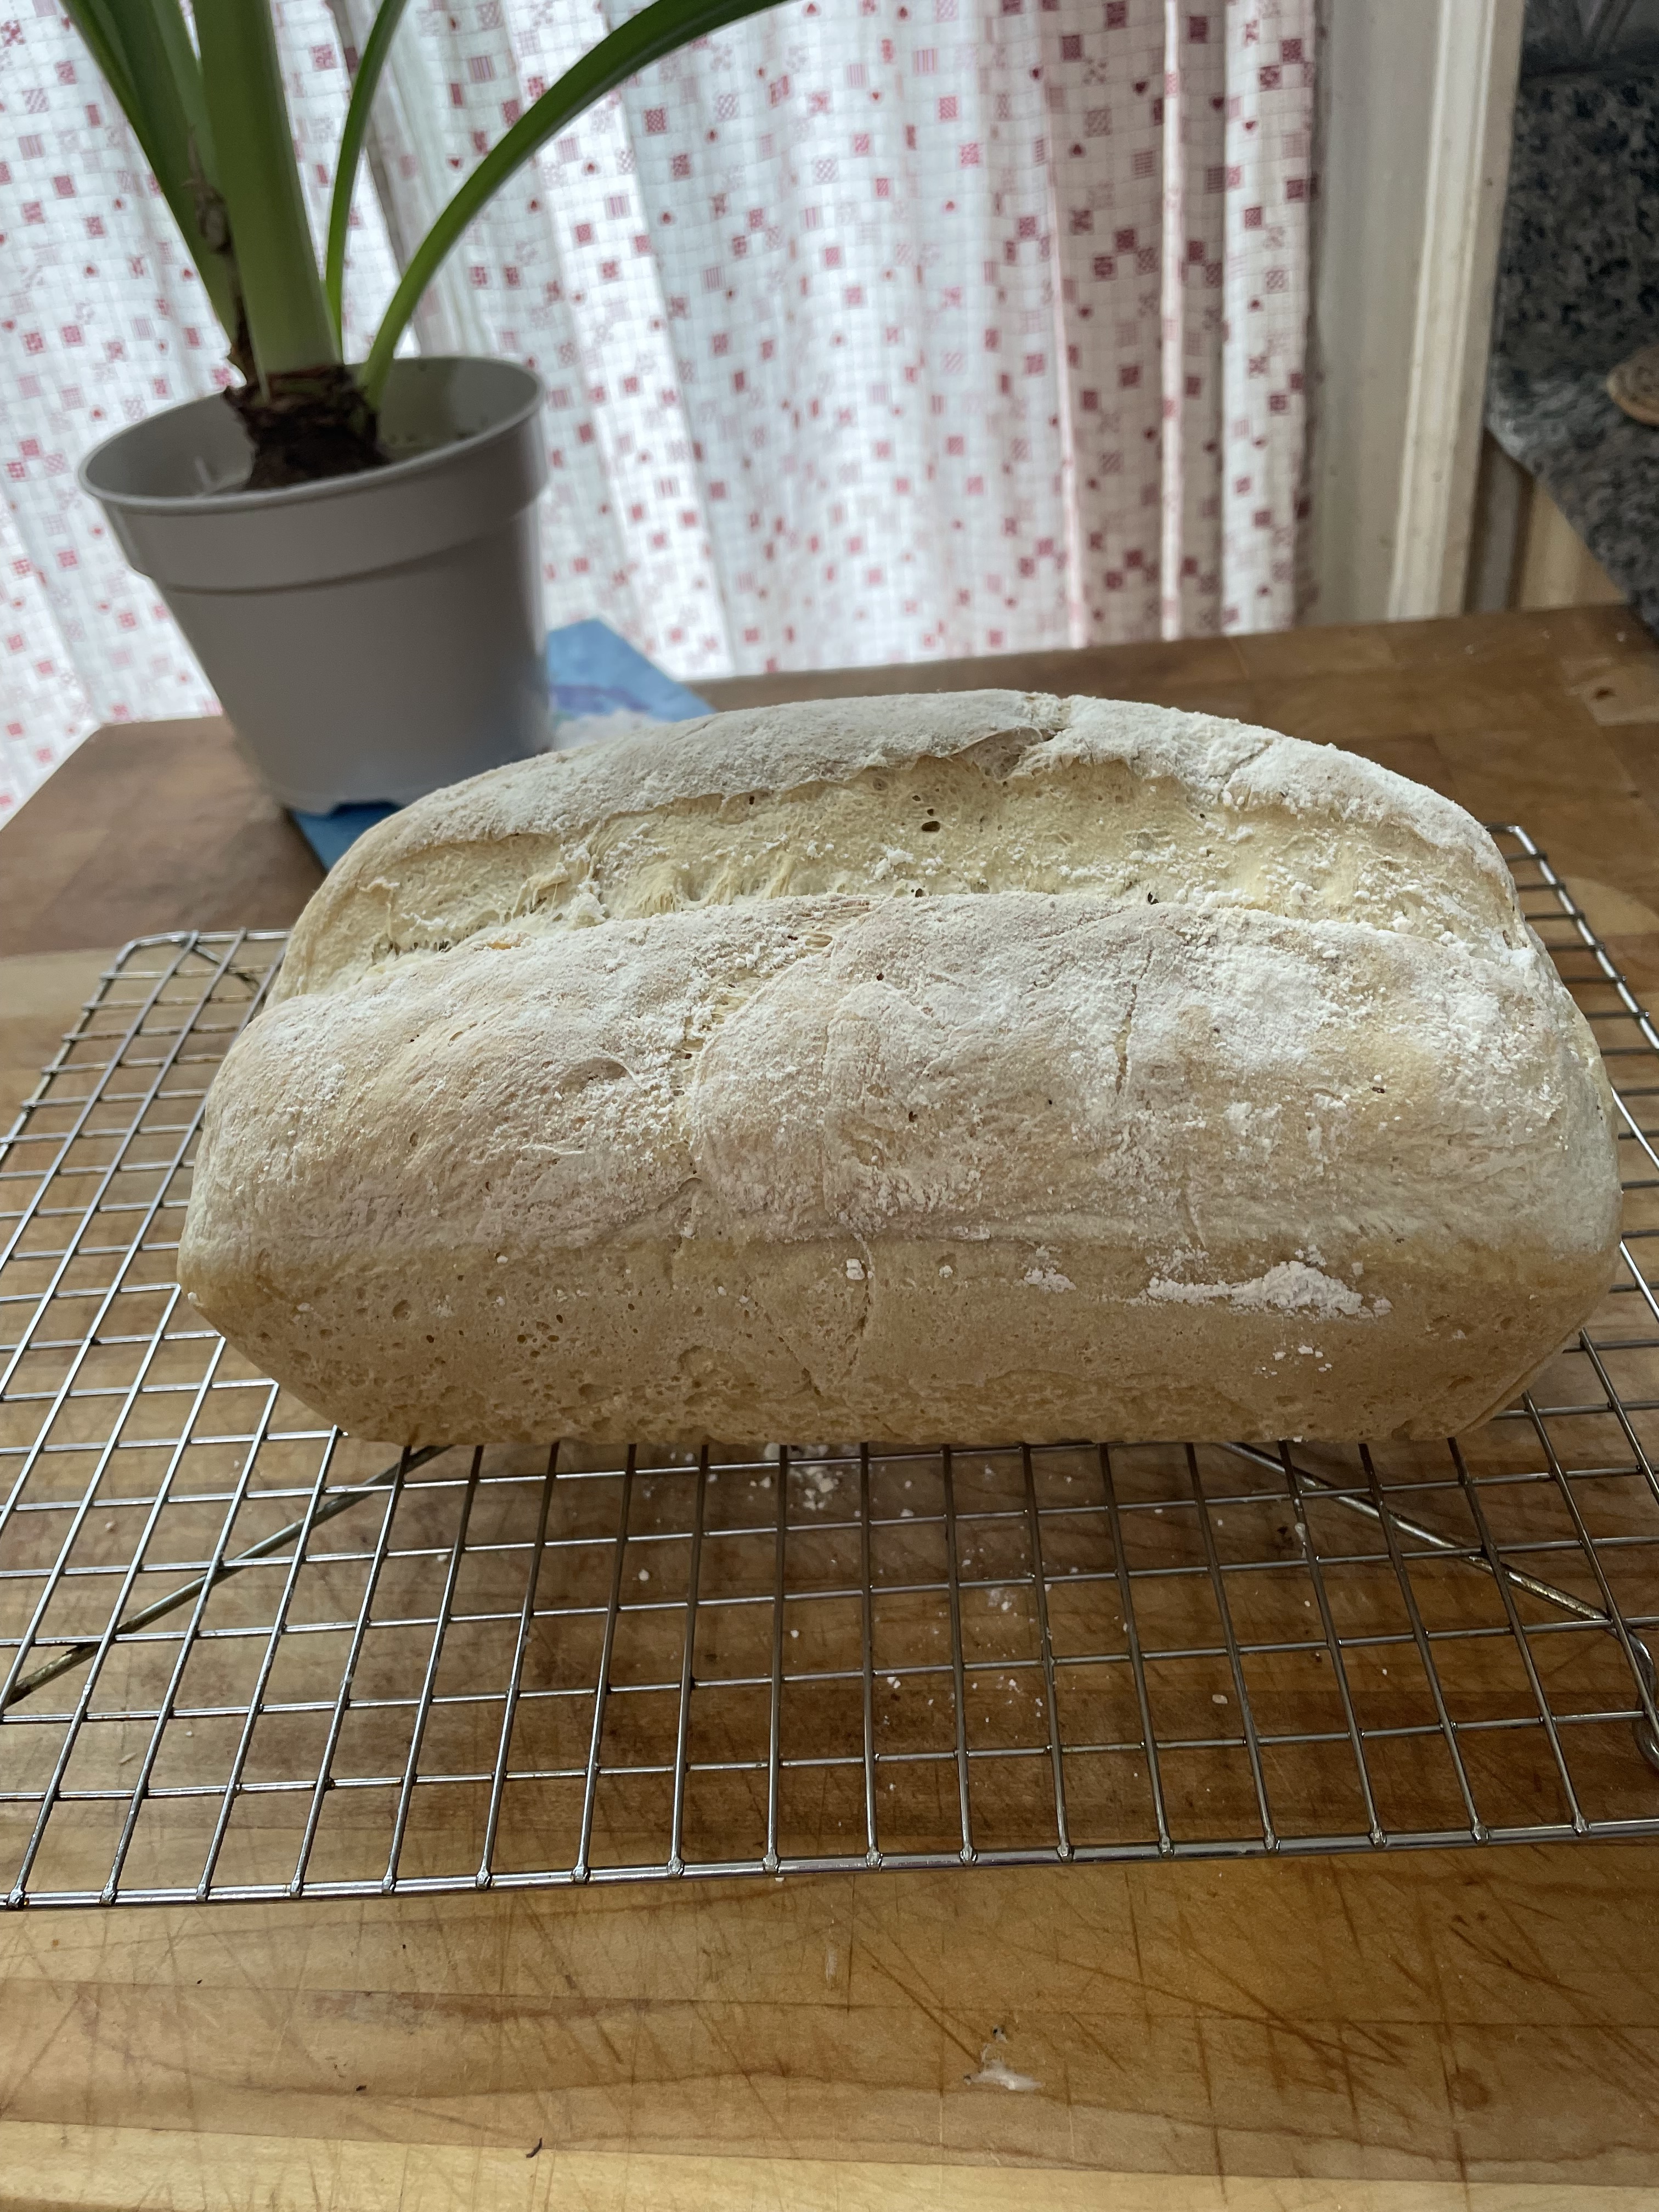
Turn onto lightly floured board and shape into 24 rolls. Place in greased pan and let rise, free from draft, for 15 minutes. Bake at 425 degrees F for about 12 minutes until done.

Notes:
- In my haste I believe I used only one packet of yeast. Actually, I used 2 1/2 teaspoons of Fleischmann’s Bread Machine Instant Yeast. I have since made the recipe again and used the proper amount of yeast and they do rise a bit more.
- Also, the instructions for the first rising say to put the bowl in a pan of warm water. I have never done this, ever.
- I use the microwave for heating the liquids, one can use the stovetop. I always use a thermometer to test the temperature.
- I use the same mixer bowl as the greased bowl by moving the dough to one side, brushing the pan with oil (or cooking spray), rotating the bread back to the other side and adding more oil. Holding on the ball of bread dough and swirling in the bowl makes sure it is oiled all over. Granddaughter enjoyed doing that bit.
- I don’t remember why I had brushed the rolls with egg wash before the second rise after shaping. That does not make sense. I wonder if I let both pans have their second rise and then brushed with egg wash right before the first pan went into the oven and the larger pan go into the fridge? I generally don’t use egg wash anyway. Odd!
We arrived on-time to family in New Jersey with our rolls, Hubby’s stuffing, and “the best ever chocolate cake you have ever eaten in your life”! Step-daughter renamed the Best-Ever Chocolate Cake that I have been making since my childhood.
Happy belated Thanksgiving to all, and Happy Holidays and Merry Christmas!