Oatmeal Cake with Broiled Frosting

I was thinking that I could make one dessert for the week and that should satisfy my sweet tooth and love of baking. Well, that might be the case for reasonable people who don’t eat half a pan of brownies in one sitting or cut nibble size pieces from cake as one walks through the kitchen. I am not necessarily one of those reasonable people all the time. But here I am hoping that will work this time.

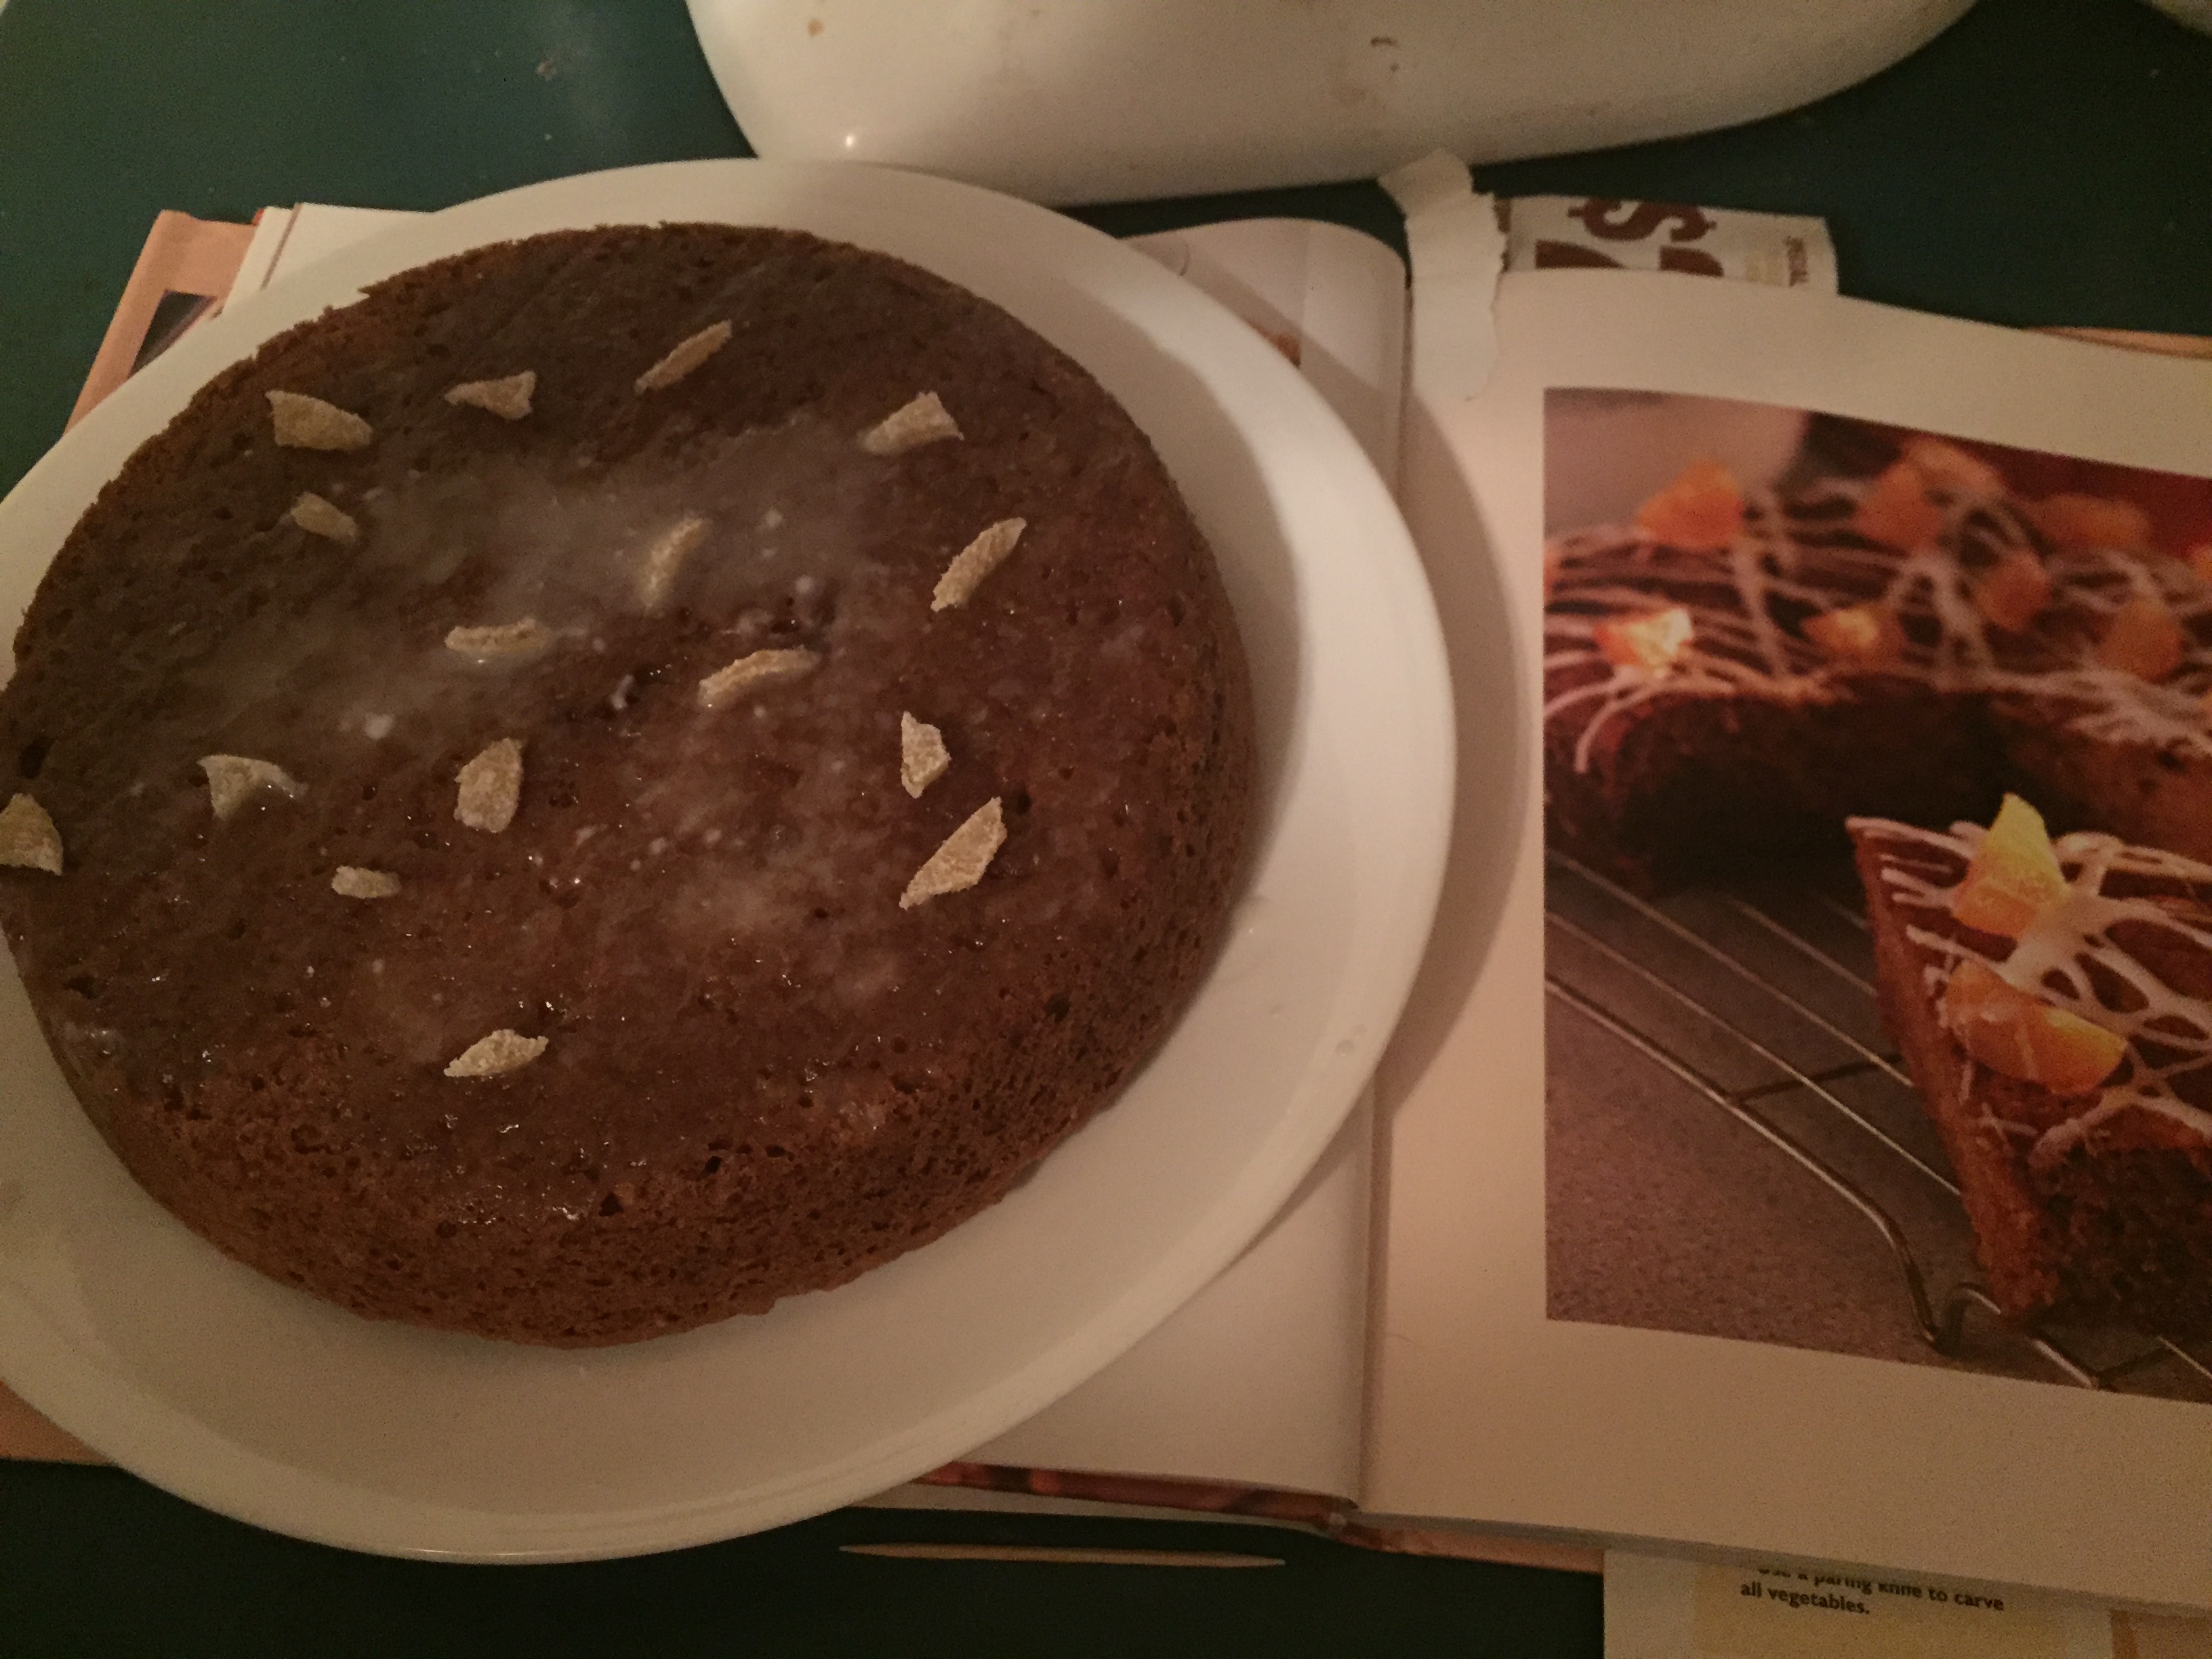
I have selected this recipe from a clipping in my Mom’s recipe notebook. this one appears to have been from a newspaper. It sounded interesting and relatively healthy, if cake can be healthy? And oatmeal is good for one, so here goes!

  • 1 1/2 cups boiling water
  • 1 cup quick-cooking oats
  • 1/2 cup butter
  • 1 cup brown sugar
  • 1 cup sugar (Oops! I accidentally omitted this!)
  • 2 eggs
  • 1 teaspoon baking soda
  • 1 teaspoon cinnamon
  • 1 teaspoon nutmeg (I added a shake of allspice as well as I was not sure if I grated enough nutmeg to equal one teaspoon.)
  • 1/2 teaspoon salt

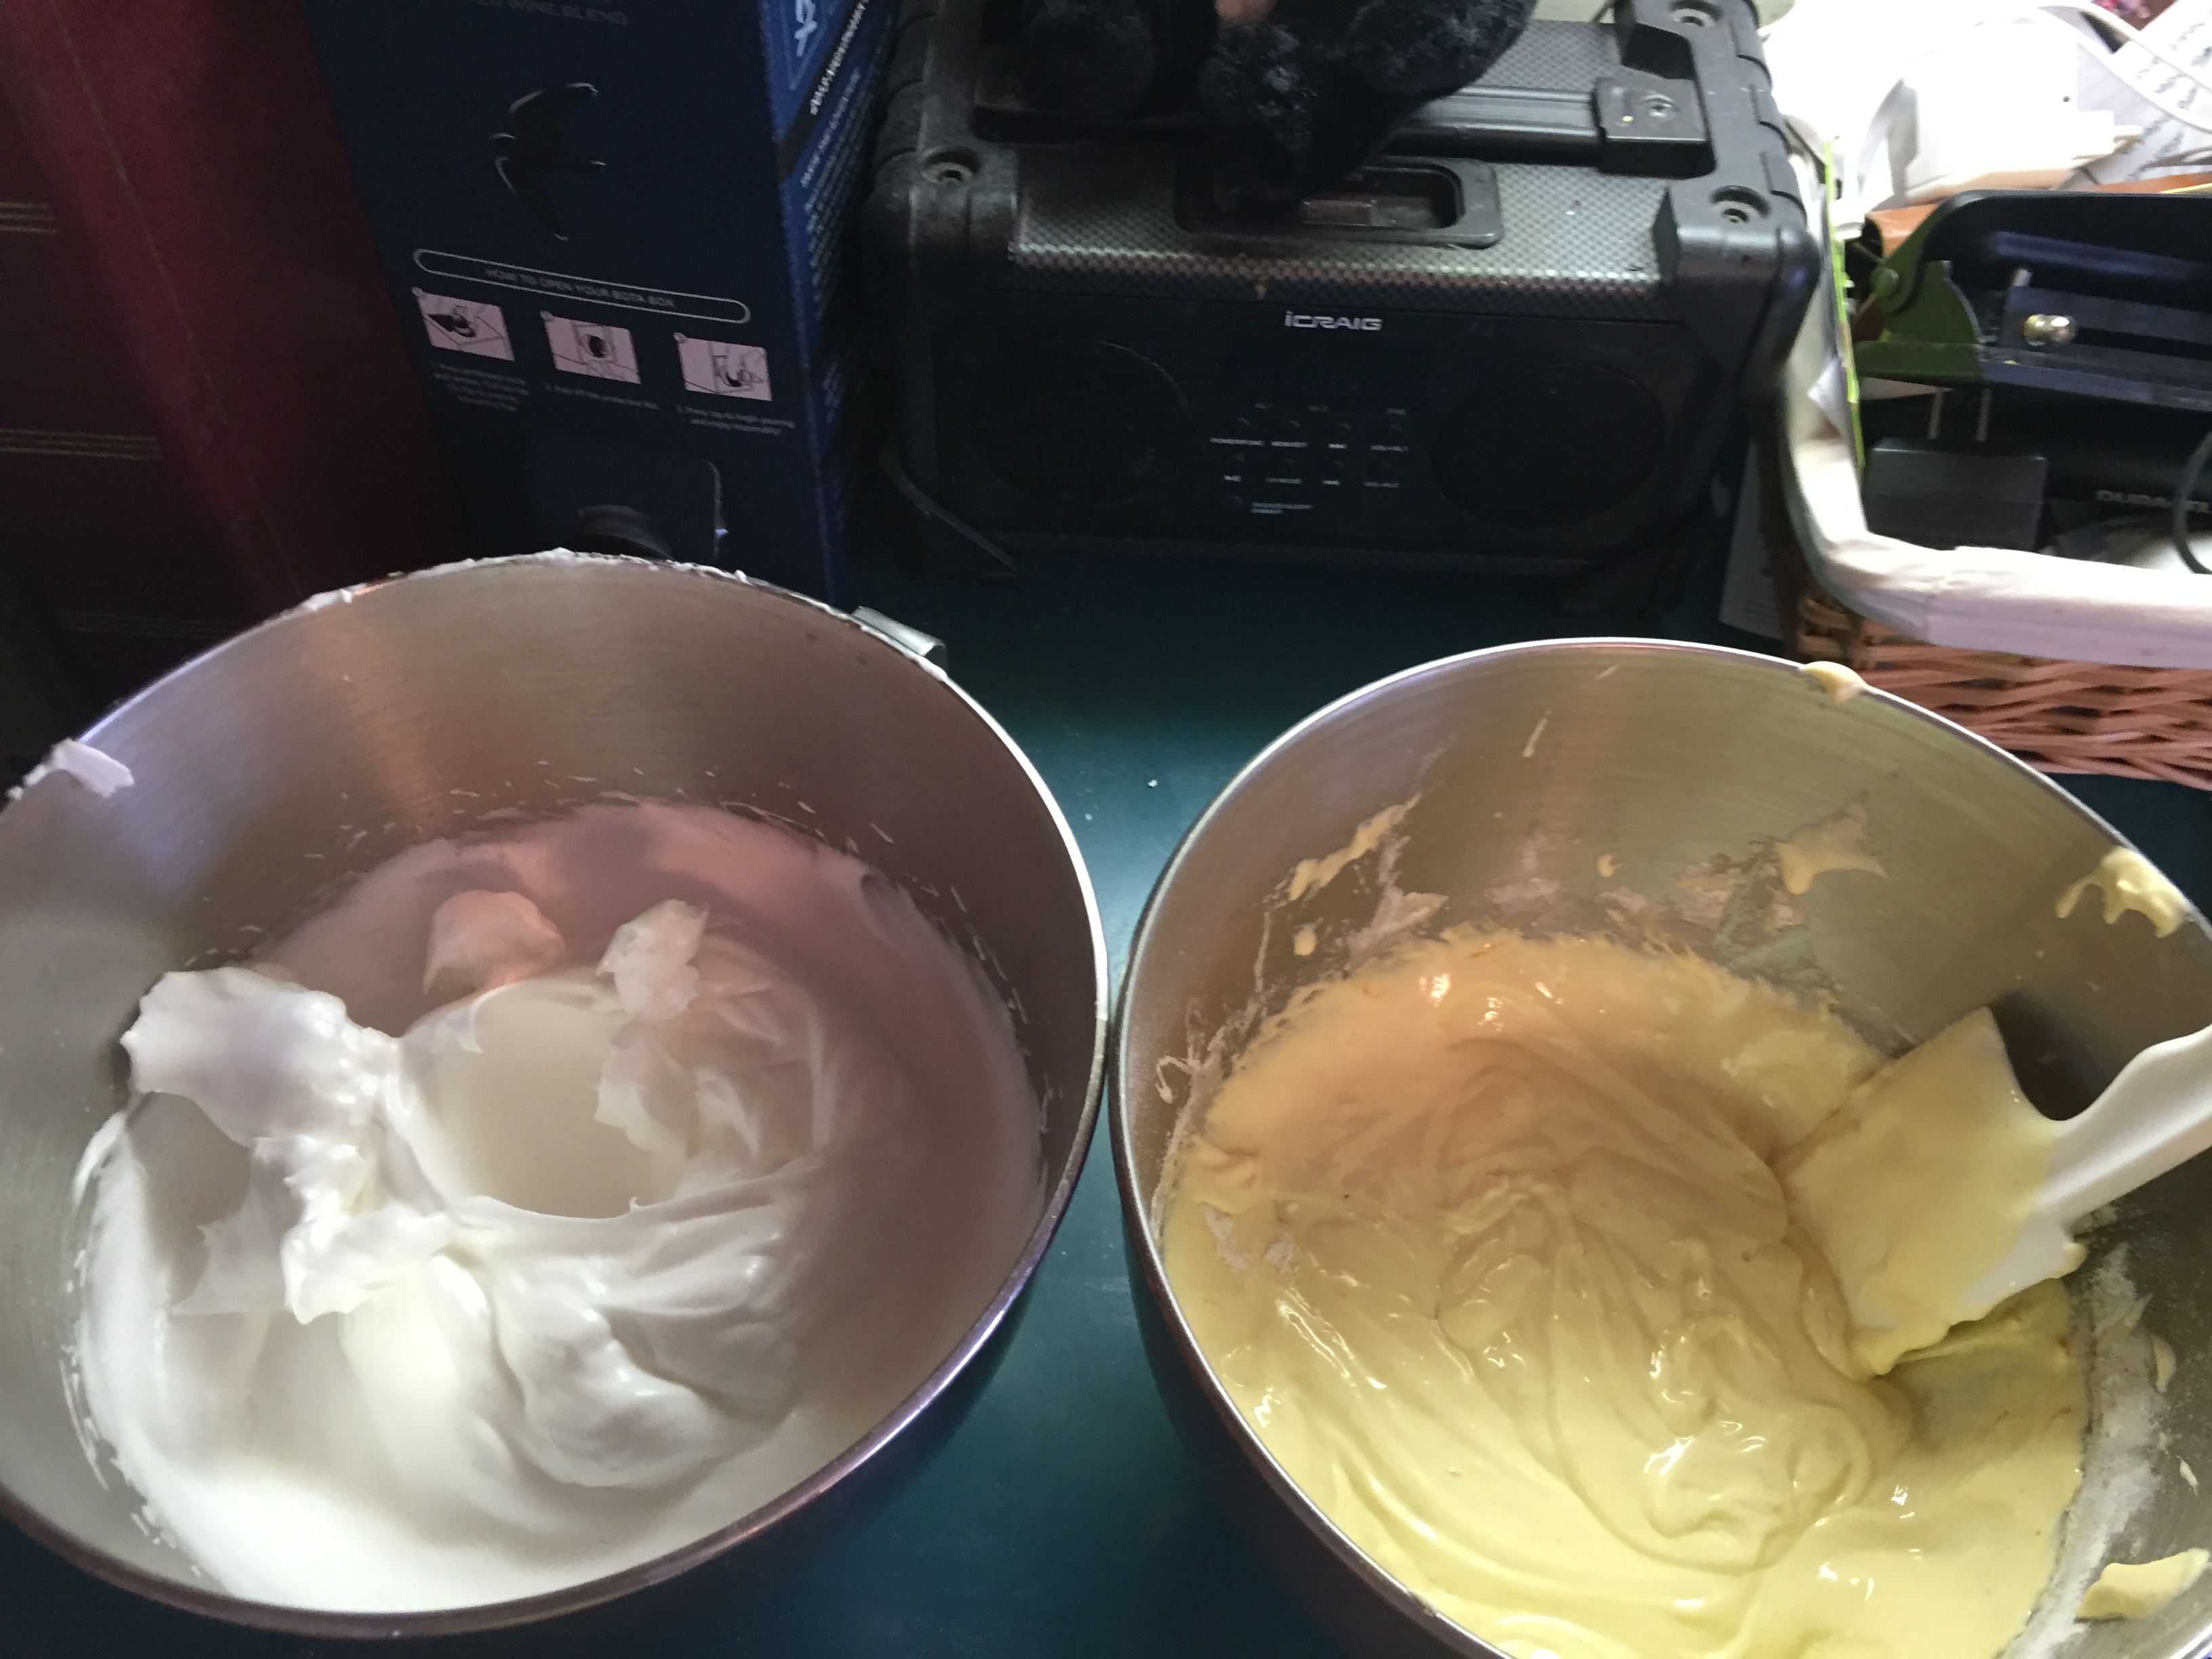
Pour boiling water over oats and mix well. Cream butter and sugar and then beat in eggs. I timed this for 3 minutes. Stir in soaked oatmeal. Sift or whisk the other dry ingredients together and add to batter. Pour this into a greased or buttered 13×9-inch pan and bake in 350 degrees F oven for 30-35 minutes. Cool in pan.

Make broiled topping.

  • 1/4 cup brown sugar
  • 1/2 cup sugar
  • 1 cup flaked coconut
  • 1 cup chopped nuts; I used walnuts but pecans would work here too.
  • 6 Tablespoons butter
  • 1/4 cup light cream
  • 1/4 teaspoon vanilla

Heat all the ingredients in sauce pan until bubbly. Pour over cake. Broil in oven for about 5 minutes. Technically one should stir in the vanilla after the concoction comes to bubbly.

When this came out of the oven, my first thought was “this didn’t rise like a cake.” Then I thought that maybe it is more like a bar cookie. After letting the very hot topping cool slightly we tasted this. It is good and not too sweet. It is more of a spice bar than cake in texture. I have “hidden” this pan in the bread box to prevent “drive by nibbling”!

Peanut Butter Hearts

I wanted to use this heart pan and thought a moldable fudge would be just the thing. There are several no-cook fudge recipes in my Mom’s recipe notebook. This one is from a booklet from the Woman’s Day magazine from December 1959. The magazine would have a The Collector’s Cook Book series of different categories that one could cut out of the magazine each month. This is #35 on candy.

There are handy hints printed throughout and the one that caught my attention was “For best results, don’t double any of the recipes or make substitutions of ingredients.” LOL might be the modern phrase to utter here!

I chose a Peanut Butter Fudge recipe and made only half the recipe. Halfway trough it occurred to me there is no chocolate so I added cocoa. When making half of a recipe it is important to do a mise en place otherwise one might put in the original amount of salt instead of half. These turned out a bit salty.

  • 1/2 cup peanut butter; the recipe calls for smooth but I used chunky.
  • 1/4 cup softened butter
  • 1/4 cup light corn syrup
  • 1 teaspoon vanilla (should have used 1/2 teas.)
  • 1/4 teaspoon salt; I accidently put in 1/2 teas. (To be fair, I was interrupted in my candy making by having to go spot the Hubby who was out on the roof fixing shingles and flashing that had come loose.)
  • 1/4 cup cocoa (my addition to substitute cocoa for some of the powdered sugar)
  • 1 3/4 cups powdered sugar

Mix the first five ingredients well. Then beat in the cocoa and powdered sugar. Knead until smooth. I then stuffed my fudge into the heart pan and set it in the refrigerator to chill and set before unmolding.

The hearts only used half the half recipe so I rolled the rest up in a log and stuck it in the freezer for later use and nibbling.

Super Bowl “junk food” and Weight Loss

Part A: food

So I wandered around the library again and checked out 6 books; four of them were on food and cooking. So I made chili. I made this recipe because it has cocoa as an ingredient and I thought that was interesting. I read the recipe, jumped up from the sofa and went into the kitchen to cook. I had all the ingredients in the pantry. I rarely make chili the same way twice. I vary up the beans, or meat, and who ever heard of measuring spices!

  • Meat, one pound ground beef, browned in a skillet
  • One onion, chopped, sauté in large skillet with some oil
  • Add 3 cloves garlic, minced, along with the following
  • 2 Tablespoons chili powder
  • 1 Tablespoon ground cumin
  • 1 ½ teaspoon allspice
  • 1 teaspoon ground cinnamon and stir for about 30 seconds
  • Now add 28-ounce can of crushed tomatoes with the juice
  • 2 cups pinto beans, drained
  • 2 ½ cups broth
  • 1 cup frozen corn
  • 1 Tablespoon cocoa powder

Cover the pot, simmer over low heat for 30-40 minutes, stirring occasionally.  This is adapted from the book Easy Soups from Scratch with Quick Breads to Match by Ivy Manning (2017).

This freezes well and we also served this for our Super Bowl Junk Food Meal as a dip for tortilla chips. There it is in the bowl in the middle. We also made two kind of wings, a yogurt dip and veggie sticks.

Part B: thoughts on Weight Loss Journey Month One

I made a lot of changes to my routine in January. So the 2 pounds lost cannot be attributed to just one factor. I’m hoping month two will keep the momentum going. At times I had lost 2 ½ pounds but one cannot trust the ½ pound. It was not consistent.

Two pounds in a month’s time seems like paltry results to me. It is not enough to be a natural motivator. If it had been five…maybe. February adds the addition of more mental effort to keep going. I must remind myself it is not just weight loss but health I seek. Here are the things added/deleted last month that are all factors in the two pound loss:

  • Circuit training twice a week: 20-30 minutes
  • One vegetarian/vegan main dish for dinner each week
  • 45-60 minute hikes each weekend outdoors with Hubby
  • Counting calories daily
  • Taking an Apple Cider Vinegar capsule and a Turmeric capsule daily
  • Weighing self-several times per week, if not daily
  • Dry January eliminating all alcohol

Going forward into February what might change? Depending on the weather hikes may not always be feasible. I will add back a drink or two occasionally. I’m not ready to give up yet, but would like not to feel so restricted in what I plan for meals and snacks. Baking seems entirely out of the question. There is a birthday in February. though; I might bake a cake!

May blessings to all of you.

Quinoa casserole: inspired by Betty

To be fair my 1978 edition of Betty Crocker’s Cookbook has no mention of quinoa anywhere in it. Not that quinoa was not known but it was not the superfood in popular cooking at that time. We older people struggled to learn how to pronounce the word.

I was actually looking for a recipe for sausages and rice that did not have tomatoes. We had been eating out at an Italian restaurant weekly and I wanted something differently seasoned. I also wanted something with vegetables. The following meal is inspired by Betty’s Rice and Corn Bake, page 109. That recipe is basically rice, corn, cheese, eggs, and milk. Mine is a little different.

  • 2/3rd pound chicken sausage link cut into 1 inch pieces and sauted. The sausage I had was flavored with spinach.
  • 2 cups frozen mixed vegetables; I thought about using only corn but I like color in my foods.
  • 4 cups cooked quinoa; I had thought about using brown rice; maybe next time.
  • 1 cup shredded cheddar cheese
  • 1/2 cup milk
  • 3 eggs
  • 3/4 tsp dry mustard
  • salt and pepper to taste
  • 1 tomato, sliced

Cook the quinoa as directed by the package. I cooked what I thought was the amount for 4 servings: 1 cup quinoa in 2 cups of water. Cook the sausages in a bit of oil. Heat oven to 350 F.

Now combine. First mix the vegetables, quinoa, and sausages in greased 2 quart casserole or baking pan. Sprinkle cheese on top. Combine eggs, milk, and seasonings. Pour this over the food in the pan. Place slices of tomato on top. Now bake for 40-45 minutes.

This made for a tasty and filling dinner. Hubby and I like to have “dinner in a bowl”. I deliberately arranged the tomato slices to make four servings. This was a lot of food and I wanted to insure two meals.

After thoughts: This is a lot of quinoa. I should have cooked 1/2 the amount. Actually I think brown rice may be a better choice for more appealing texture.

More chicken!

So now I am making Orange Chicken with Carrots and Chickpeas from that same 1991 Woman’s Day magazine. The food editor, this time, left out the carrots from the ingredient list! And since the liquids make this dish quite soup-y I am cutting down on the amount of chicken broth.

The chicken:

  • 3 chicken breasts
  • 2 tablespoons panko breadcrumbs
  • 2 tablespoons oil

Sprinkle breadcrumbs on the chicken, both sides. Cook in hot skillet with the oil for 6-8 minutes.

The vegetables:

  • 1 cup canned chickpeas; I used the leftovers from when I skillet-roasted a can of these with Middle Eastern spices. (great on top of salads!)
  • 1 cup shredded carrots; these are from one of those packages from the produce department; it’s all I had in the house.
  • 1 cup frozen peas; my addition; I plan to add more vegetables to everything we eat.

The liquids and seasonings:

  • 1 cup chicken broth; this is a decrease from the 3 1/4 cups called for.
  • 1 sprig fresh rosemary, leaves removed and minced roughly
  • salt and pepper; a dash of each

When the chicken have cooked for those few minutes add the vegetables to the skillet along with the liquid and seasonings. Cover and simmer for 30 minutes.

The finishing touches:

  • 3/4 cup orange juice whisked with 1/2 tablespoon cornstarch (original recipe called for one cup)
  • 1/2 can of mandarin oranges; again this is my addition

Remove chicken and vegetables from pan. Add the orange juice to the pan and bring to boiling. This will thicken into a sauce. I added the chicken and vegetables back to the pan along with the mandarin oranges. And kept this warm until Hubby came home from work. (I’ve been home from work for at least an hour; he has a longer commute.)

IMG_0550

This will serve as many people as chicken breasts used.


The Great Brownie Chase…

Back in 1999 I tried a bunch of brownie recipes on my teenagers and their friends. Over 6 months the winning brownie came out of a box. And it did not matter much which brand.

Well, I want to change that outcome so I am trying out brownie recipes on my coworkers. The biggest drawback is that brownies generally get rave reviews just for showing up and just for being chocolate.

For a two week trial so far, here is what I have done. I chose a Quick & Easy Fudge Brownies recipe from the back of a King Arthur flour bag. I clipped this and stuck it on my kitchen counter. I am not sure if I made this one before or a different KAF recipe. I have written about brownies twice before, here and here. But my endeavor here is to find a go-to recipe that gets high ratings from a variety of people. And because I am a social scientist I have a three point Likert scale for tasters to rate each brownie.

I virtually made the same recipe for both weeks. There are technical differences but I think this makes a big difference. Here is the basic recipe:

  • 1 cup unbleached all-purpose flour
  • 3/4 cup unsweetened cocoa powder
  • 1 3/4 cups sugar
  • 1/ teaspoon salt
  • 1/4 teaspoon baking powder
  • 1 teaspoon espresso powder
  • 3 large eggs
  • 1/2 cup butter, melted
  • 1/4 cup vegetable oil
  • 2 teaspoons vanilla extract

KAF’s instructions are to put the ingredients in a large bowl in the order listed and beat until the mixture is smooth. Bake in a 913-inch pan for 25-30 minutes at 375 F.

Being the baker that I am I did not exactly follow the above, but almost. I accidentally used Hershey’s Special Dark Cocoa in the first batch. Also in the first batch, I used 4 egg whites (because I had these in need of use) and one whole egg. I used Whole Wheat Pastry Flour both weeks. The second week I used regular cocoa powder and three whole eggs. I melted the butter in the bowl, sifted the dry ingredients together, then added all the ingredients and mixed until smooth.

I had my coworkers rate these on three aspects: appearance, texture, and taste. I am sure there is some skewing of the results based on the time between samples. But, too bad!

The first was the Special Dark cocoa brownies. The sample size was n=12. The second week sample size was n=8. And the winner is…

I think these results show that Special Dark Cocoa should not be used in brownies. It is most likely best suited for dark and rich chocolate cakes. The medical student at work with a discerning palette picked up on the difference in moistness between the two which is the result of the egg whites vs. whole eggs. There was another coworker who verbally gave me her results so the second week is really a sample of 9. Three people who compared the two weeks all said the second week was better.

So don’t mess with the cocoa or the eggs! Whole wheat pastry flour works just as well as the all-purpose flour called for in the recipe. So we could say this is a healthy brownie, LOL! This is a simple enough recipe and makes a 9 x 13 pan so it could easily be a go-to recipe. Maybe I’ll try out recipes using baking chocolate next.


Ginger Cake

We are expecting a blizzard. I’ve already been given a snow day from work. Hubby will work from home so he’ll be no fun at all!

My kitchen is a mess; I wish I had a housekeeper every other week to do the baths, the kitchen, and the floors. Would be nice; not going to happen! Meanwhile it is good that we are not allergic to dust or pet hair. We will do a super cleaning when the grand-kids are coming down.

Dog doesn’t like his standard dog food anymore. He used to like it just fine. We buy his dog food at the pet store. It is for the mature dog. We made the mistake once of buying a specialty human grade dog food. Now he’s trying to hold out for the good stuff!

So after taking our cable box back to the cable store and coming home with a new one (but less monthly cost!) we spent three hours setting this thing up. And we now only have 45 channels but we don’t miss many of the previous 300+ channels we had. So we found a few things to watch and are being careful not to binge watch too much because when all the episodes are gone, they’re gone. Then what will we watch?

But that is not what this essay is about.

There was plenty of time during the rest of the weekend to putter around the kitchen but I did not. It is cold out there, my kitchen, and I do have heat in my house. I heated water for tea, took a beautiful teacup down from the shelf above the sink, and poured in the water. Hubby heard the fine porcelain crack from across the room and then the water came pouring out. Oh no! So learning my lesson, today I have warmed the teacup before making the tea. And a nice cup of hot tea with lemon goes very nicely with ginger cake.

By the time dinner time on Sunday rolled around and Hubby was fixing twice baked potatoes and in charge of cooking the salmon, I needed something to do. I flipped through one of my UK published baking books and found this ginger cake that I had been wanting to bake. It is entitled Preserved Ginger Cake but I did not have a jar of preserved ginger. I have crystallized ginger and since that is for the garnish I figured it would be just fine.

This is baked in an 8 inch round pan, not a 7-inch square pan that the recipe called for. Be sure not to use a 9 inch pan or it will be as flat as a pancake. Prepare the pan with parchment paper and cooking spray. Preheat oven to 325 F.

  • 4 ounces butter
  • 1 1/2 cups self-rising flour; make this by using 1 1/2 teaspoon baking powder per 1 cup flour
  • 1 tablespoon ground ginger
  • 1 teaspoon ground cinnamon
  • 1/2 teaspoon baking soda
  • 1/2 cup brown sugar
  • 1 teaspoon lemon zest
  • 2 eggs
  • 1 1/2 tablespoons corn syrup
  • 1 1/2 tablespoons milk; I used half-and-half.

Whisk the dry ingredients together in the mixer bowl. Soften the butter for 30 seconds in the microwave. Mix butter with the dry ingredients. Put the eggs, corn syrup, and milk in a separate bowl and whisk together. Mix everything together until smooth. Spread in the prepared pan. Bake 45 minutes. Let cool a little and then turn out onto plate.

For the topping I used 1/4 cup powdered sugar and a tablespoon of lemon juice to make a small amount of glaze. I let the cake cool some but not completely. I poured on the glaze and then snipped a piece of crystallized ginger around the top. Warm ginger cake was a nice treat.

20170312_231229437_iOS
Not as pretty as the picture in the book.

Simple Custard with a little Extra

Way back when I had children in my house I made the Baked Custard recipe from my 1978 Betty Crocker’s Cookbook. This became the go to custard to make, although years have gone by without me making it. I was wanting to make a light dessert because we had been overeating and feeling too full and lethargic. I also had many, many eggs in the house and had been asked by my son to have the ingredients necessary for Creme Brulee for when he visits soon. He’s bringing a friend along!

This recipe for custard is nice because it can be cut by 1/3 super simply. Why, might you ask? The recipe makes six custard cups. For some reason I only wanted to make four, most likely because I only had 4 Pyrex custard cups!

Here are the ingredients for 4 custards:

  • 2 eggs, slightly beaten
  • 1/4 cup sugar
  • dash of salt
  • 3/4 teaspoon vanilla
  • 1 2/3 cups milk, scalded

Don’t be scared away by scalded milk. I put the milk (you can use half-and half also) in a glass measuring cup/bowl and nuked it in the microwave for one minute. That’s scalded enough for me.

In medium bowl whisk together the first four ingredients. Stir or whisk in the milk gradually. Pour into the custard cups. Being in the autumn mood, I put a tablespoon of pumpkin flavored chips in the bottom of each cup before pouring. I am not sure what outcome I was expecting but I was pleasantly surprised. I forgot to sprinkle nutmeg on the tops but this worked out well too.

The custard is baked in a bain marie. I find that my four larger custard cups fit nicely in a 9 x  13 inch baking pan. Pour boiling water into the pan to within an inch of the top of the custard cups. Bake for 45 minutes until a knife inserted in the center comes out clean.

(Silly me, I had the weirdest notion that I could bake the dessert while supper was cooking, entirely forgetting that pizza was to be baked for supper! Supper was a little later than planned that evening.)

20160927_230716974_ios

The pumpkin-flavored chips floated to the top and made a nice little crust. They also made a bit of goo on the bottom. Very tasty and pleasing textures in every bite.

It’s a Sponge!

“When the occasion calls for a light, sweet dessert, this delicious orange sponge cake is a perfect choice. Stiffly beaten eggs–first the whites, then the yolks–are the secret of its light, airy texture.”

Thus begins the intro to “the best-ever orange sponge cake” according to the McCall’s Cooking School in its 1984 recipe cards series. I have several of these cards (pages) because they came in the mail as promotional material with the hope that one would subscribe and receive a packet of recipes monthly eventually becoming an entire cookbook. Well, I just saved the pages that I got for free!

I decided to make the cake. I do not do well making sponge or chiffon cakes. I like butter cakes and do pretty good with them. In my past efforts to make sponge cakes they turn out like hockey pucks and inedible. Perhaps my baking skills have improved. I am counting on it as I begin this bake. I figure that a sponge has no butter and actually has less sugar than my usual butter cakes so that is a good thing.

In baking I may change up flavorings but generally follow the instructions exactly. Baking is a science, flavoring is the art.

  • 6 egg whites, brought to room temperature
  • 1 3/4 cups sifted all-purpose flour, sift before measuring
  • 1/4 teaspoon salt
  • 1 1/2 cups granulated sugar
  • 6 egg yolks
  • 6 tablespoons fresh orange juice (silly me, I only measured out 3!)
  • 1 tablespoon freshly grated orange peel

In large bowl of electric mixer beat the egg whites until foamy then gradually beat in 1/2 cup of the sugar, 2 tablespoons at a time, beating well after each addition. Beat until stiff peaks form. Preheat oven to 350 F.

Sift the sifted flour with the salt onto a plate or sheet of waxed paper; set aside.

In another bowl beat the egg yolks until very thick and lemon-colored, no less than 3 minutes. Do not underbeat. Gradually beat in remaining 1 cup of sugar and continue beating until smooth. At low speed alternately blend flour mixture and orange juice into the egg yolk mixture, starting and ending with the flour. Add orange peel.

Sponge and miracle whip potato salad 009

Now gently fold yolk mixture into egg whites. I never know if I have adequately folded this together. I did not want to deflate the egg whites but did not want the batter to be unblended.


Prepare the pan. The instructions are to use an ungreased 9 3/4 by 4 inch kugelhopf pan. Or a tube pan without removable bottom. So I use a bundt pan. If desired, one can spray the pan with cooking spray but after baking do not invert over bottle to let cool. Just put it on a rack to cool completely and then remove from pan by running a spatula around the edge of the cake.

Dust with powdered sugar, cut and serve. Success is mine! It is light and airy and has a light orange taste. Hubby says “moist, orangey”, at first he said “lemony” so perhaps the other 3 tablespoons of orange juice is needed. But he likes it, and so do I.

finish sponge 002


Chicken Piccata

chicken piccata 017

Chicken thighs were brought up from the freezer to the fridge to thaw for supper. I went to my newly organized recipe notebook looking for a coffee marinade (I had a bit of leftover coffee from the morning) and came across a page I had saved from a 1991 Woman’s Day magazine on how to prepare chicken multiple ways using a basic starter of chicken thighs or breasts.chicken piccata 001 
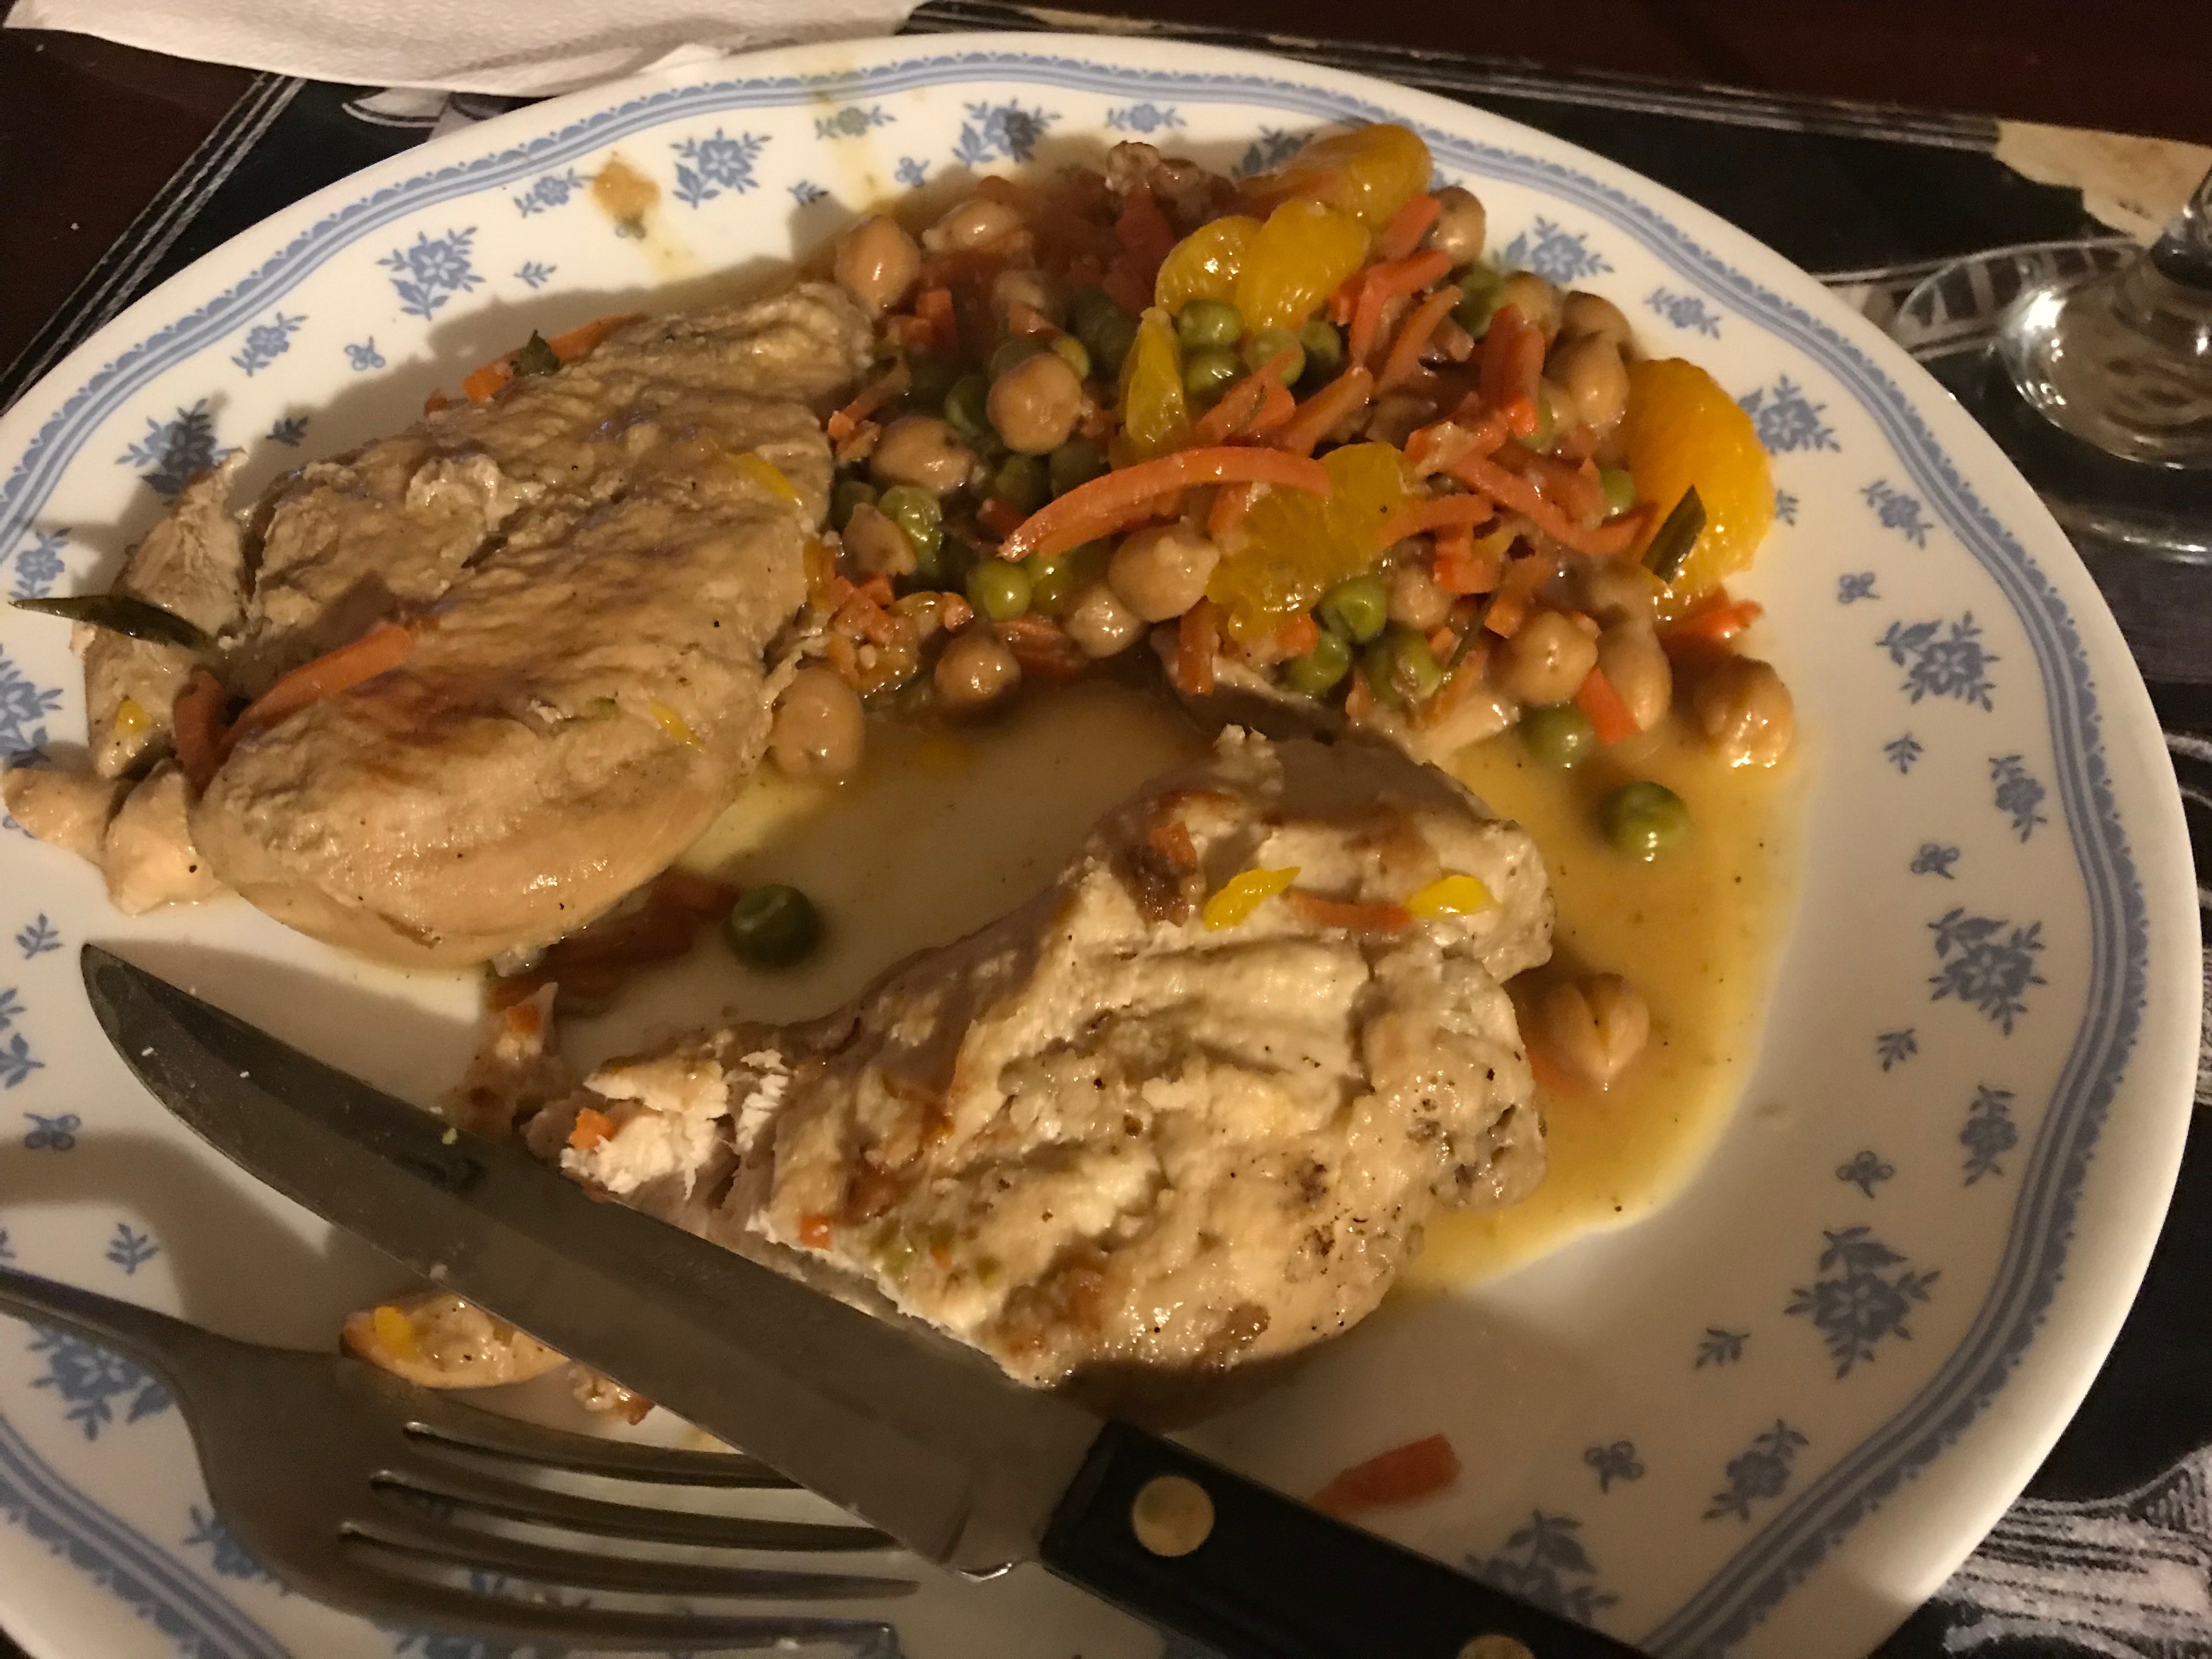
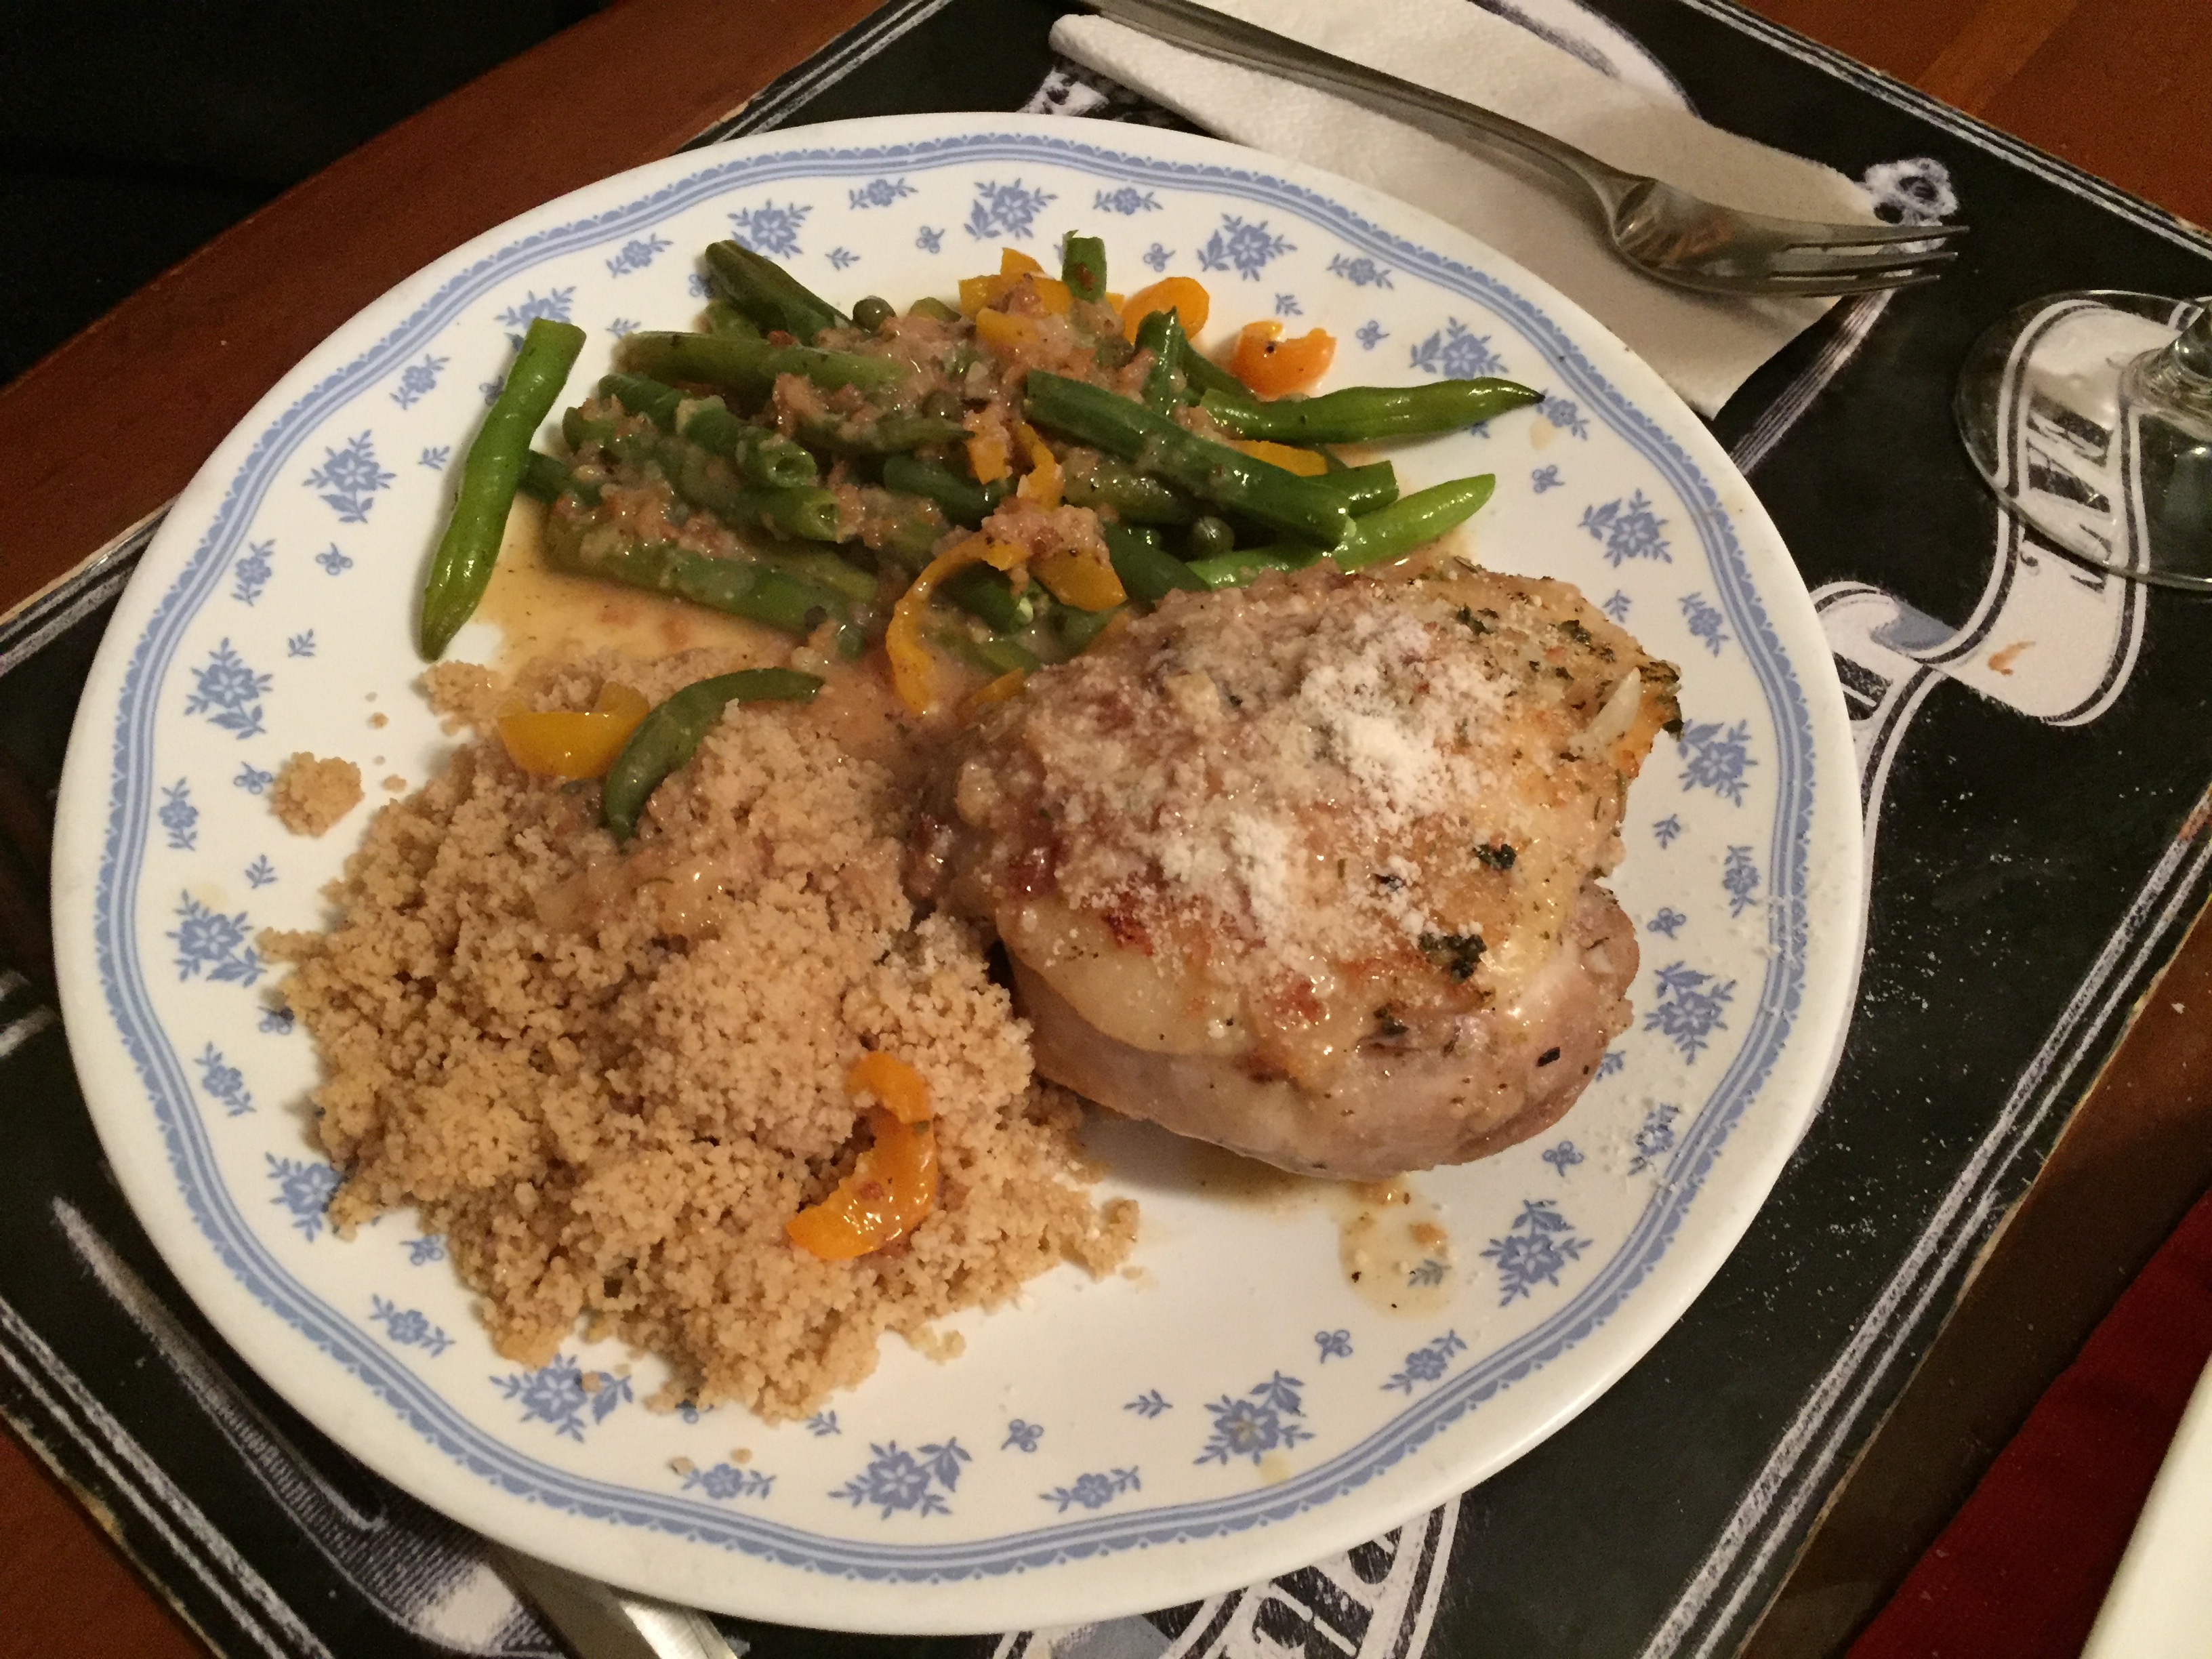
Add a different sauce and different vegetables and you have different dinners all week. I looked at it pretty thoroughly and found that I had all the ingredients for “chicken picante with green beans“. Even the white wine. Reading through the recipe I had the unique thought that I could actually follow this recipe exactly. Well, not exactly exactly. I would use fresh green beans instead of frozen, and I had a few mini orange peppers instead of a red bell pepper. It seemed exact enough to me!

This handy dandy recipe chart has four parts to each dish: the chicken, the vegetables, the liquid, and the finishing touch.

The first is of course the chicken. One trims the visible fat (I do a half-hearted effort at this) and coat the pieces with seasoned bread crumbs. Well, I have a package of Panko bread crumbs and that will have to do. The recipe calls for 1 1/2 pounds of chicken parts. I have thawed a 3 pound package so that will have to do as well. I’ll plan for leftovers this way. I put my breadcrumbs in a ziploc bag to toss with the chicken, one piece at a time.

  • 6 large chicken thighs, thawed. These could have the skins removed for a more calorie conscious meal.
  • 4 tablespoons Panko bread crumbs
  • 2 tablespoons canola oil for the skillet

Heat the oil in a large skillet with sides and cook the crumb coated chicken pieces for about 6-8 minutes, turning once.

Meanwhile prepare the vegetables:chicken piccata 006

  • 4 mini peppers or a red bell pepper, diced (any pepper or combination of colorful peppers would work here, red, orange or yellow will provide a nice contrast to the green beans)
  • fresh green beans, trimmed, about a pound (or 10 ounces frozen green beans)

chicken piccata 008Prepare the liquid:

  • 1 cup white wine
  • 2 garlic cloves, minced
  • 1/2 teaspoon Italian seasoning
  • 1 tablespoon drained capers
  • 1/2 teaspoon each salt and pepper
  • 2 tablespoons white wine vinegar

When the chicken is nicely browned, add the vegetables and the liquid to the pan, cover and let simmer for 30 minutes.

The finishing touch is to sprinkle with Romano cheese.

chicken piccata 016

I make a bowl of couscous to serve with this. I set the table and wait for hubby to arrive.  I remove the chicken and vegetables to platter and plates. I sprinkle about 2 tablespoons of flour into the sauce in the pan and bring it to a boil to thicken. This takes just a few minutes. We sit down to a nice meal (after saying the blessing). We are having a nice conversation sitting at the table for our meal when he informs me this is a Piccata, not a picante, when I tell him about the recipe. A piccata is a white wine sauce with capers. Hubby used to work in high end restaurants and has hobnobbed with real chefs so he should know. Oh, I’m sure I have had this dish at restaurants before but did not connect the ingredients in this recipe to the misnomer by the magazine.

I wonder if it was just an oversight by the food editor?  I know of Picante as a Mexican hot sauce. I was just going by the name given by the Woman’s Day magazine people. Points scored by hubby for his culinary knowledge. I am not surprised. This is the man who lent me his copy of Gastronomique and The Professional Chef when we started dating! He used to quiz me on the Five Mother Sauces! I guessed at them; I’m just a home cook raised in the Midwest. I just make gravy!

Can you name the Five Mother Sauces?