Guinness Stew with Puff Pastry

Hubby and I were watching some obscure British tv show from the 70s or 80s and one of the characters made reference to marinating beef in Guinness overnight for a steak and kidney pie. We looked at each other, put the TV show on pause, and started brainstorming a Guinness Stew. For some reason Hubby added that it needed puff pastry; so we were really talking about a beef pot pie. He was thinking of Beef Wellington. He traipsed off to the grocery store the next day to get potatoes as that was the only thing we did not have on hand. Here’s the result:

Please don’t look at the less than pristine clean stove!

First, I have beef stew meat in the house thanks to my neighbor who overbought on her meat delivery system. I did send the Hubby out to look for frozen puff pastry when he bought potatoes but since we go to the discount grocery stores there was none to be found. Hubby is concerned, as am I, that it could be considered a waste of good beer to put too much Guinness in the stew. And I needed to decide whether or not to marinade the stew meat.

  • 2 pounds stew meat, already cut into chunks; I chose not to marinade this.
  • approximately 1/2 cup flour for divided use
  • salt and pepper
  • 1/2 teaspoon Fine Herbs
  • 2 large red potatoes, scrubbed with skin on
  • 1 large onion
  • 3-4 medium carrots; I had one large one and two medium
  • 1 garlic clove
  • about two cups beef broth
  • 1 can (14.5 ounces) Guinness stout, divided use
  • oil for the pan; we use olive oil
  • one sheet Puff Pastry; for some reason I decided to make the real thing by hand!

Chop the vegetables and mince the garlic in large bite size pieces. The exact amount of vegetables is not important in stews and soups. More can be added for large families. Dredge the stew meat in about 1/4 cup flour seasoned with salt and pepper. Put oil in a Dutch oven or large skillet and brown the meat. Stir this around a bit to get all or most sides. Add the vegetables and 1/2 the can of Guinness. Pour other half of beer into glass and serve to Hubby. Add the beef broth to the pot along with the Fine Herbs unless you thought in advance to mix the herbs with the flour that dredged the beef. At this time rinse the beer can and add that water to the pot. Why not? Add more broth or water to almost cover the stew mixture. Stir this and bring to a boil. Cover and let simmer for 45 minutes or so. Test the carrot for doneness. Mix the rest of the flour with a bit of cold tap water and stir into the stew. This will thicken the stew and you can use more flour for a thicker broth.

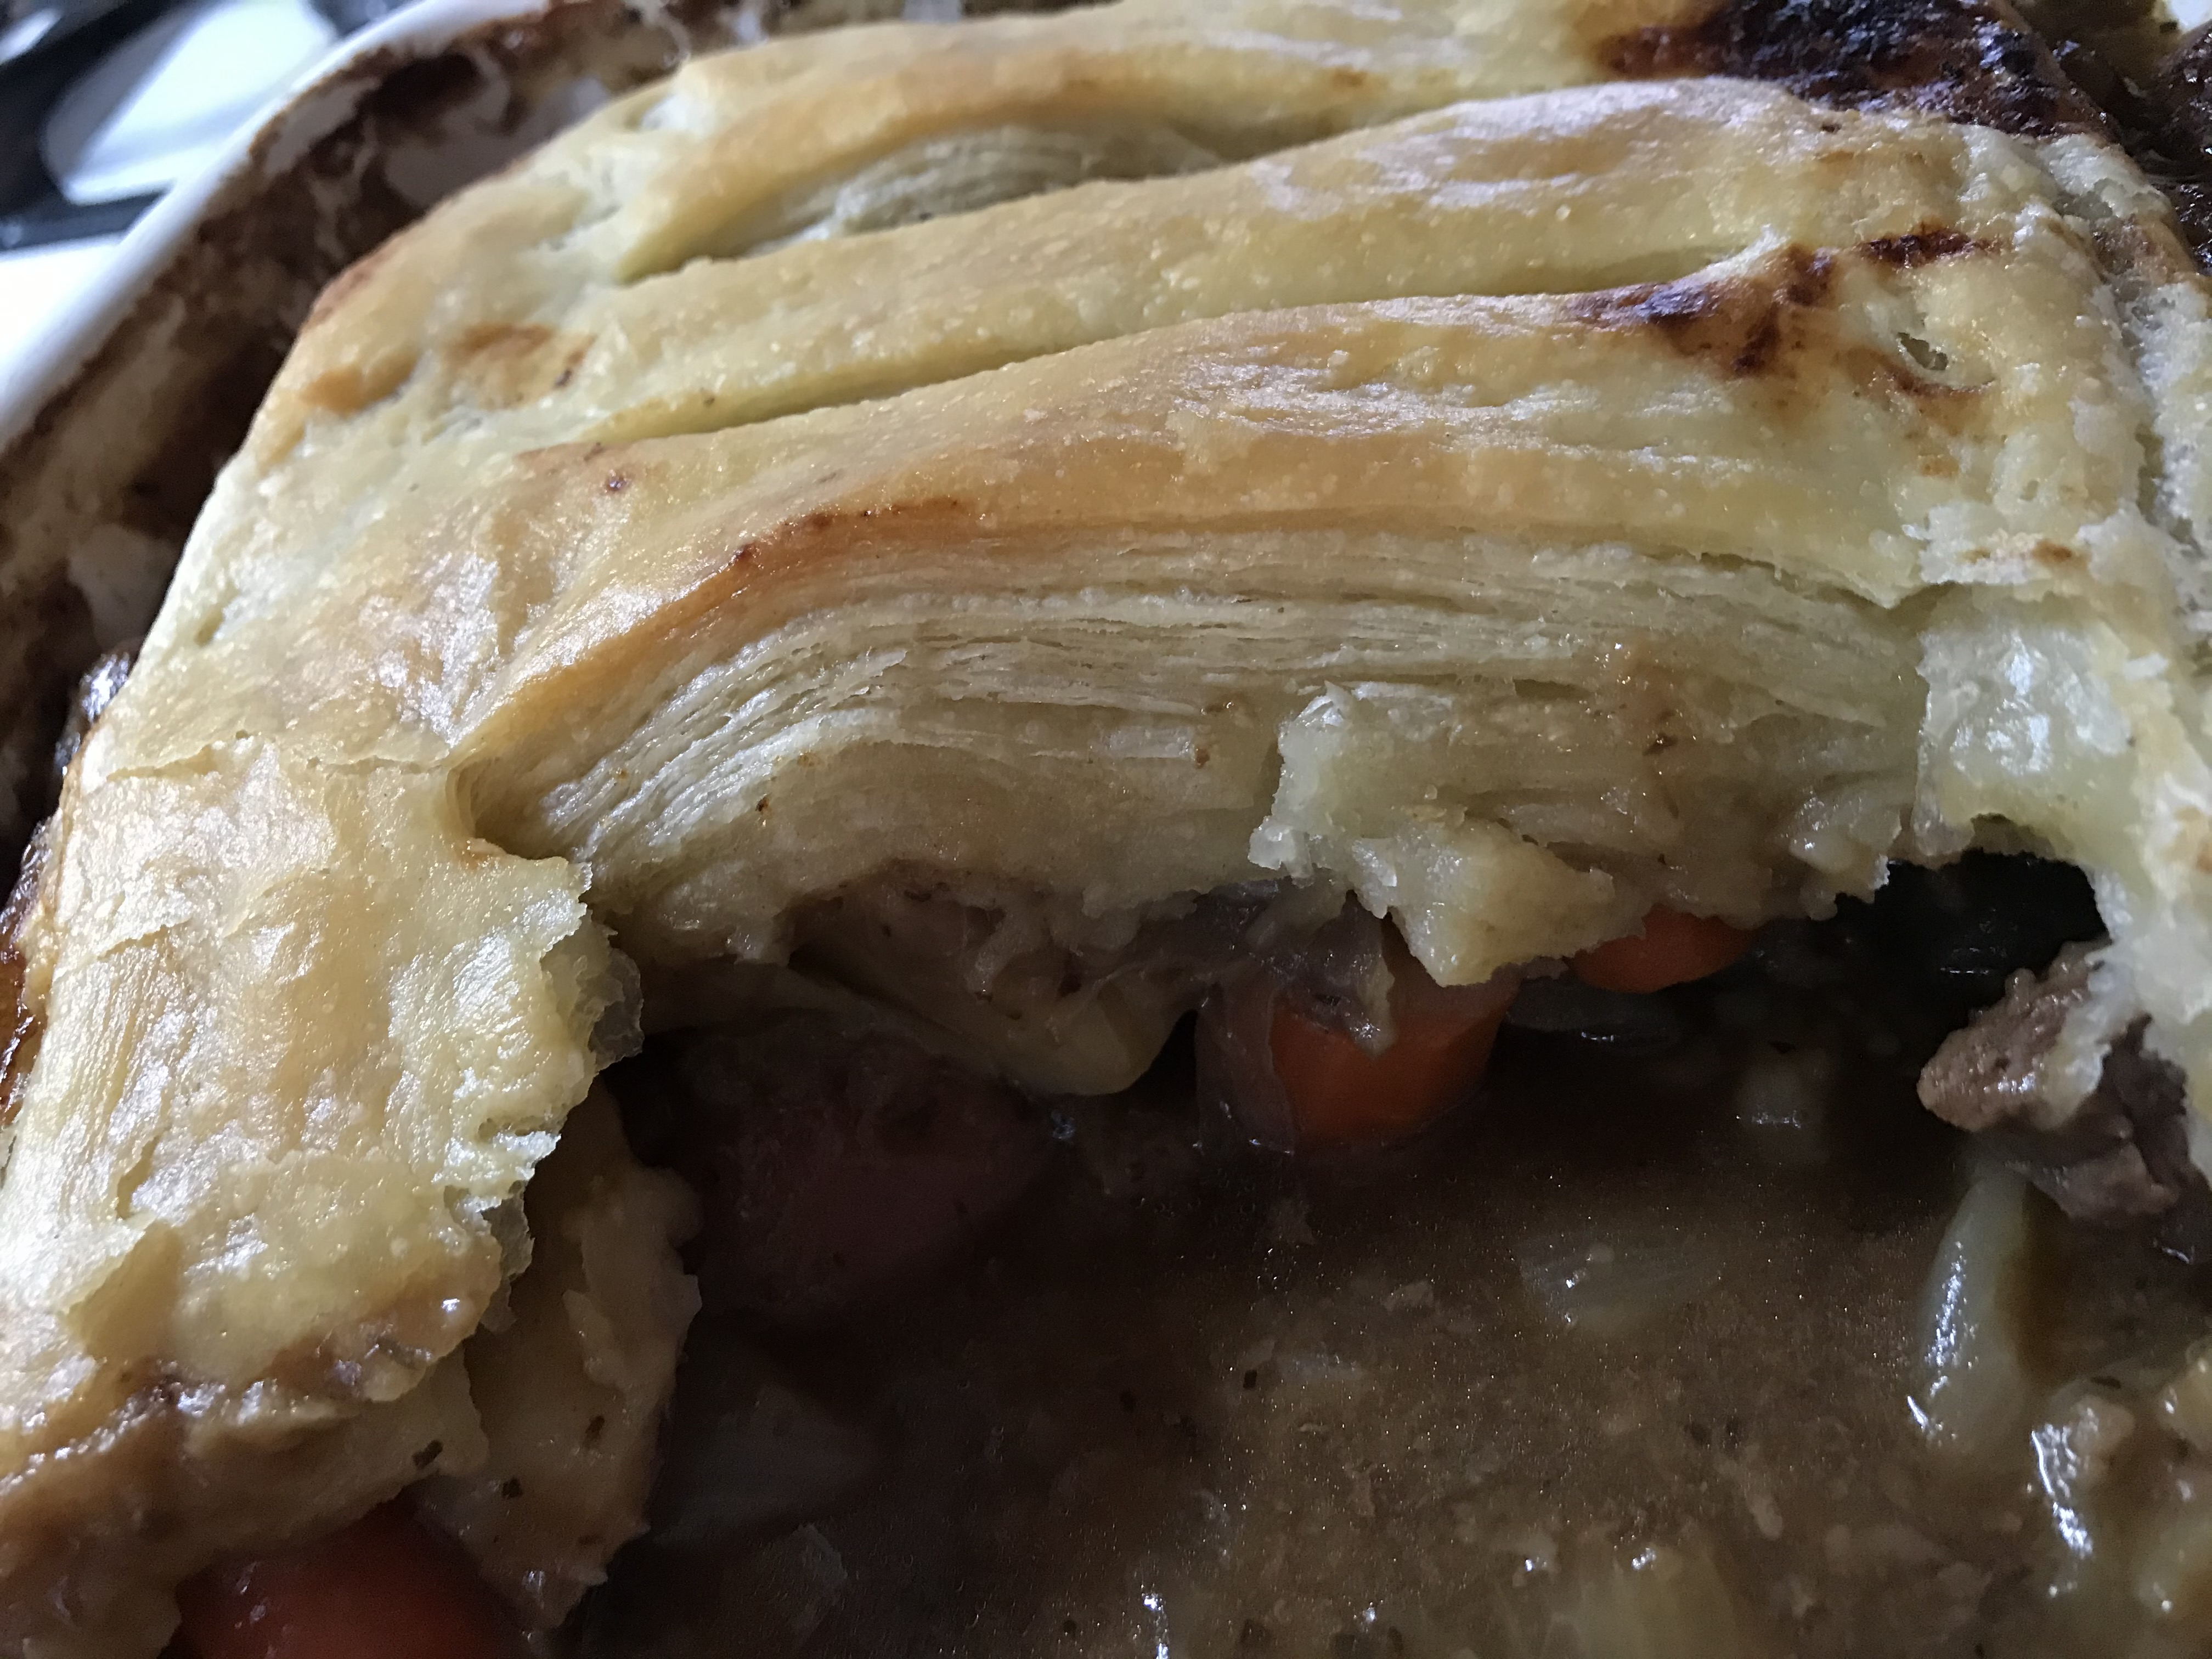
Prior to all this I made Puff Pastry using Jacques Pepin’s recipe for the real thing. This is not a rough puff. This is three cups (one pound flour) and one pound butter. The only thing else is ice water and a little salt. This is made with four turns of the dough which I may have miscounted and done five. This will give your upper arms a work out rolling this stuff out so many times. But look at the layers!

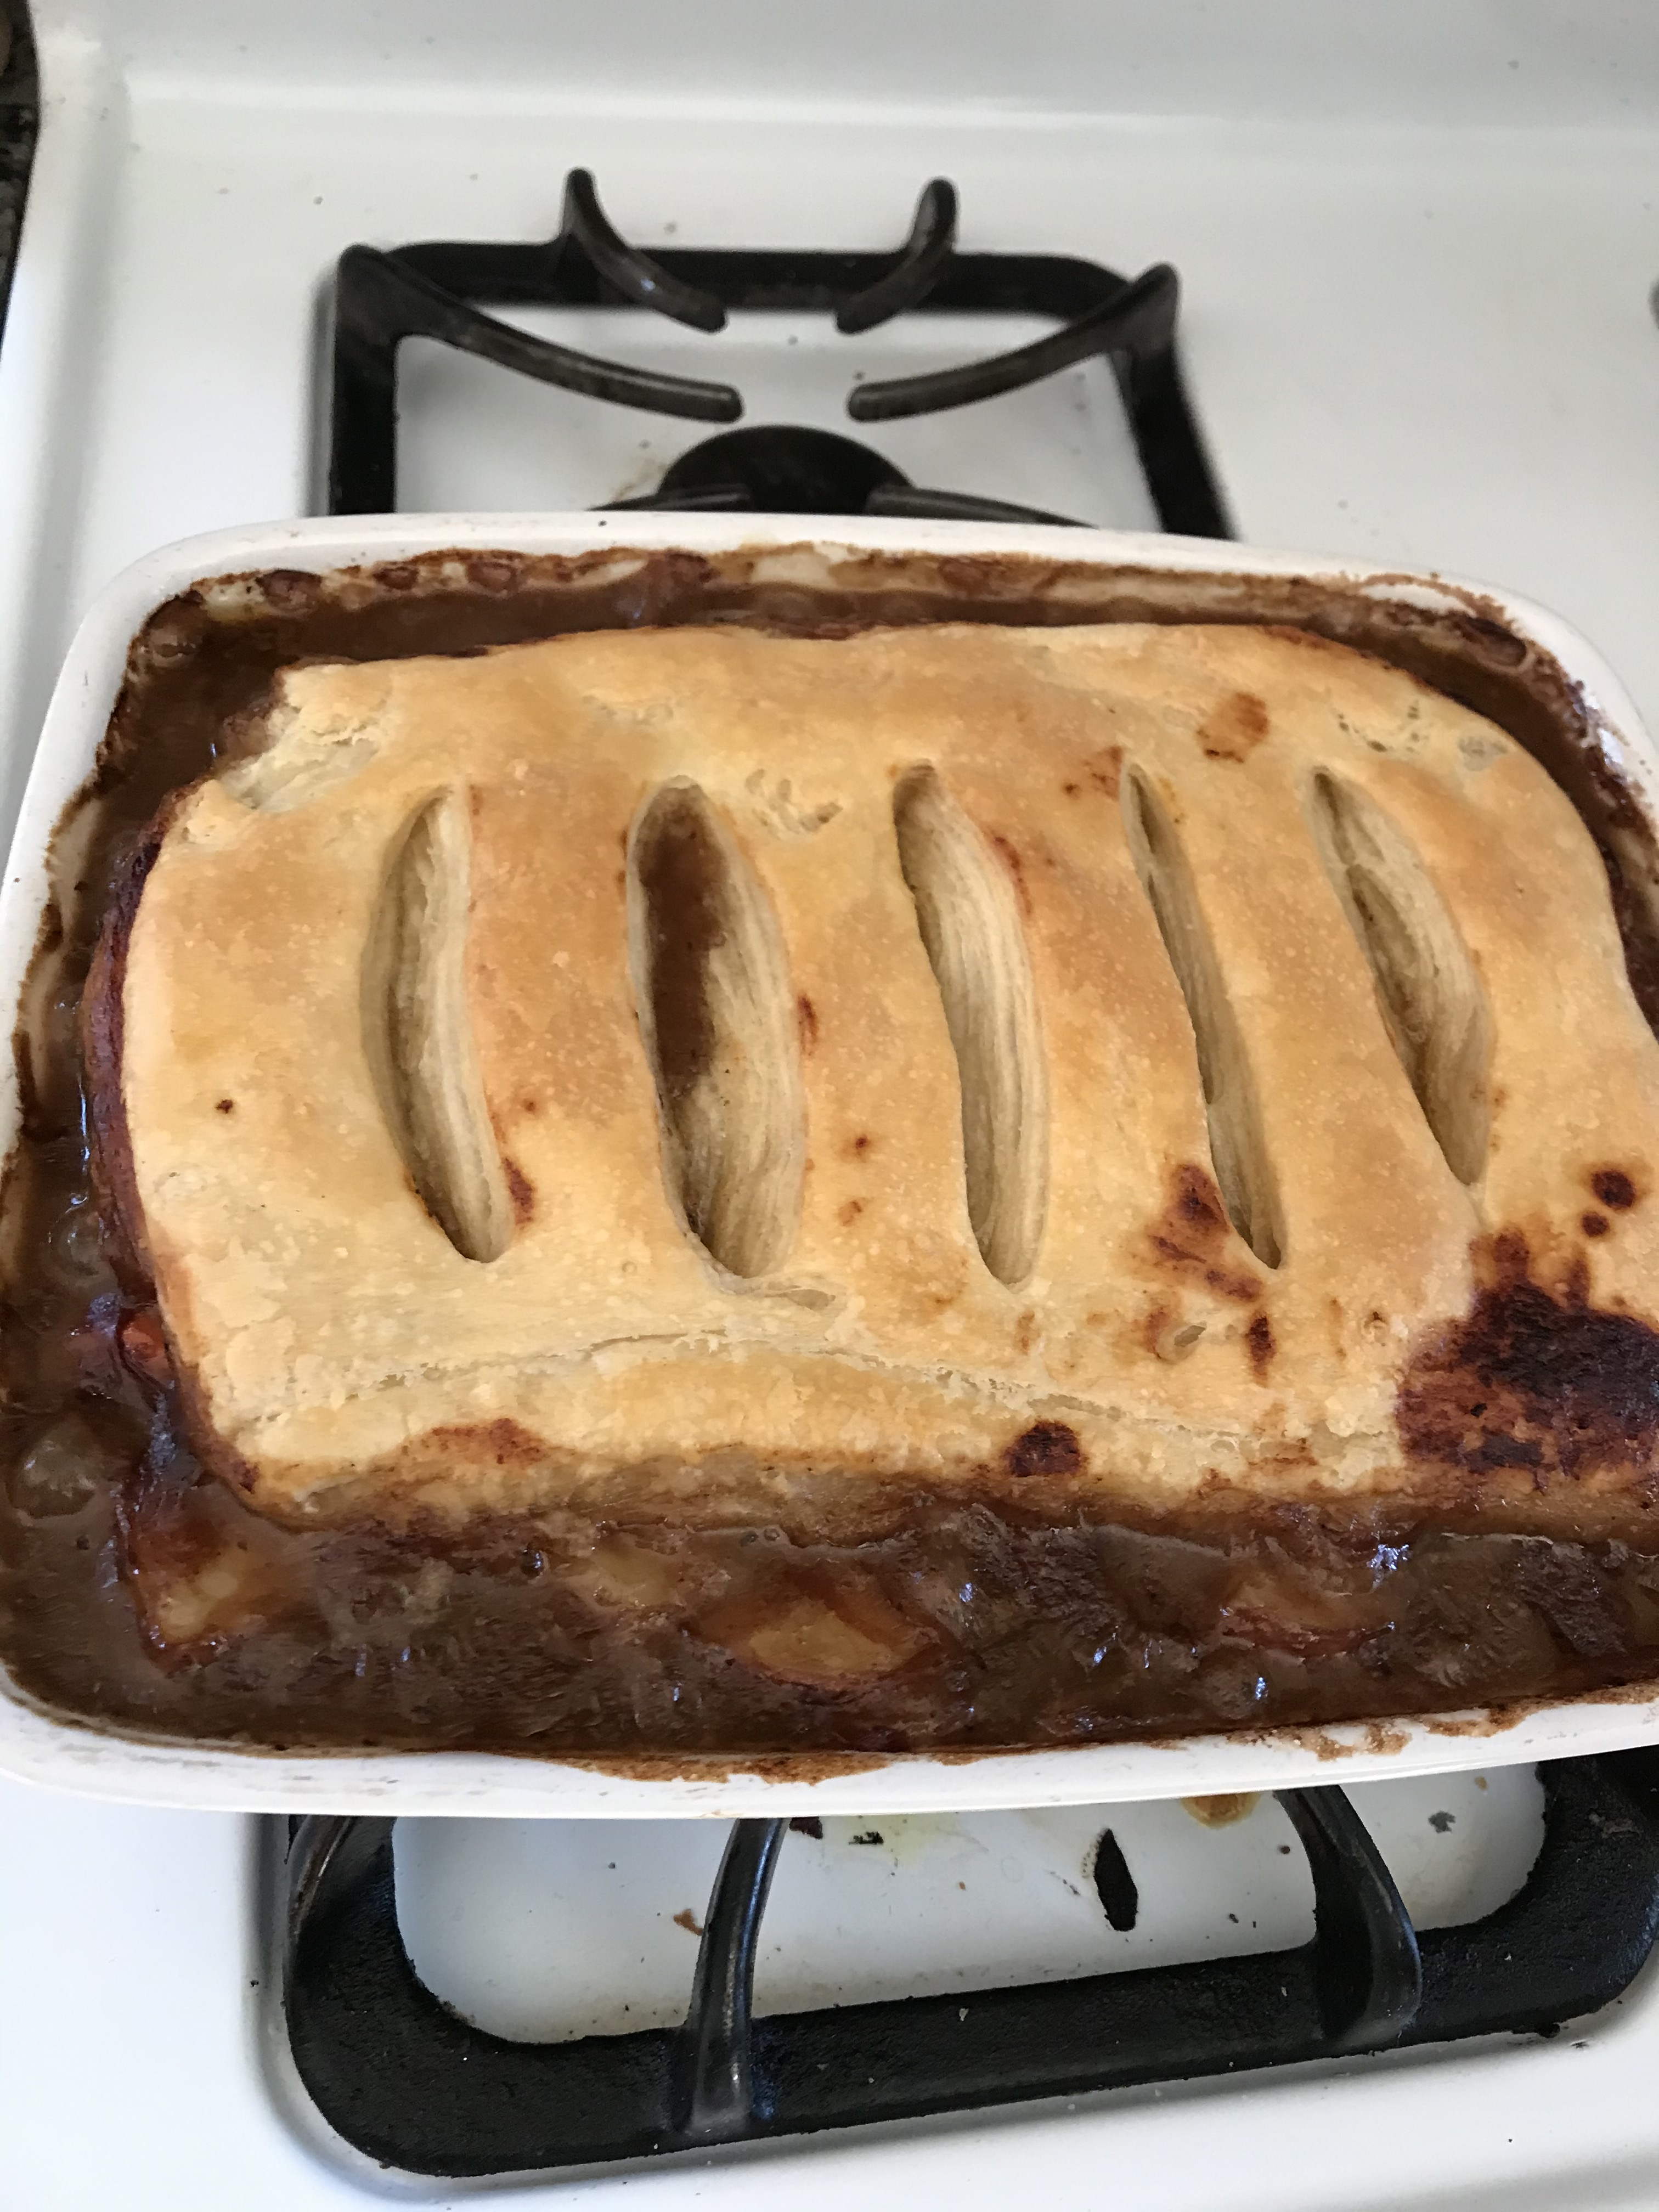
When the stew was complete and the puff pastry had rested in the refrigerator for an hour, I turned the stew out into a casserole dish. Actually Hubby did this as I sometimes have difficulty picking up heavy objects on occasion. Getting older is not just getting wiser. It also means recognizing that one does not always have the capability of one’s youth, and it is nice to have a partner.

I rolled one-third of the pastry into a rectangle. This was a bit of work so the resulting rectangle was not quite as big as I had hoped. I placed this on the stew and popped it into the oven that was heating to 425 degrees F. Thirty minutes gave the pastry a nice color and crusty outside. The part on top of the stew was not crisp and one would not expect it to be if you think about it. In hindsight, Hubby suggested baking the pastry on a sheet pan and then placing it on the stew. That would insure crispy all the way through.

It was absolutely delicious. The taste of the stout came through for a subtle difference for a beef stew.

I now have two pound of puff pastry in the freezer. It needs to be used within a few months. What to make next?

Advertisement

Happy Pi Day

What kind of pie to make for Pi day? This I asked Hubby. I had recently made an apple pie which we proceeded to eat 75% of in one sitting. Mincemeat is not seasonal. Pumpkin is a standard. Finally we settled on a Chocolate Cream Pie. No meringue. I went through at least half a dozen cookbooks to find a Cream Pie and not a Meringue Pie. So it was back to basic Betty, Betty Crocker’s Cookbook, page 302 in my edition.

Most of the recipes for pudding pies that I found use egg yolks. This allows the whites to be used for the meringue. I had to make a decision as to how to use whole eggs or have 4 egg whites sitting about the fridge for who knows how long? The next decision was to use cocoa or chocolate. I have these 85% chocolate discs and wondered if these would serve. I also had an 82% Belgian Dark Chocolate bar available. The third decision was about pie crust. Should I make homemade or use the “emergency pie crusts” in the refrigerated box. I had already made the decision to use canned whipped cream. It is easy enough to make it from scratch but then I would have a half-used carton of whipping cream sitting around in my fridge for, you guessed it, who knows how long? But as I write this I am envisioning cream puffs with crème patisserie. Darn! I did not think of that when I was at the store.

The pie crust is pre-baked for this pie. I used one of the emergency crusts. I have a pound of dried navy beans that I use for pie weights. Just let them cool and keep them for next time. Betty says to pre-bake the shell, well-pricked, in the oven at 475 degrees F for 8-10 minutes. I had never used that high of a temperature but gave it a go. Other than it taking longer than 10 minutes it worked well. It took my crust longer because I had also weighted down a tin pie pan with the beans for additional weight. This did not let the crust brown for the first 8 minutes.

So the first step in the recipe is to bake your pie crust for a 9-inch pie.

  • 1 cup sugar; Betty wanted me to increase this from 2/3 cup to 1 1/2 cups if making the chocolate version of the cream pie. I only increased it a bit. This probably matters depending on what type of chocolate is used. The chocolate I used had some sugar in it.
  • 1/3 cup cornstarch
  • 1/2 teaspoon salt
  • 3 cups milk; I bought 2% milk and now have half a half-gallon sitting in my fridge for who knows how long? We usually drink/use/cook with nondairy “fake milk”.
  • 3 whole eggs; I decided this would work just as well as 4 egg yolks
  • 1 Tablespoon plus 1 teaspoon vanilla
  • 2 ounces chocolate; I used the chocolate discs.
  • Sweetened whipped cream

First, melt the chocolate with the vanilla. Slightly beat the eggs in separate bowl, medium sized, so that half the hot milk mix can be poured in this. Mix the sugar, cornstarch, and salt in a good sized sauce pan. Pour in the milk slowly and bring this to a boil, stirring constantly. This will take at least ten minutes of standing by the stove. Betty intended for the chocolate mixture to be added with the milk but I forgot to read that part of the instructions. Let this boil for 1 minute, still stirring. Now pour half the hot milk mixture into the eggs, stirring those so as not to have scrambled-egg pudding. it was at this point I read about when to put in the chocolate so I put it in the sauce pan. I thought I might have chocolate-spotted pudding but it did blend all-together when put all back into the sauce pan. Now boil for one more minute. Remove from heat.

Pour into the waiting pie crust. Cover top of pudding with plastic wrap and refrigerate for at least two hours. Betty says not more than 48 hours, not sure why. Top with whipped cream for serving. Be sure to remove the plastic wrap!

This was very delicious and rich tasting. I added more whipped cream on each slice.

Maple Oat Soda Bread

I was looking for something to bake and wanted to do something from my many cookbooks, etc. and not from the internet. I noticed that I had mini loaf pans under my counter with a recipe collection notebook on top. Here I found a King Arthur Flour recipe that I had saved from their magazine/sales flyer. By the name of the recipe this one must have been sent out about this time of year maybe several years ago. It sounded delicious so I baked it.

Typical me, I have substitutions to make. I have mini loaf pans that make 4, not the 8 mini loafs pictured in the recipe. I also substituted quick cooking rolled oats for their old fashioned rolled oats; and all-purpose flour for the Irish-style flour. Who knows what that is?

  • 1 1/2 cups boiling water
  • 1 cup oats
  • 2 1/2 cups flour (or 276 grams; I used my new kitchen scale from Pampered Chef)
  • 1/2 cup dried buttermilk powder (this should be a staple in any baker’s kitchen)
  • 1 teaspoon baking powder
  • 1/2 teaspoon baking soda
  • 1 teaspoon salt
  • 5 Tablespoons melted butter
  • 1/3 cup maple syrup (and I had real Vermont Maple Syrup just like the recipe!)

Make the oats with the oatmeal and boiling water. This will depend on what type of oats used. My oats cooked in 1 minute. Set aside. Preheat oven to 350 degrees F. Lightly butter the wells of the mini loaf pan.

Mix the maple syrup and melted butter in a bowl. Set aside 1 1/2 Tablespoons.

Whisk together the dry ingredients in a large bowl. Add the butter/syrup mixture and the oats. Mix together until smooth-ish. Remember this is a quick bread so it will come together looking like biscuits or scones. Divide evenly into the mini-loaf pans.

Bake breads until done: toothpick test is clean and/or 200 degrees F internal temperature. I used my handy dandy digital food thermometer gotten reasonably cheaply from the internet. Immediately brush the tops of the breads with the reserved butter/syrup mixture letting it soak into the breads. Let cool for 5 minutes in the pan and then turn out on wire rack to cool.

Declared yummy when eaten.

I also baked something chocolate. I went to a favorite snack cake. However I was running low on flour. So this was made with coffee instead of the water and a mixture of all-purpose, whole wheat pastry, and almond flour. I thought putting these in the large muffin pan would make it easier to freeze a few for later. Well, not so fast! These did not want to come out of the pans. They had nice “muffin tops” which came off and I had to scoop the cakes out with a large spoon. I’m thinking that the almond flour makes a tender cake crumb and that baking this in the standard 8 x 8 inch pan would have been more successful with the combo of flours.

Hey it’s chocolate!