I was reading Paul Hollywood’s new cookbook, Celebrate: Joyful Baking All Year Round, and his famous chocolate cake recipe is in there. I like chocolate cake. I have several go-to recipes but thought I would try this one. After all, it is famous!
For this cake one needs to have a full container of cocoa powder and three 4-ounce bars of bittersweet chocolate, plus sour cream and heavy cream, and three-plus sticks of butter. It calls for a frosting and a ganache and raspberries, fresh and frozen. My substitutions were as follows:
- Unsweetened chocolate for bittersweet as I forgot to look up the difference.
- Frozen cherries as raspberries are not in season and are rather expensive.
- A completely different ganache using dark chocolate chips and not needing 7 more ounces of bittersweet chocolate and heavy cream which I forgot to buy.
For the cake:
- 1 ½ sticks butter, softened
- 1 cup light brown sugar
- 1 cup granulated sugar
- 3 large eggs, at room temperature
- 1 teaspoon vanilla extract
- 1 ½ cups sour cream (plus one tablespoon, which I forgot)
- 2 cups all-purpose flour
- 1 ¼ cups unsweetened cocoa powder (this is a huge amount!)
- 1 ½ teaspoons baking powder
- ½ teaspoon salt
- 1 ½ cups frozen cherries
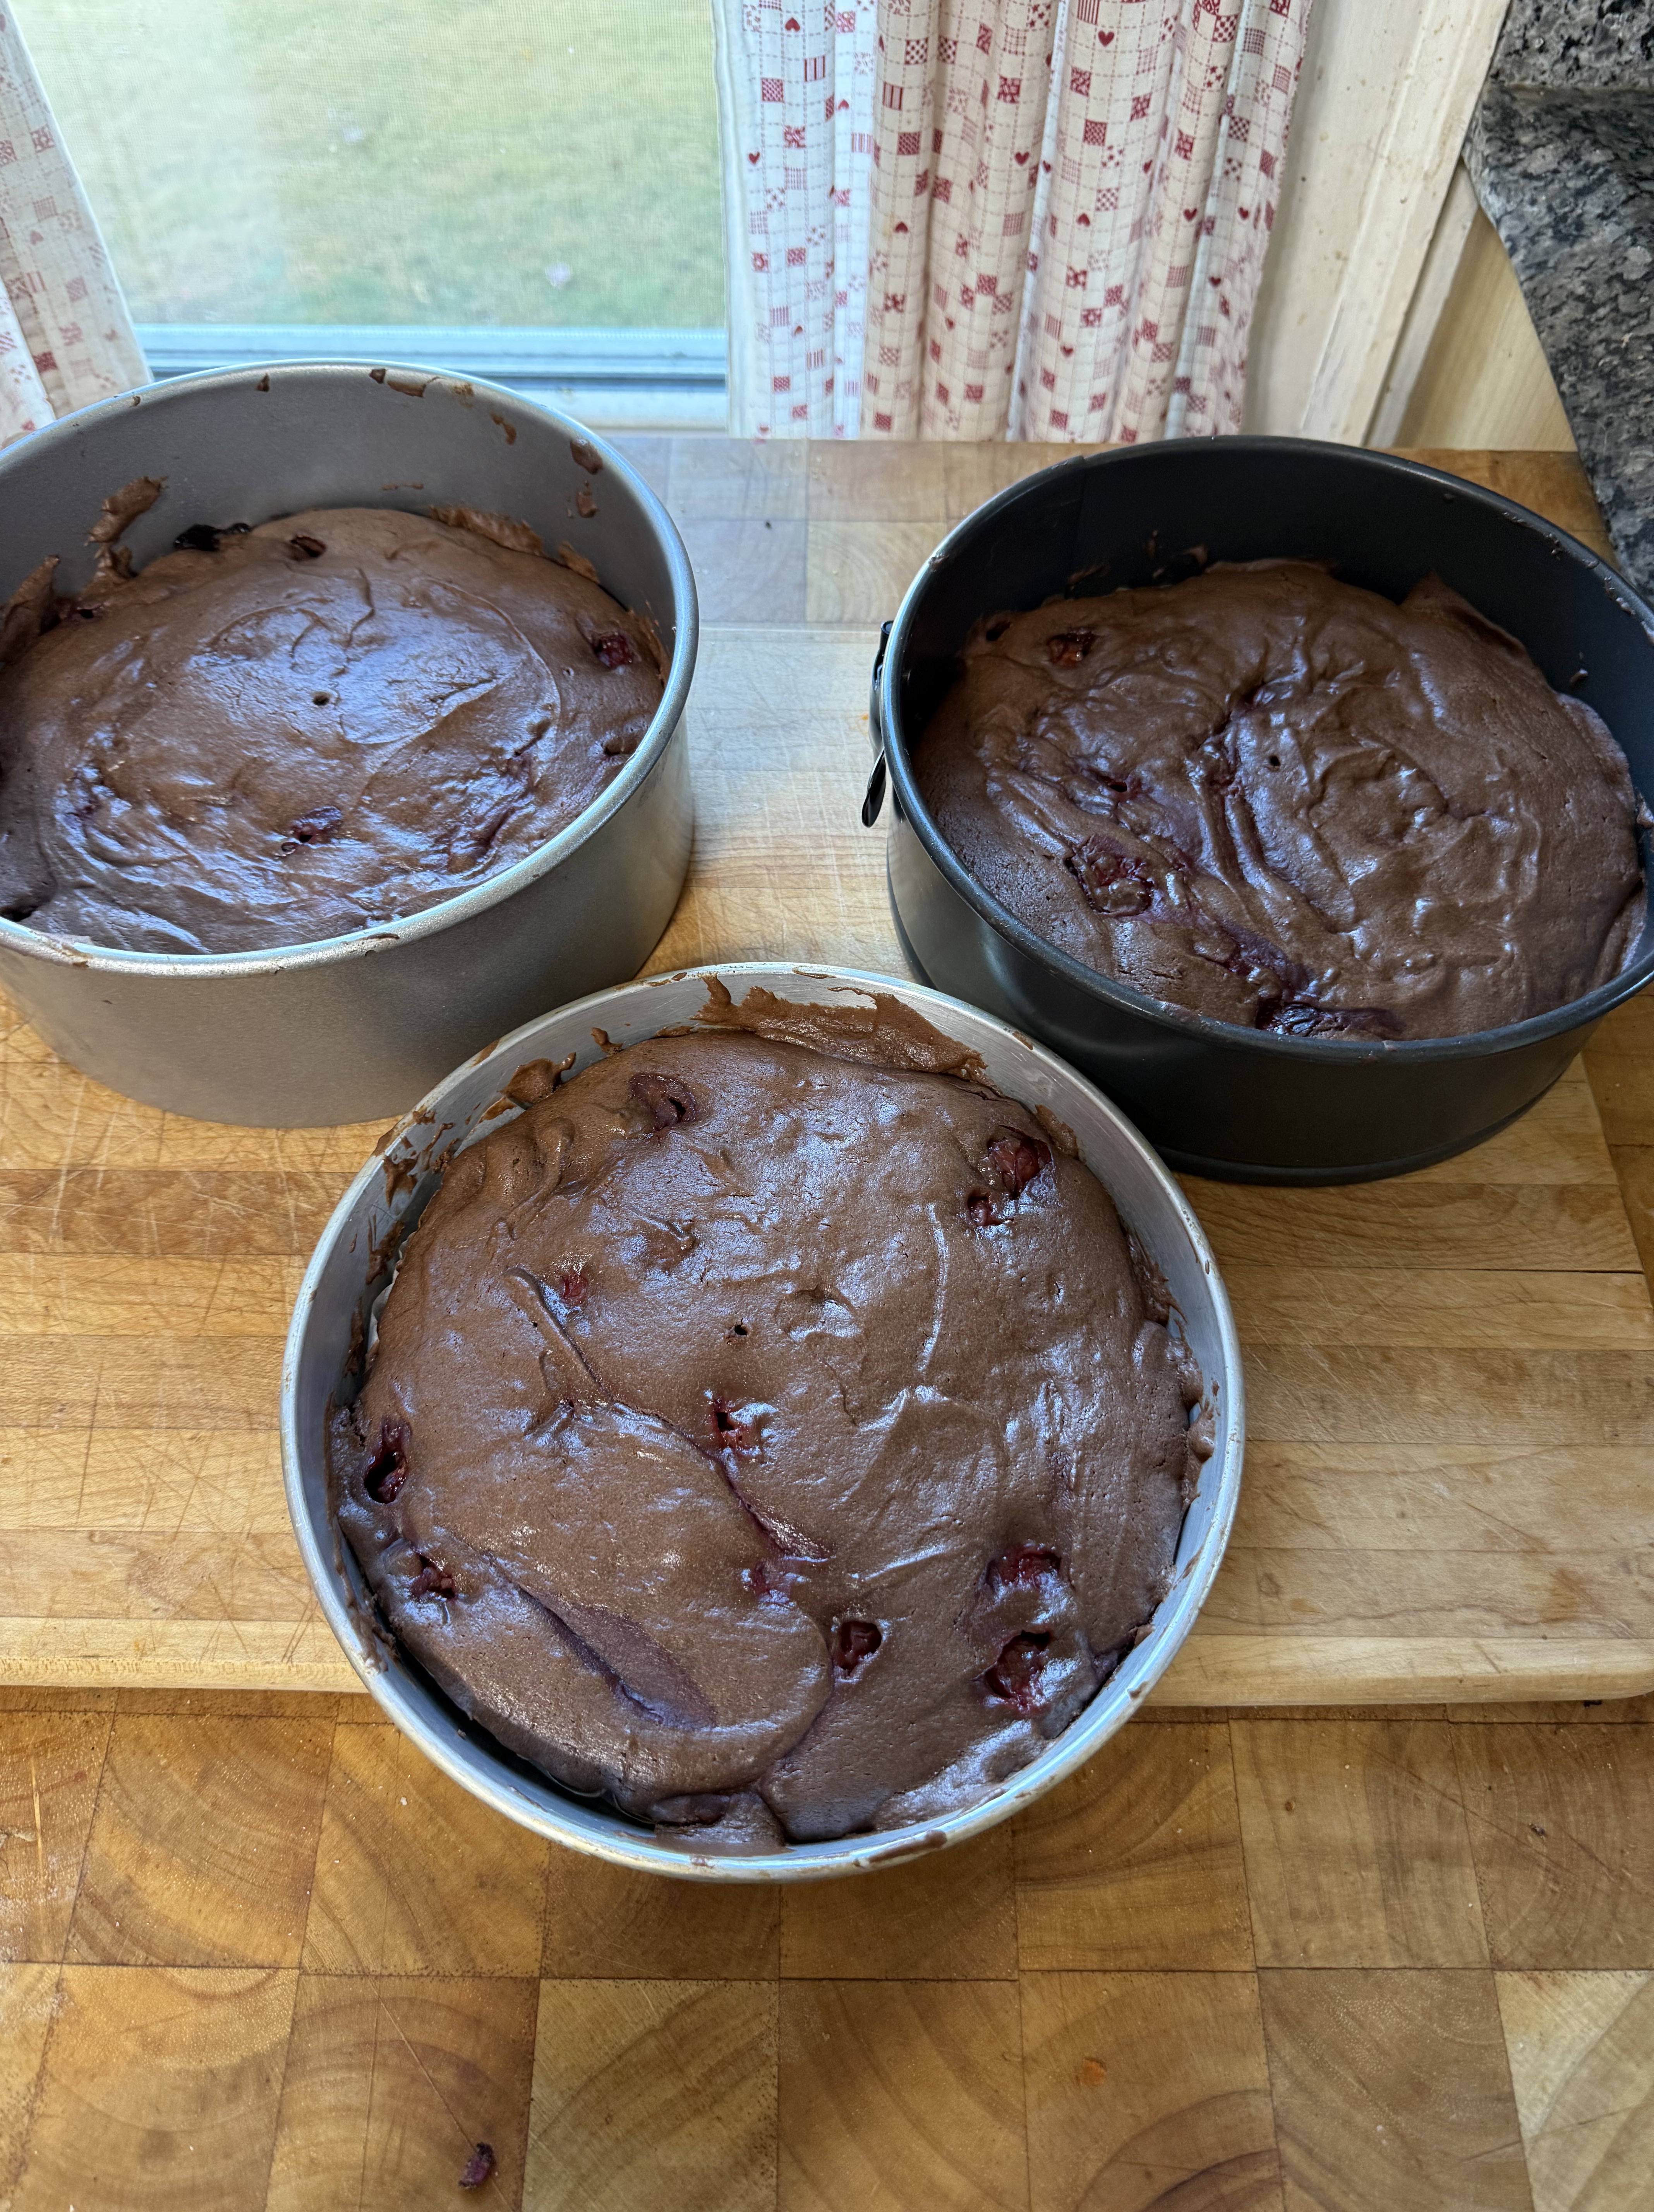
Grease three 8-inch cake pans and line with parchment paper. Heat oven to 350 degrees F.
Beat butter and sugars until light and fluffy. He calls for using the whisk attachment but I used the paddle which I use for all cakes. Scrape down the batter and whisk again. Add the beaten eggs, vanilla, and sour cream with the mixer on low speed.
Stir the dry ingredients together and add large spoonfuls by spoonfuls to the batter while mixer is still on low speed until fully incorporated. Use a spatula to fold in the fruit.
Spread the batter in the prepared pans. This was a thick batter and a bit difficult to spread in the lined pans. Bake for 25 minutes until the cakes have risen slightly and start to pull away from the sides. My cakes took 30 minutes and did not appear to rise significantly but tested as done. Leave the cakes in the pans for 5 minutes and then remove to wire racks to cool.
For the frosting:
- 4 ounces bittersweet chocolate, broken into pieces
- ¾ cup cocoa powder (it’s a lot of chocolate here)
- 5 Tablespoons boiling water
- 1 ½ sticks of butter
- scant ¾ cup powdered sugar
Melt the chocolate and set aside to cool slightly. Mix the cocoa and boiling water to form a paste. I had to add an extra Tablespoon of water. In the mixer bowl, beat the butter until very soft and then add the powdered sugar and beat until pale and fluffy. Add the melted chocolate and the cocoa paste and beat until smooth. When the cake is cool, spread one-third of the frosting between each layer and on top. Spread around the sides of the cake and let sit for one hour.
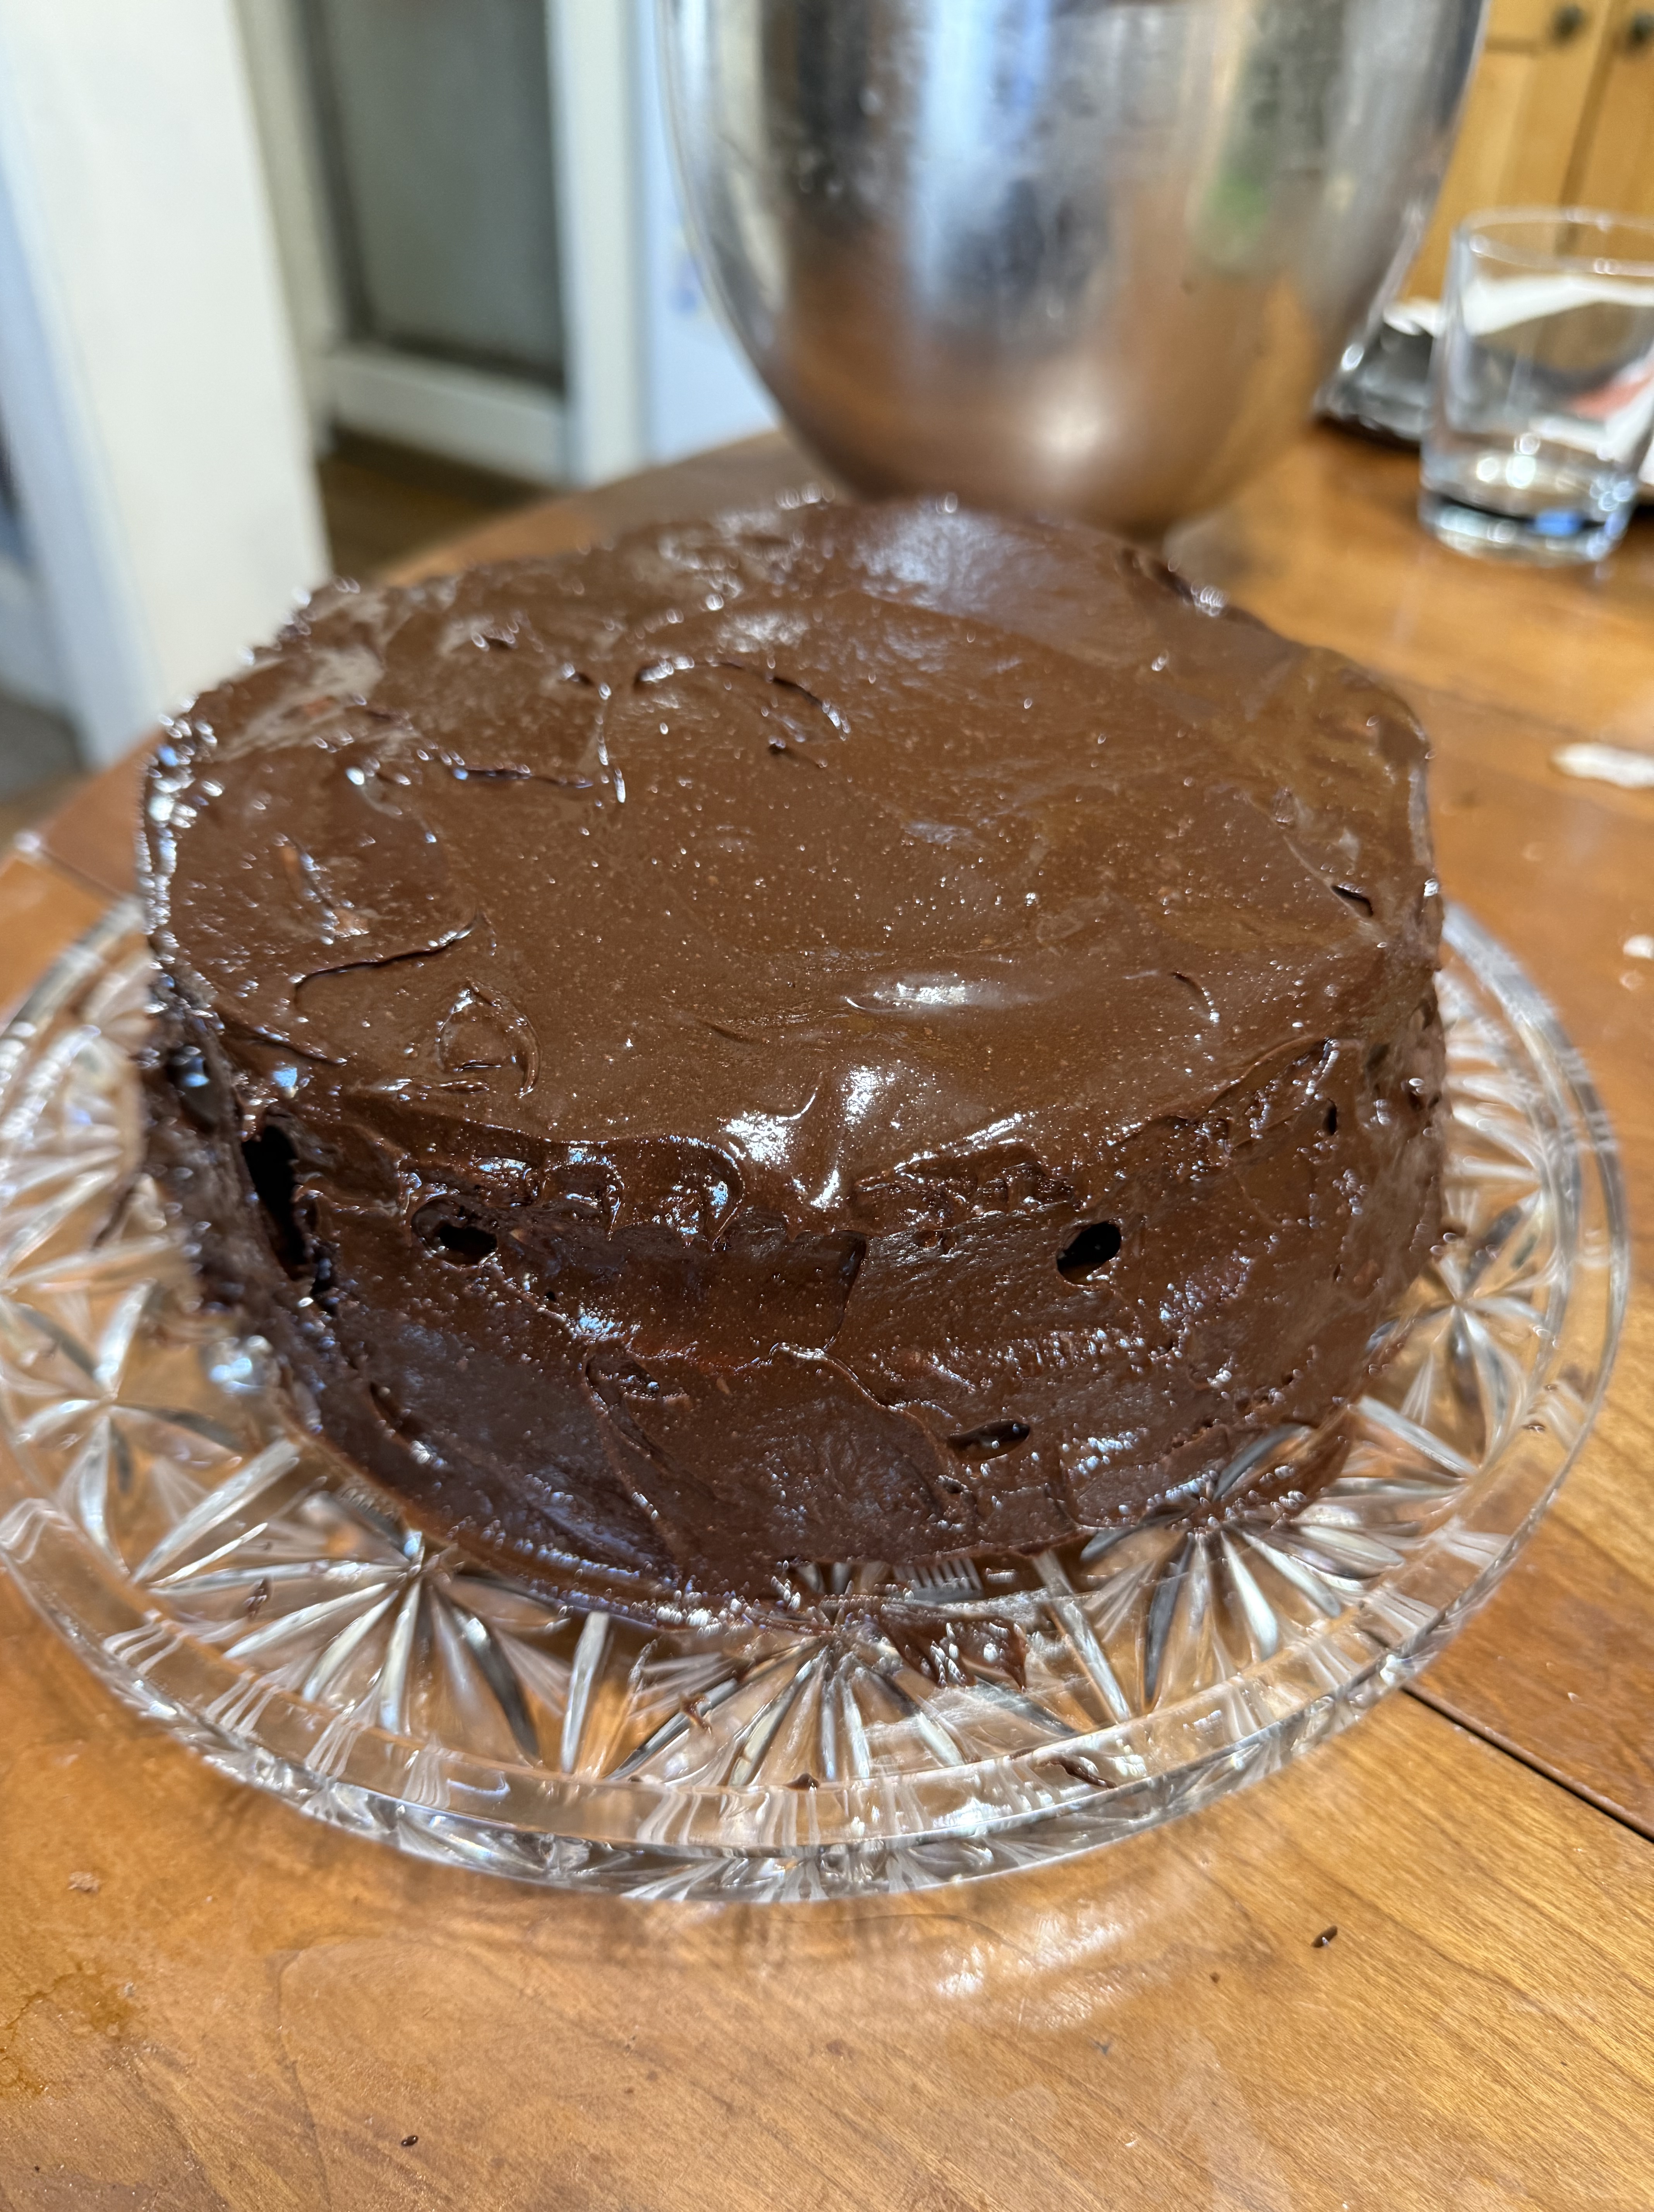
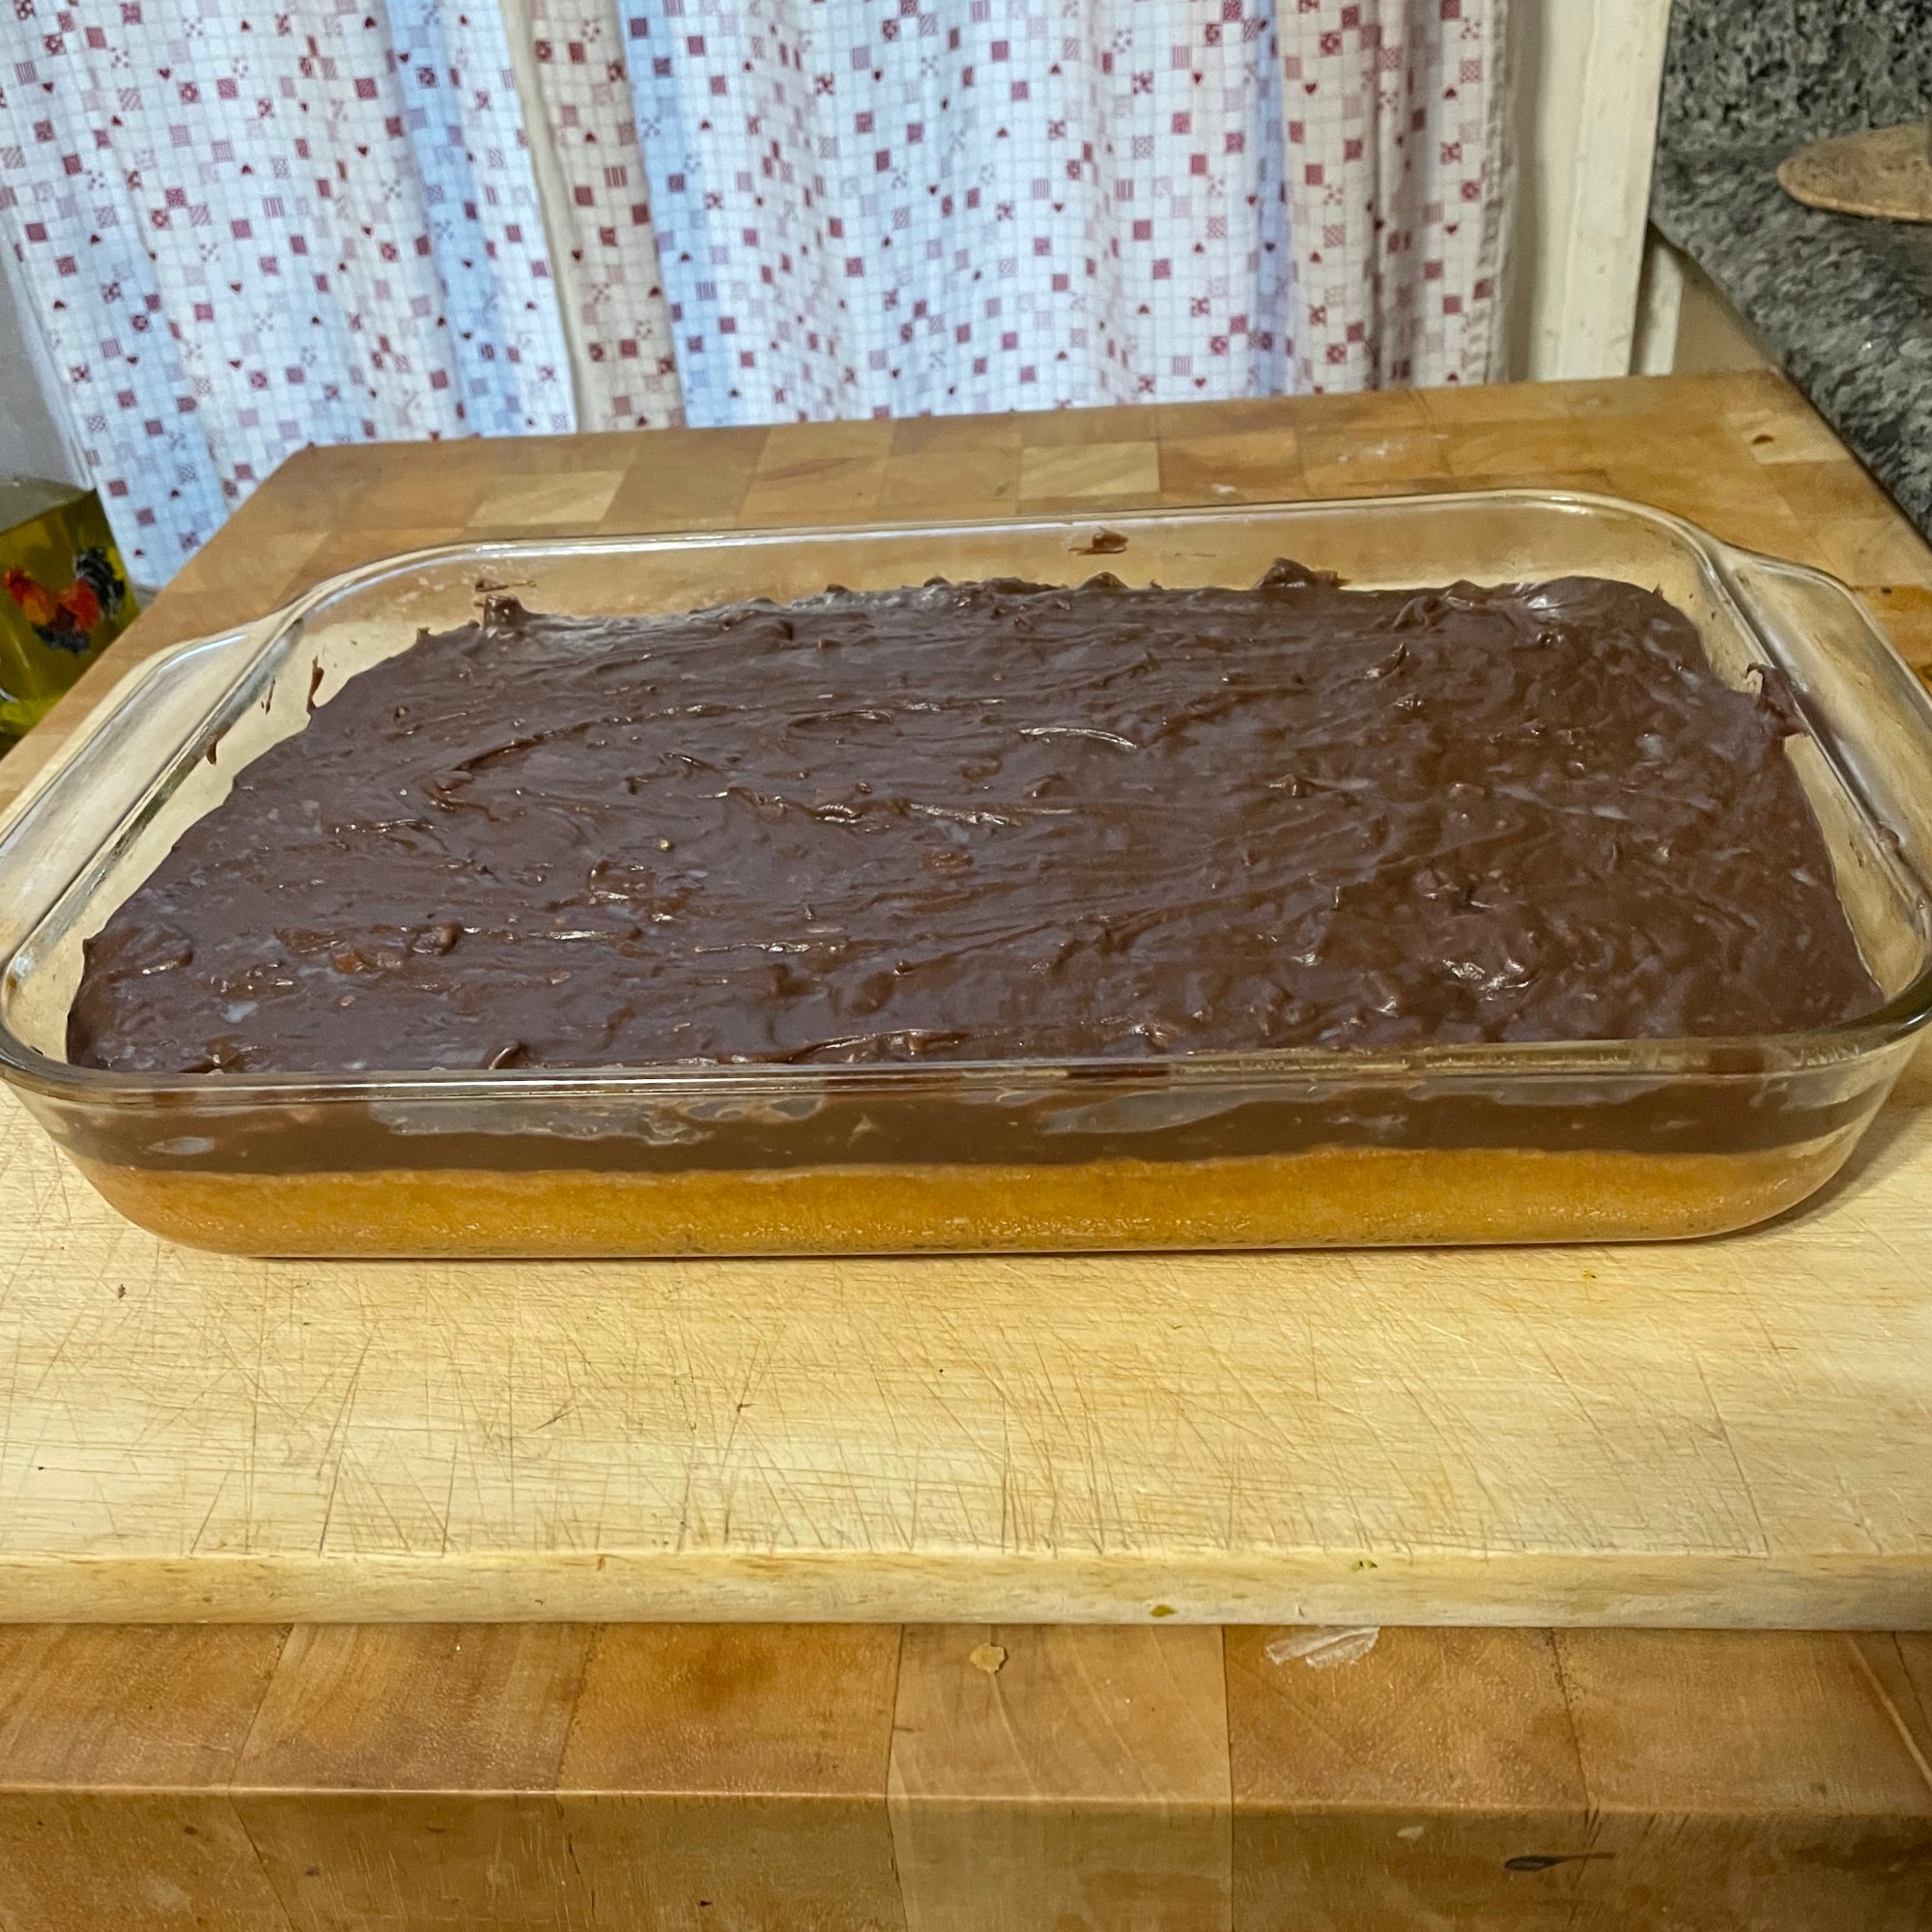
When frosting is set, make a ganache and pour over the whole cake. Decorate with the fresh fruit.
- For my ganache I melted one cup dark chocolate chips with 1/3 cup evaporated milk, boiled for one minute, removed from heat, and then whisked in 2 Tablespoons butter. This needs to be mixed until it thickens. I poured it over the cake a bit too soon and had a bit of runoff. But that cleaned up tastily!


Thoughts:
- I had expected the cake to rise a bit more than it did. This may be because it is on the mixer for a long time and I may have beat the air out of the eggs or the baking powder was old. I have since tested the baking powder and it is active so that is not the culprit.
- So this is a dense cake in texture and in chocolate flavor. It is like a fudgy brownie and not cake-like. After three days I felt like I had overdosed on chocolate. And I like chocolate!
- The cherries were a nice touch.
- Definitely serve with vanilla ice cream.