I’ve been camping. So baking and cooking has not been occupying my time. Sitting in the backyard weeknights is a good place too. I decompress from work there. I watch the birds. The same ordinary backyard birds. I did see a goldfinch this week. Actually that was while camping in New Hampshire. The biting flies were still at it. Mountain lake for swimming, campfires for roasting marshmallows, grandchildren for chasing around the fields with bats and wiffle balls. Bicycles for riding…into the woods to sit by the river…almost getting thrown into the ferns and poison ivy by the exposed tree roots on the path. Camping is my happy place. And that campground is one of our favorites. I have three more camping adventures planned for the season. That just seems too few for me.
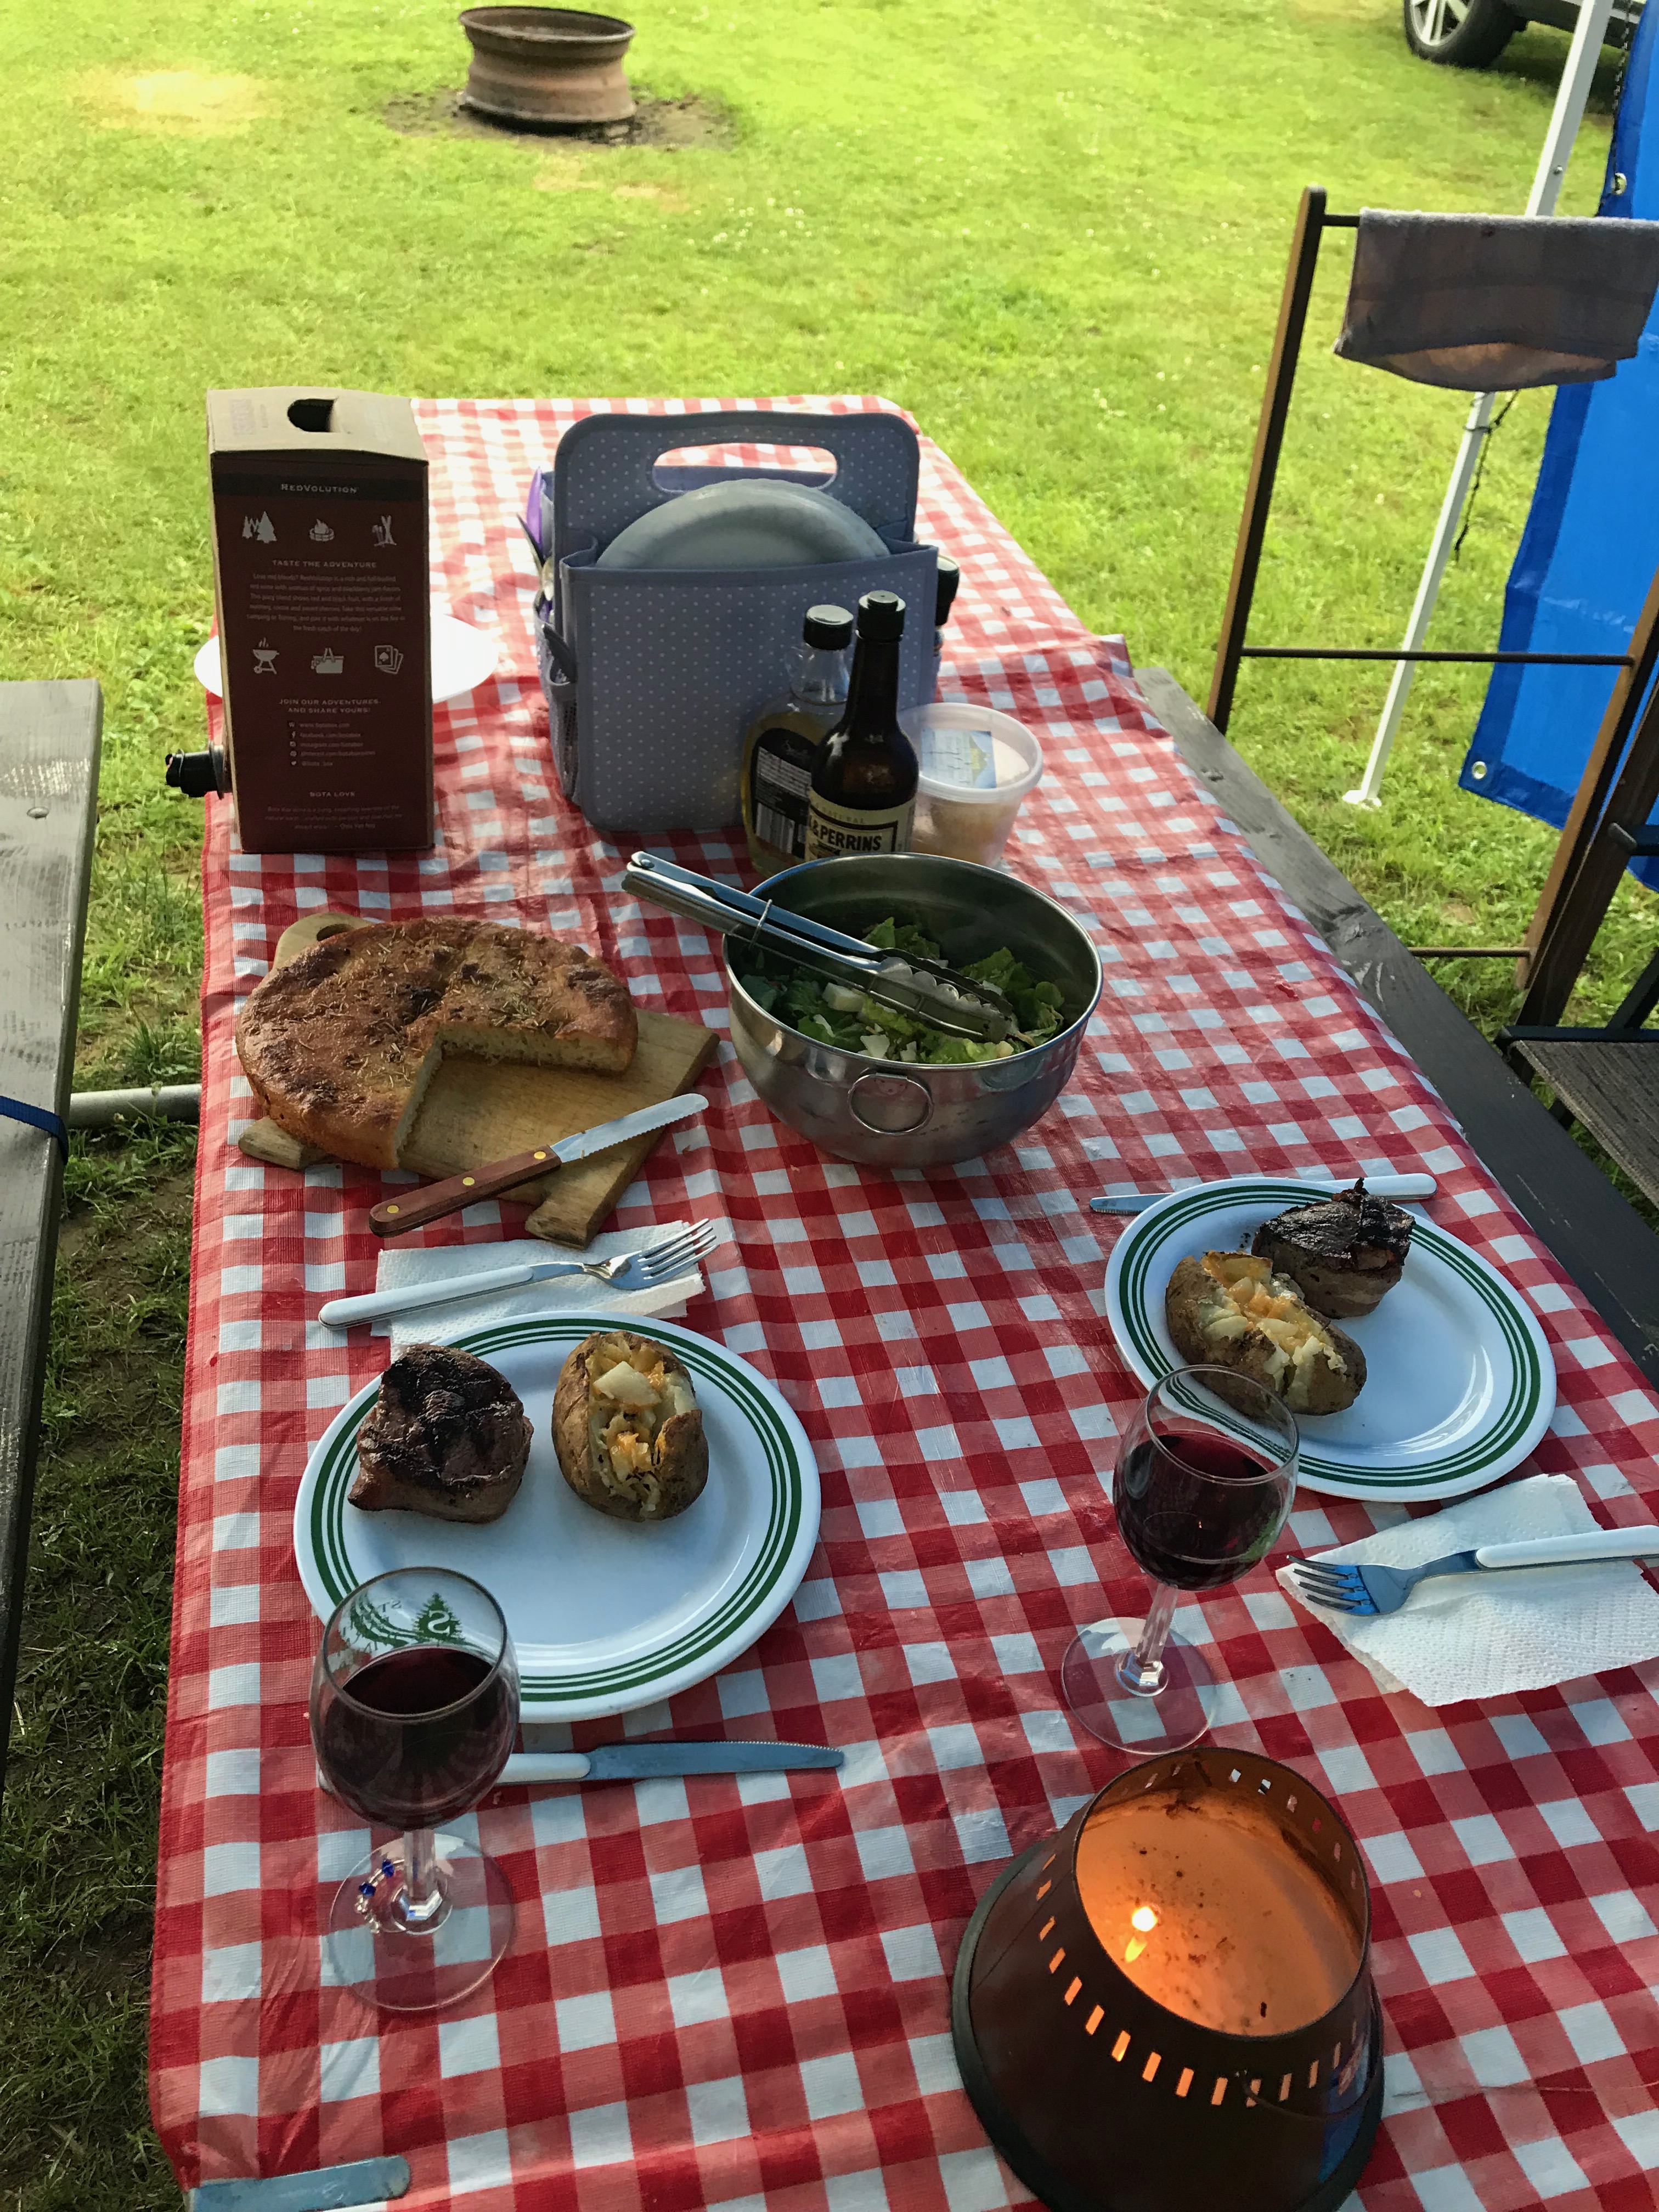
We had a gourmet meal while camping. Beef filet wrapped in bacon, stuffed baked potatoes, garden salad, and fresh focaccia bread. Voila!
The secret here is the beef filet are from a package already prepared and ready to cook. Hubby had baked the potatoes ahead of time and stuffed them at the campground to heat on the grill. The salad greens and the bread were fresh from the Keene farmer’s market that morning. A tasty meal that we ate under the canopy while listening to the now gentle rain tapping on top. It always rains when we camp.
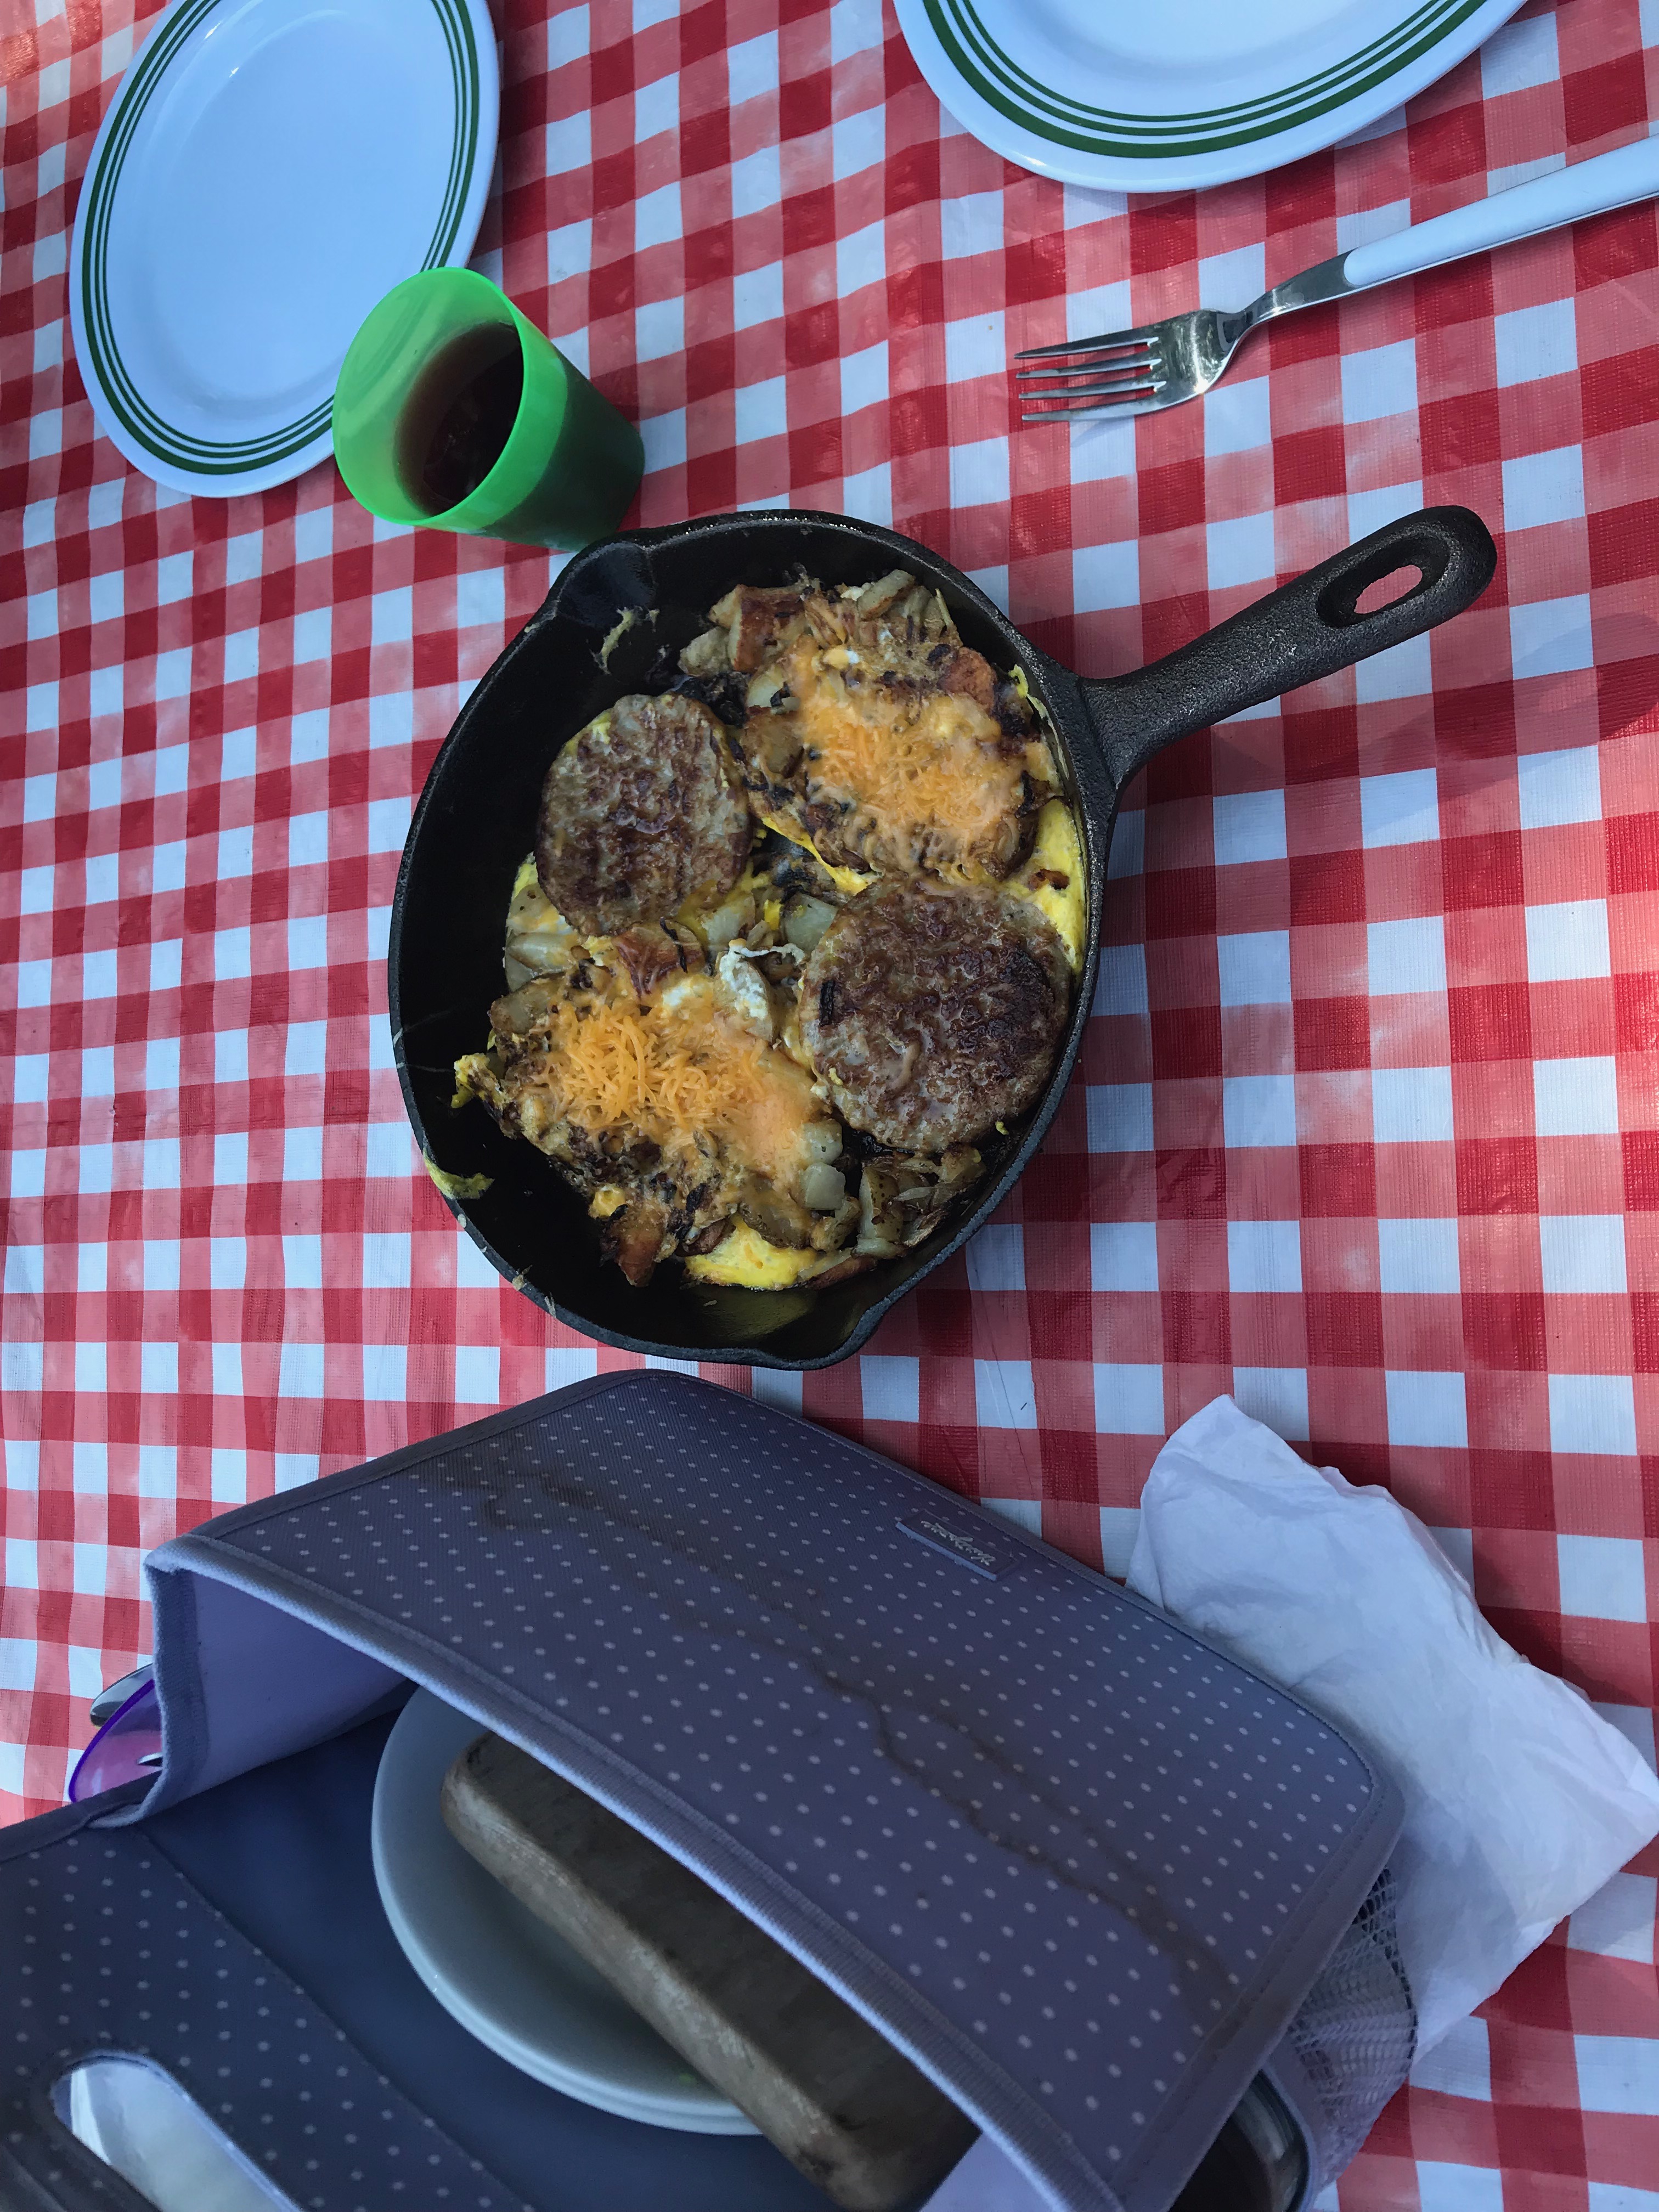
But then:
And, of course, there is the cast iron all-in-one breakfast: sausage patties with eggs and sauteed leftover potato, onion, with cheese on top.
Due to the various arrangements and travels of family members through the last winter holidays, Hubby and I did not get to enjoy a traditional roast turkey dinner with all the trimmings. But we had a 15 pounder in the freezer. Well, it was time. Hubby roasted the turkey and made his famous stuffing. He also made smashed potatoes. I made the turkey pie and cranberry sauce. It is nice having a house-husband around. When I came home from work I just had to make the gravy.
Betty Crocker’s recipe was used for the cranberry sauce. Unfortunately it did not gel. It was tasty but did not gel. My daughter had that problem a few years ago. We did not figure out why.
4 cups cranberries
2 cups water
2 cups sugar
I admit I halved the recipe. Was that the problem? I also did not follow the instructions strictly. But I never had in the past either. One is supposed to bring the sugar and water to a boil and boil rapidly for 5 minutes before adding the cranberries. Once added boil this for an additional 5-8 minutes. So I brought the water and sugar to a boil, maybe let it boil a minute or two, then poured in the cranberries which were frozen. I let this boil away for 10-15 minutes since I failed to watch the clock.
Meanwhile life goes on. Hubby continues to job search. He keeps busy doing various household tasks and chores and reads books and listens to the financial reports. (I’m counting on him to make our millions in the market so I can eventually retire.) Grandson turned 3. Our debit cards got hacked. We can’t seem to lose weight, even though I walk to and from work most days. We watch too much Netflix and complain about no content. I got a bird book and have casually taken up bird watching. But now that I am looking, the birds are not staying put long enough for me to figure out what they are. Ordinary life is a good life. Blessings to all!
I may or may not have posted this recipe before. I have a hard time keeping track. There are just so many recipes out there, and just so many that I keep going back to. On occasion I have spotted an interesting new one to try, but have not been adventurous lately.
I am almost three years into blogging, or is it four? It is actually four. I did not intend for this to just be a post of recipes but who am I to think people are interested in my musings on my ordinary life?
Life has happened in the four months since I last posted here. Hubby was laid off and is at that borderline age of contemplating whether this should lead to retirement but not quite there yet, so a job search continues. Leo the Dog had to be let go to doggy heaven after 13 1/2 years of life and 2 1/2 years as part of our family. 😦 Camping season is upon us and we managed to survive a week of biting black flies and chiggers in the Vermont woods. And now that Leo is not a consideration I have been able to look at the State Parks for camping but it is a bit late in the season already to find weekend spots at the shoreline parks.
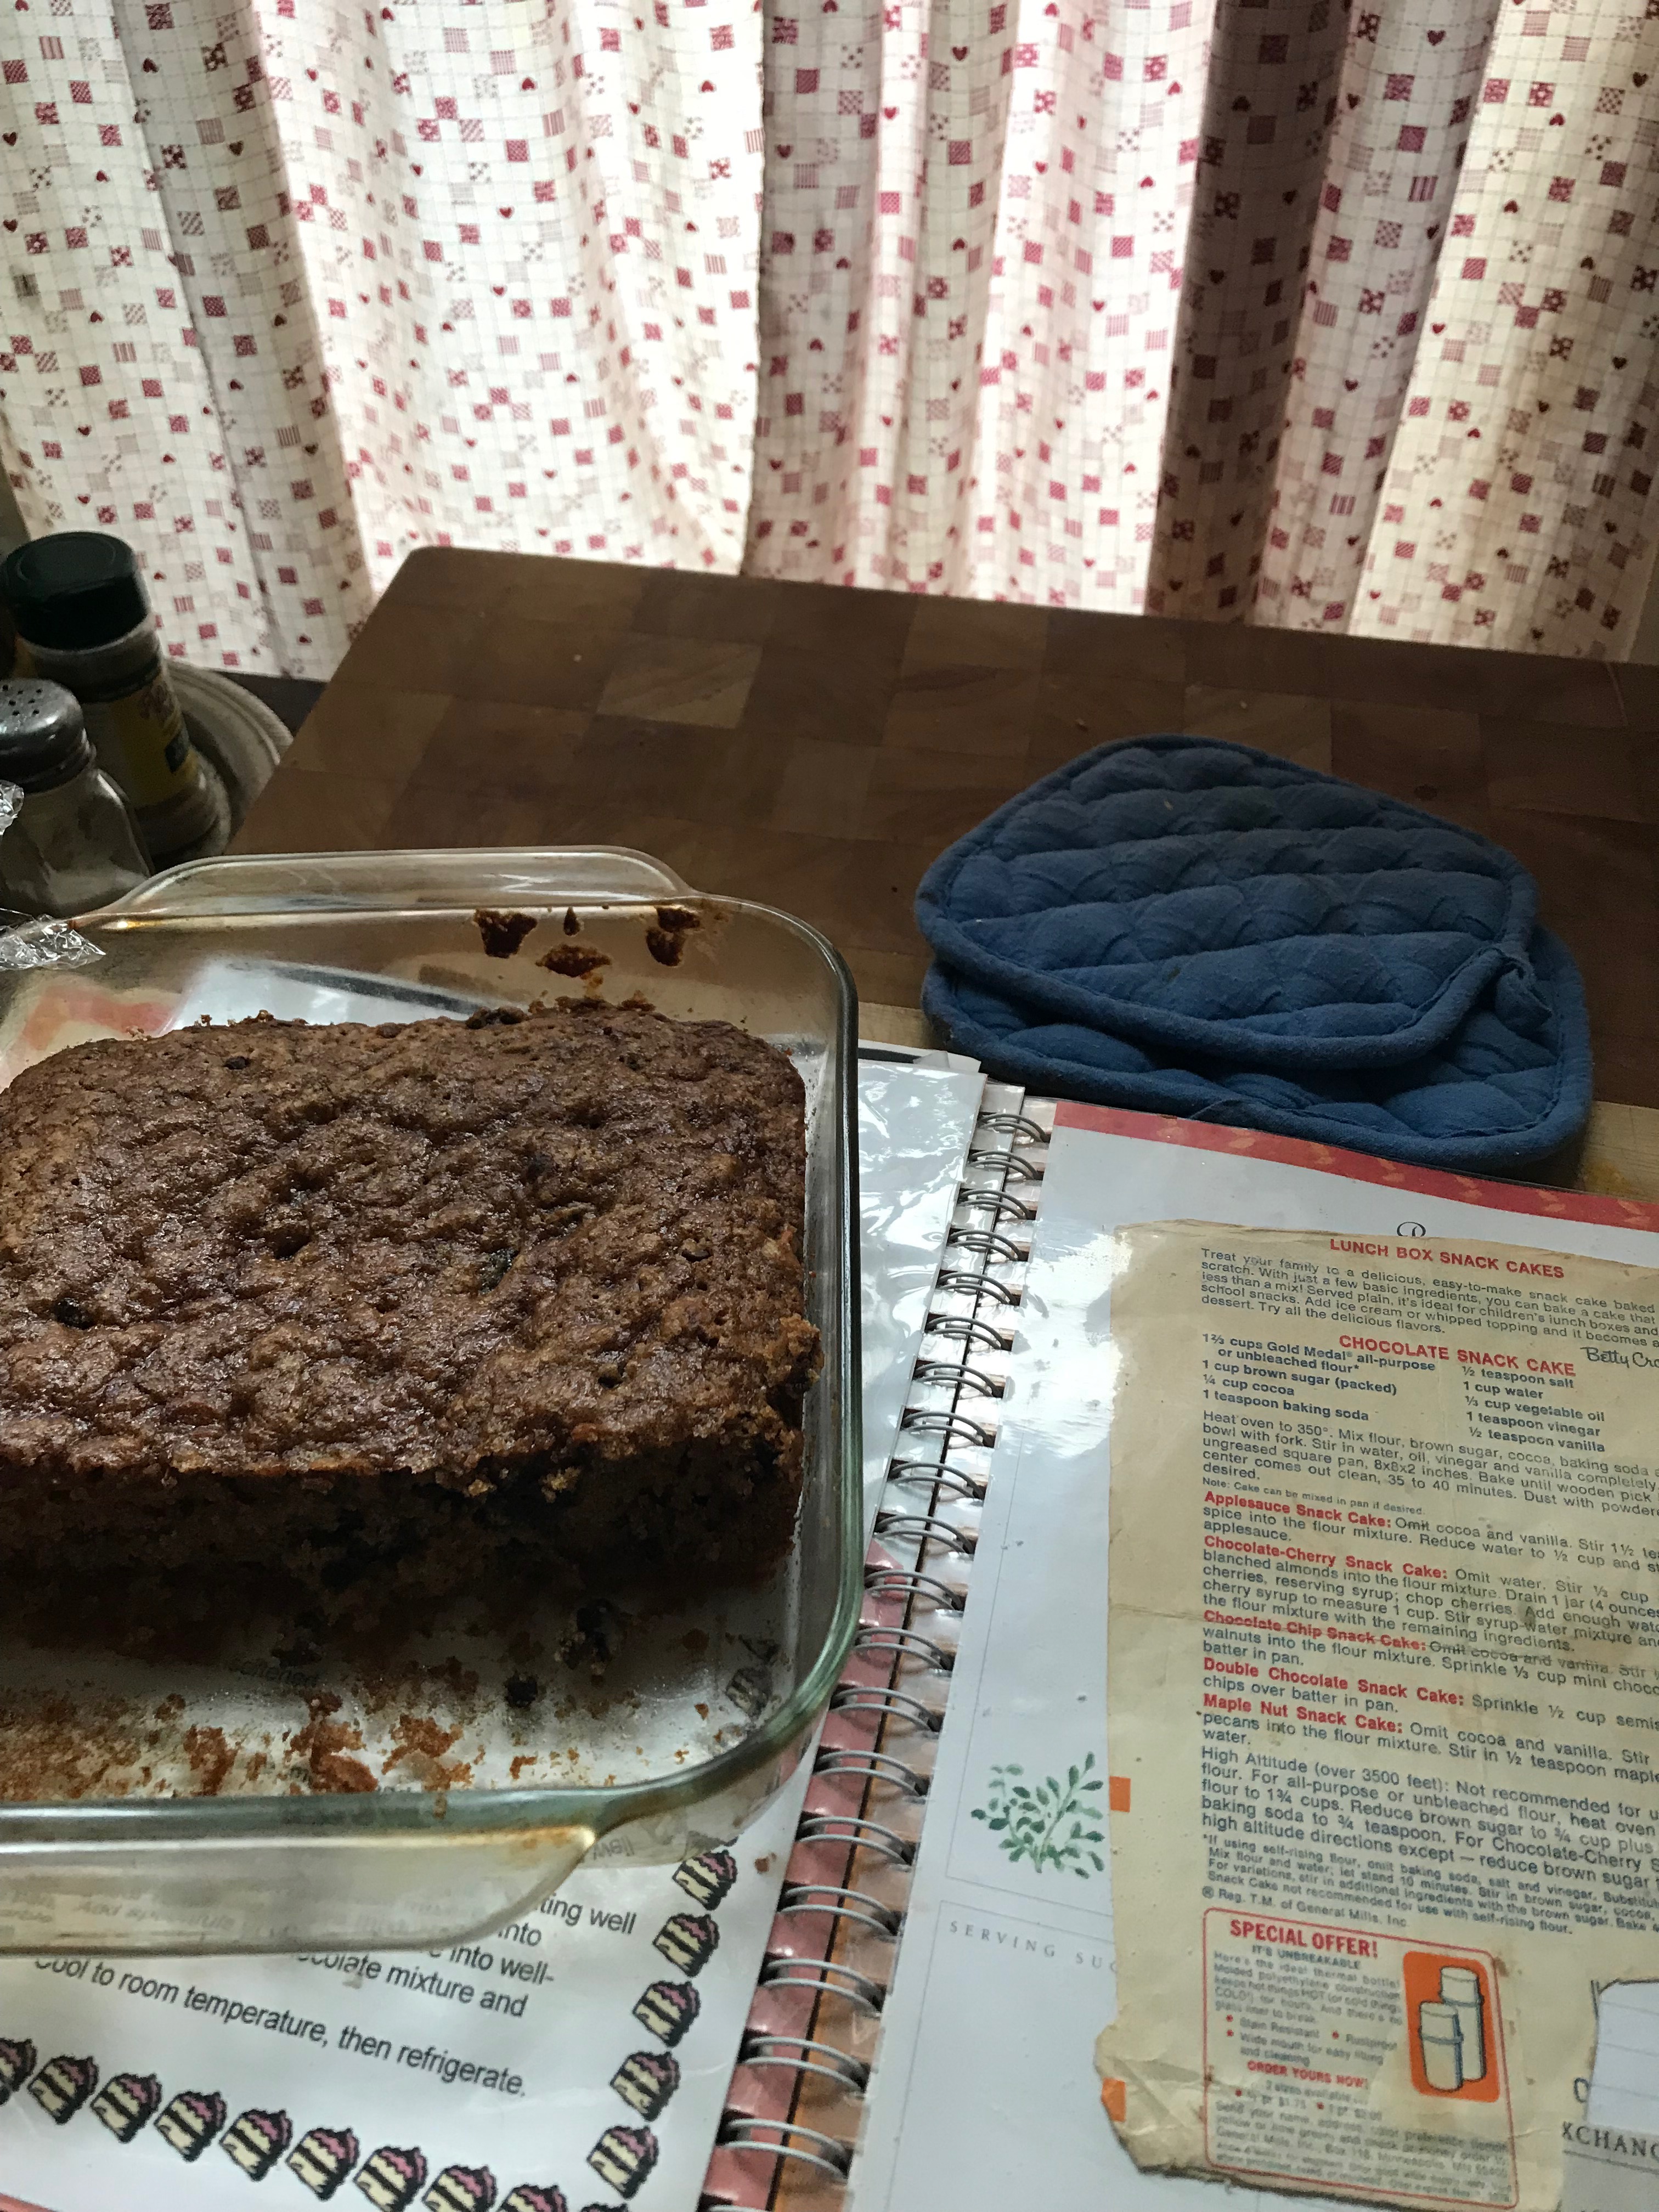
The other day I needed to bake. Something. Anything. This snack cake recipe is an easy favorite and it has variety. I made the applesauce version with a few tweaks.
1 2/3 cups flour; I used one cup all-purpose and 2/3 whole wheat pastry
1 cup brown sugar, packed
1 teaspoon baking soda
1/2 teaspoon salt
1 1/2 teaspoon gingerbread spice (recipe called for allspice)
1/2 cup unsweetened applesauce
1/2 cup water
1 teaspoon vinegar
And my own additions:
1/4 cup raisins
1/4 cup chopped pecans
1/4 cup mini chocolate chips
Mix everything together. I do the dry ingredients first and then add the wet and the additions. Put in 8 inch square pan and bake at 350 degrees F for 35-40 minutes. All done!
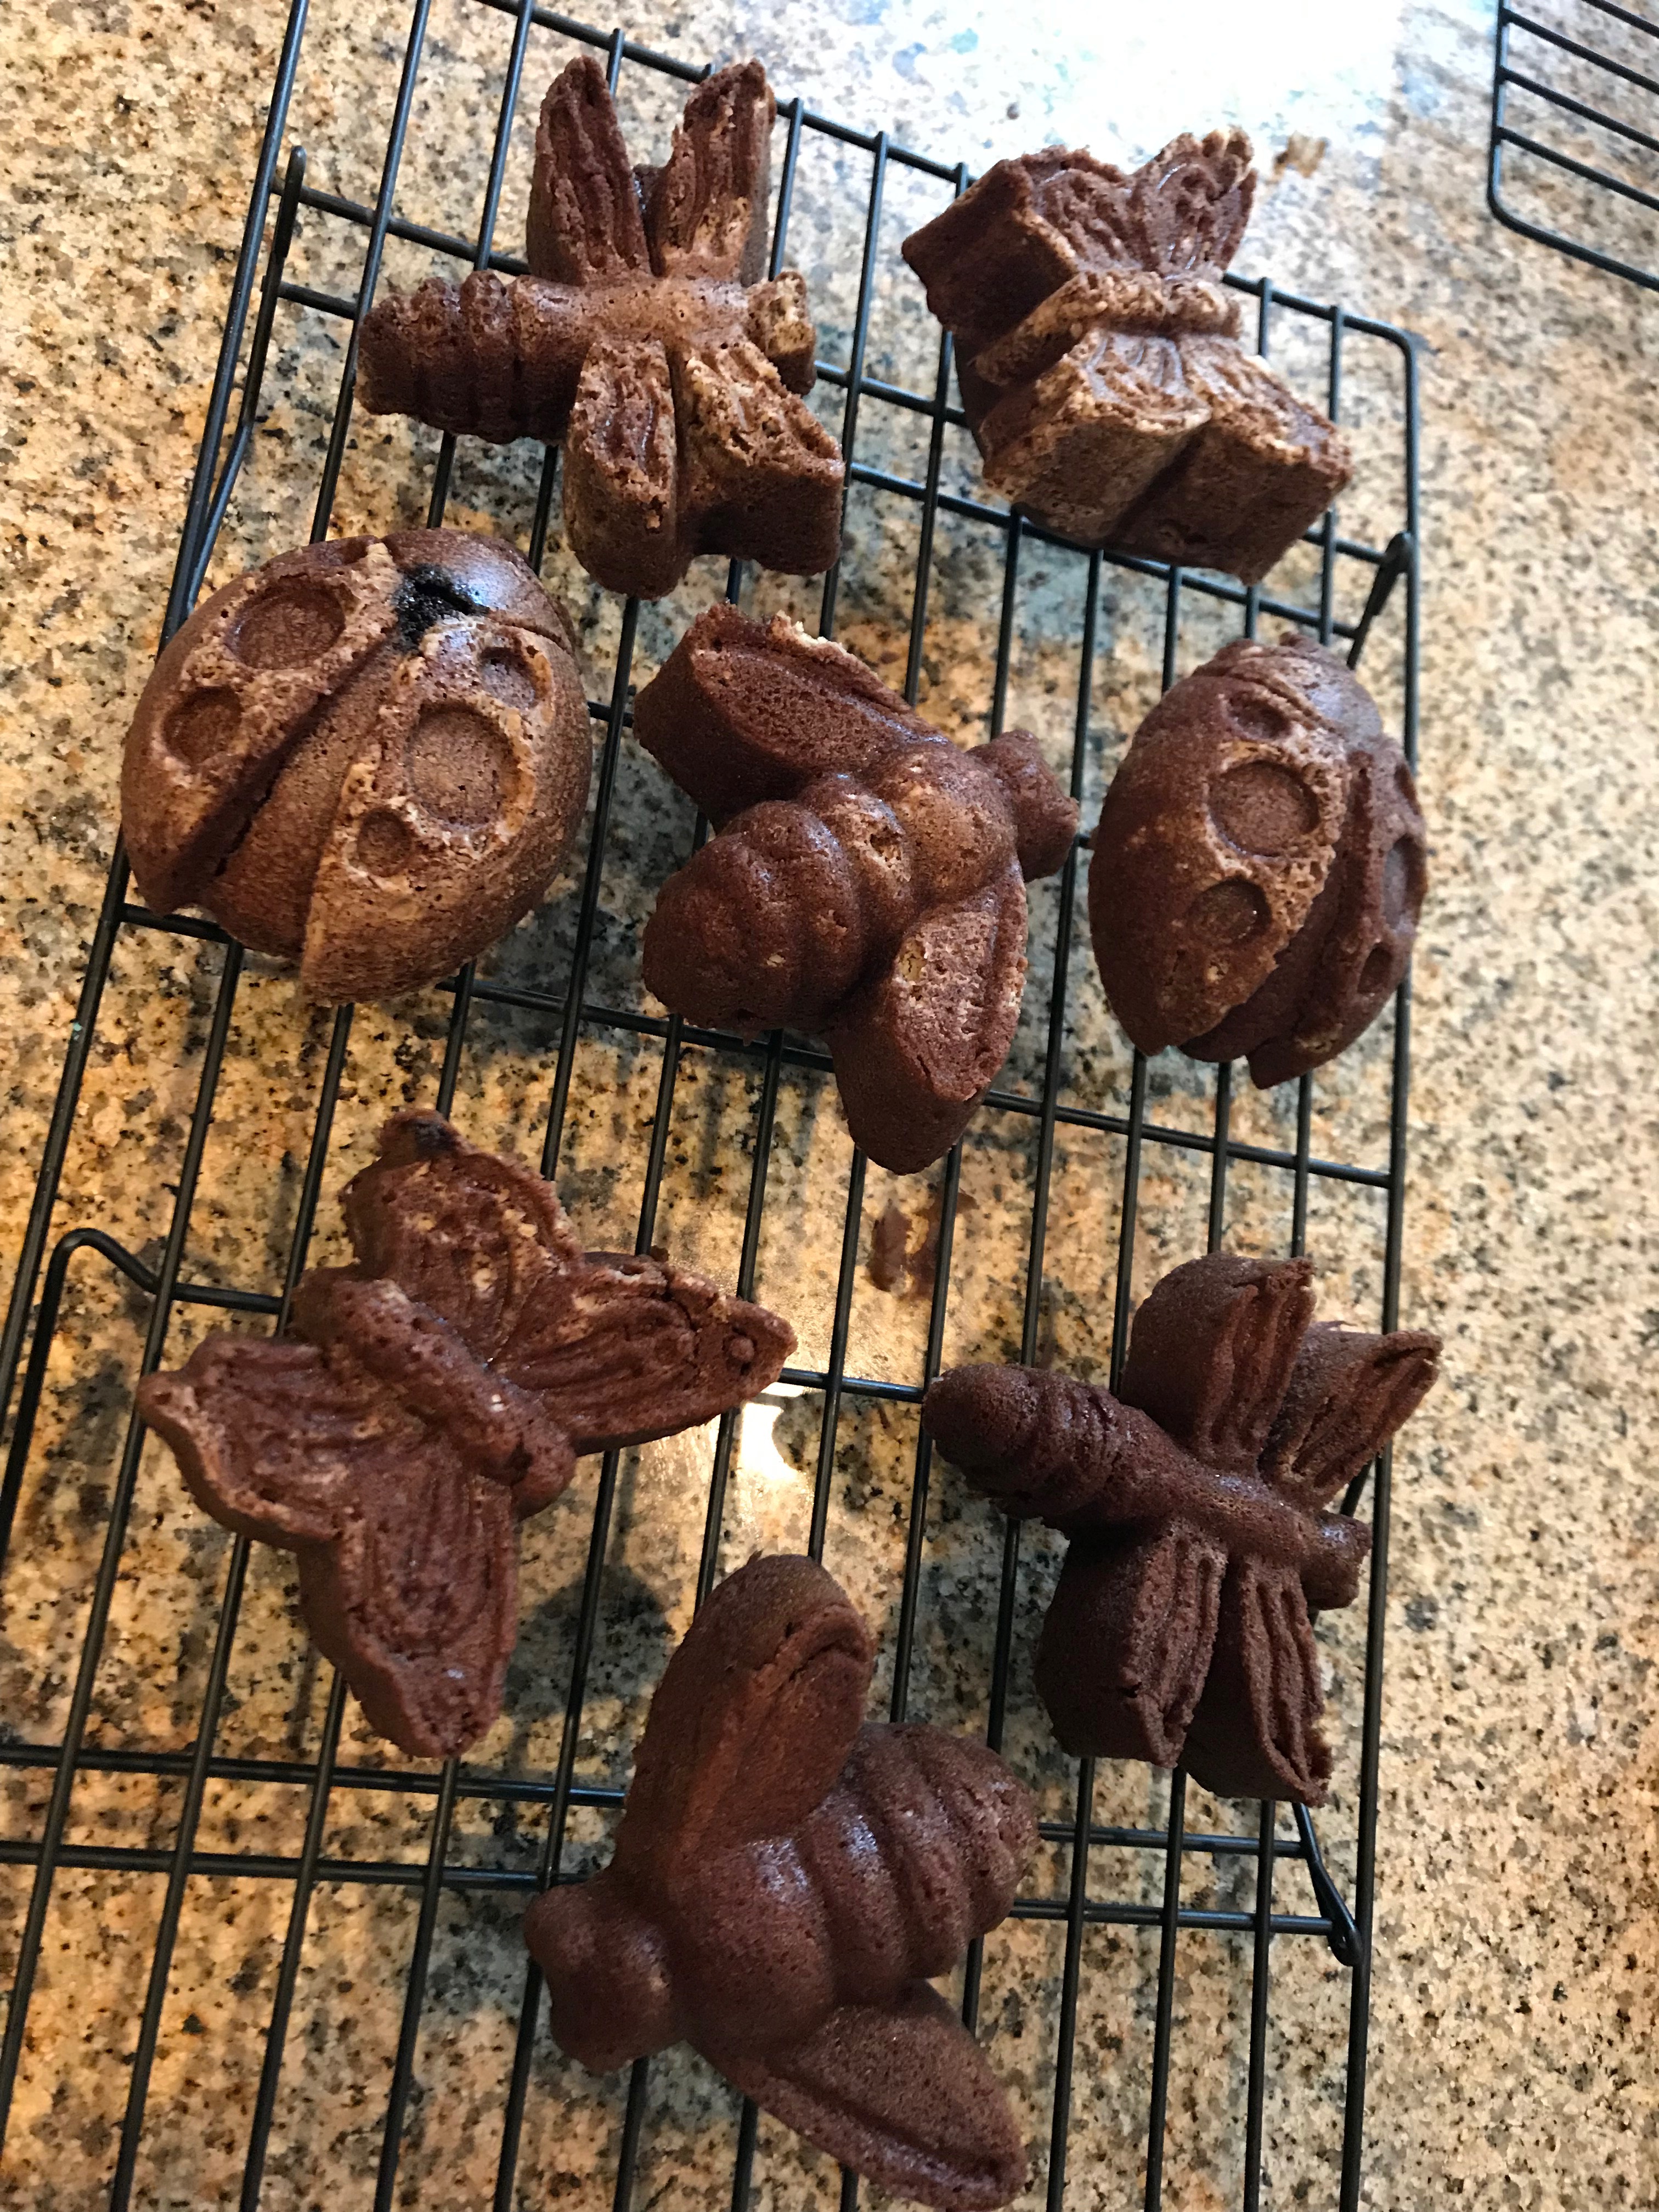
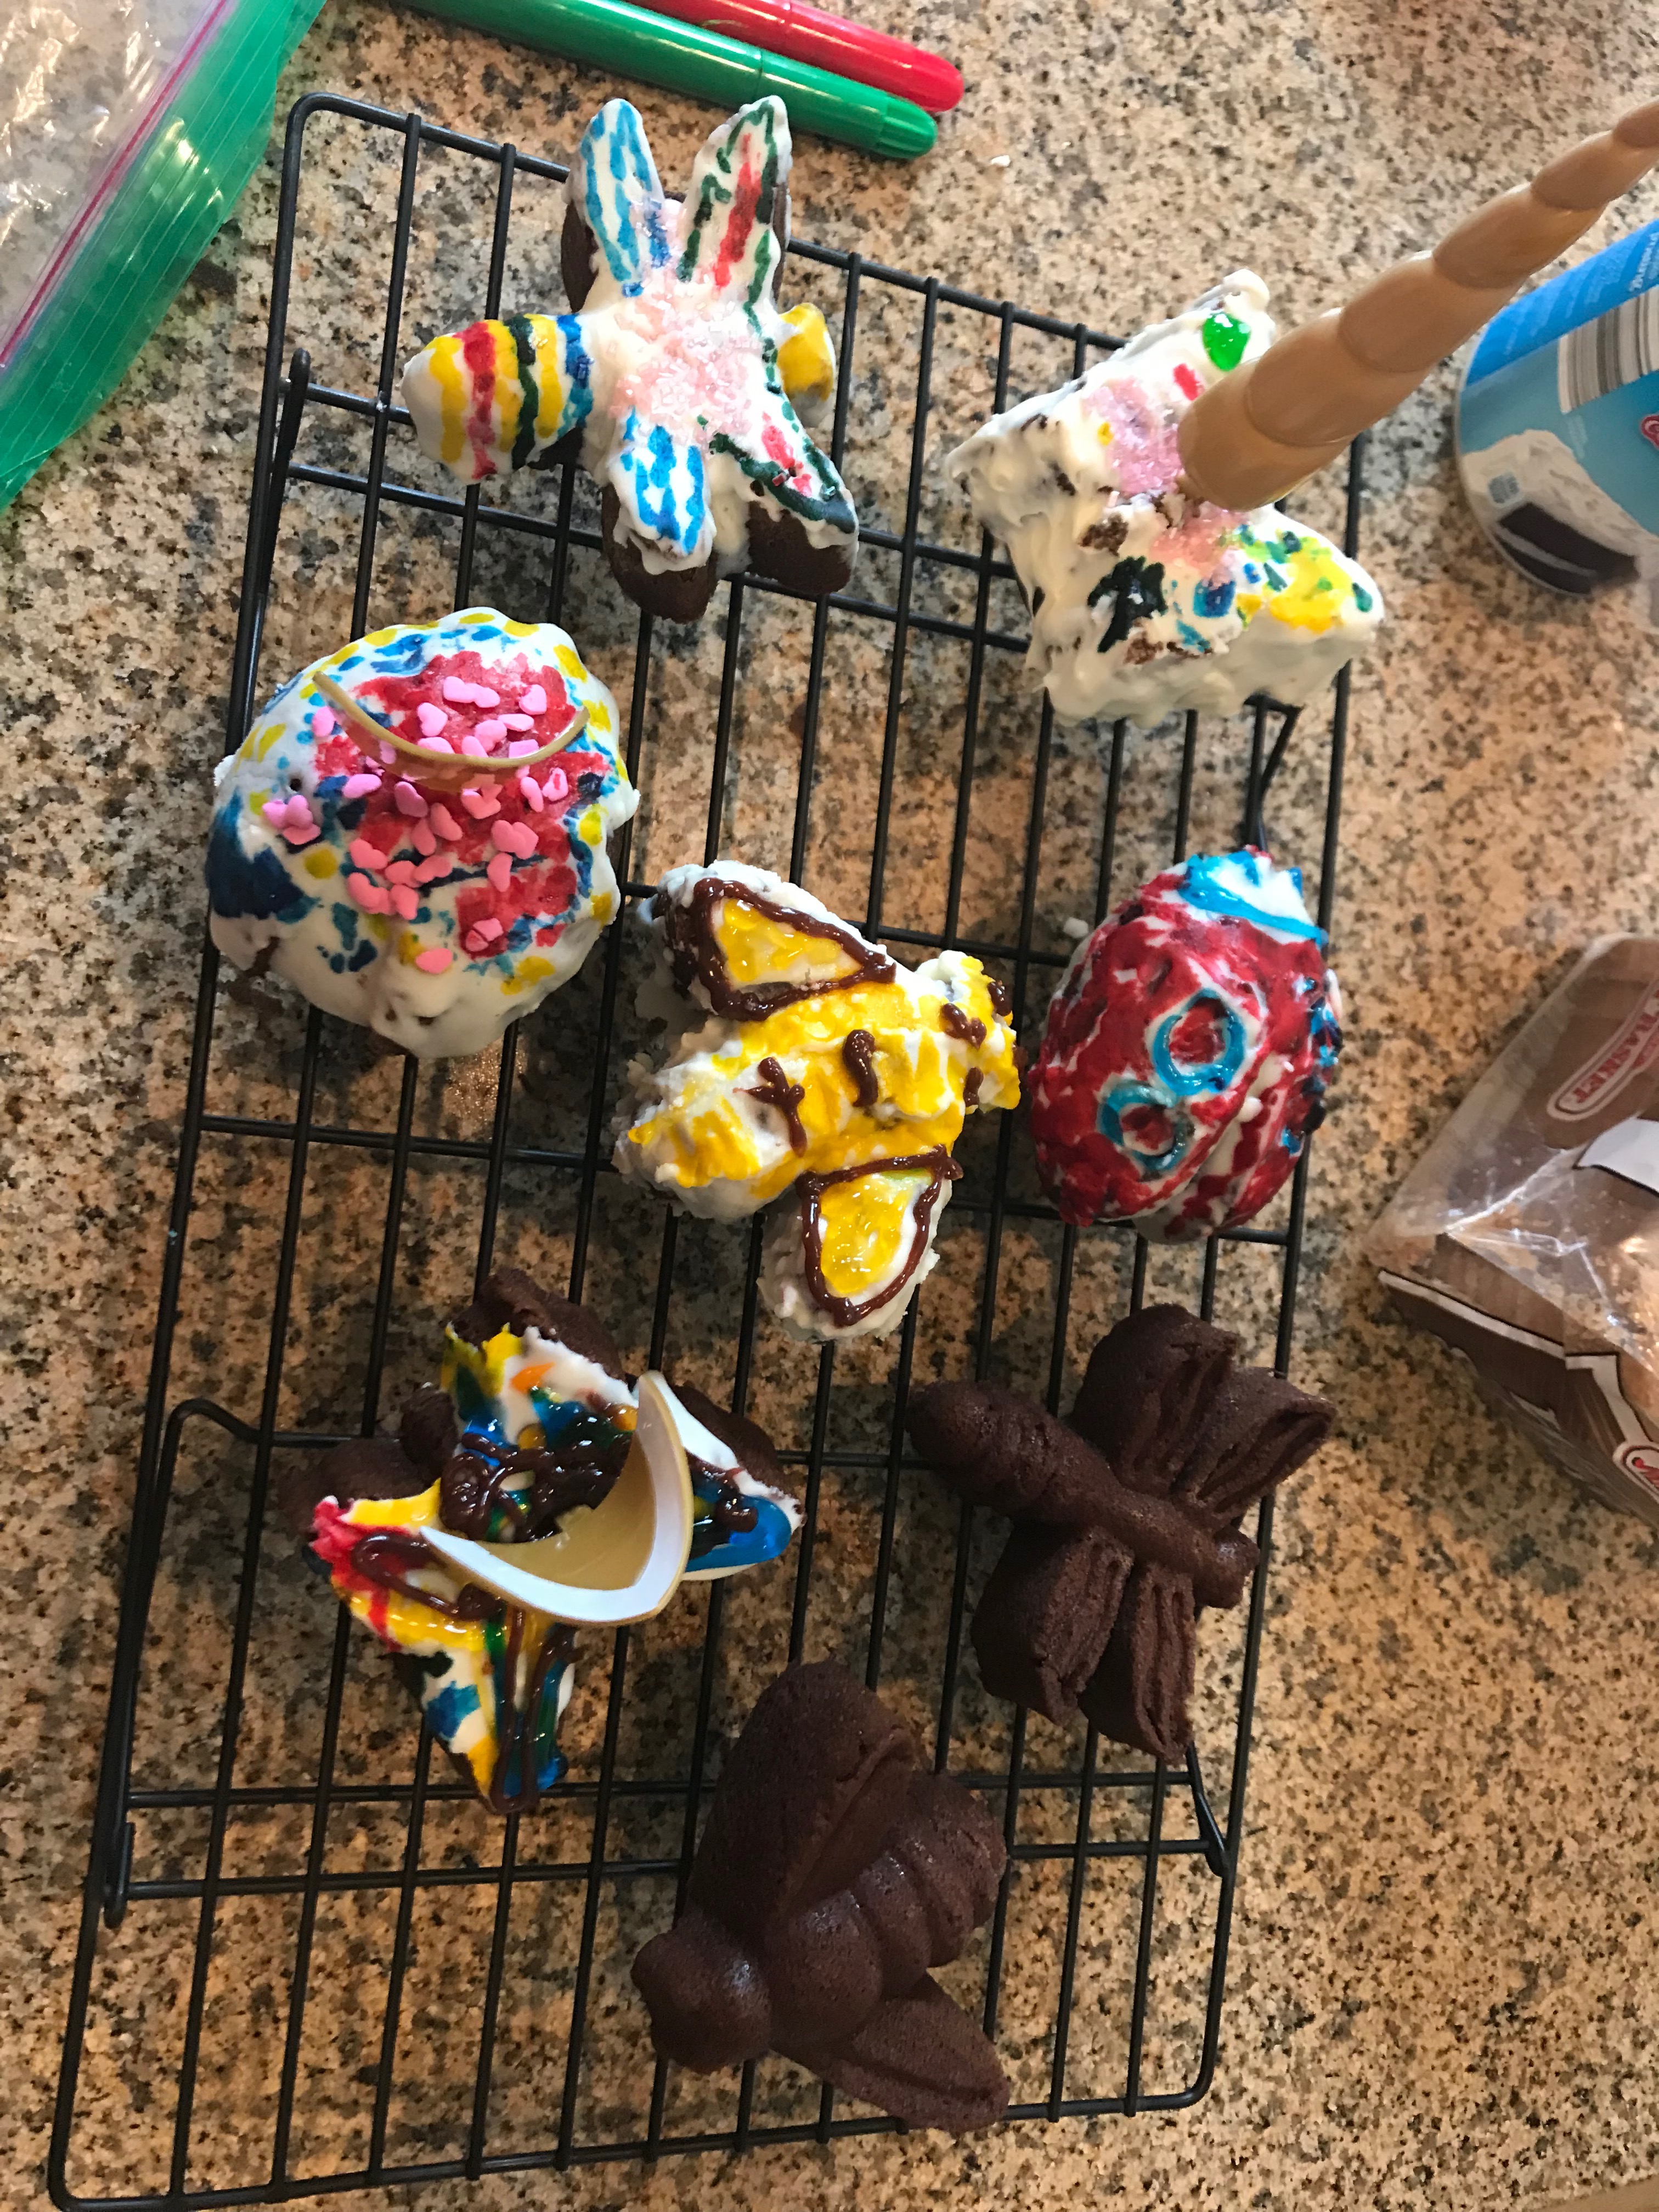
This recipe makes a one layer cake. I made the chocolate version to make “bug cakes” for my daughters birthday. The grandchildren helped me decorate them. I bought this fancy pan for $3.50 at an estate sale last summer.
And yes I am aware that there is a unicorn butterfly. It’s all good. 🙂
The cookbook in the title was written by Sarah Wilson, copyright 2015.
I have this book on my Kindle and find reading recipe books on my iPad more fitting than on the Kindle device. I was looking for sugar-free recipes for baking. This book is more about eating whole foods, eating the whole food, eating real food, and food that is good for the gut. There are many interesting recipes. I will be making the bone broth in my slow cooker soon. I found beef marrow bones at the grocery store.
This recipe is for a pasta/marinara sauce that uses no tomatoes. I was thinking of cooking ravioli the other night and Hubby says to go light on the tomato sauce. We are of the age that what we used to eat does not treat our bellies very well. Tomato sauce is one of those food items that we eat sparingly, even though tomatoes are good for you. So I think it would be a cool thing to give this recipe a try. So I did. The only variation from the book is that I used canned beets, not a fresh 14 ounce large beet from the produce section. I looked but the beets were small and canned beets were more economical. And my olive oil was not extra virgin, and I used dried oregano instead of fresh, and store-bought vegetable broth instead of home-made.
2 Tablespoons olive oil
4 shallots peeled and finely chopped
6 cloves garlic, finely chopped
2 14-ounce cans of beets (not pickled), drained
2 celery stalks, coarsely grated
3 carrots, coarsely grated
1 teaspoon sea salt
1 teaspoon dried oregano
2 cups vegetable stock
1/4 cup pitted kalamata olives (she states this is for the umami flavor)
2 Tablespoons lemon juice
Not wanting to coarsely grate and finely chop the various veggies, I put them all through the grater attachment of my food processor. This may not have been necessary for the canned beets but I did so anyway. If you don’t do that you will need to grate and chop the shallots, garlic, beets, celery, and carrots. Cook these in the olive oil for about ten minutes until the shallots are clear. Then add the sea salt, oregano, and the stock and bring to a boil. Then cook this at a simmer for 15 minutes until all the veg are tender. This I did not time seeing as how the canned beets are already cooked (aren’t they?) and I had thoroughly shredded the vegetables in the processor. So I left these on the stove for about ten minutes while I cleaned and dried the processor and other beet touched kitchen surfaces.
Now this gets transferred to the blender and the kalamata olives and lemon juice is added. I had thought of using an immersion blender but Hubby informed me that one attachment foot was broken and would shoot food upwards. We’re cooking with beets here people so that could be a big mess! So I got out my blender and poured the whole pot of red stuff into it. No one told me to let it cool a bit. So the lid wanted to fly off and the knob in the lid got sucked down tight into the lid. No real harm done. After the initial blending, I re-blended the sauce half at a time. This made just about 5-6 cups of sauce.
This does taste like a marinara sauce. I think using fresh oregano would have brightened up the flavor. I served a cup of this over the tortellini we had for supper. It appears a little pinkish but not overly much. I now have two pints in the freezer for future use.
I made Betty Crocker’s Cookbook Crisp Waffles (page 196). I have made this recipe before because my grandchildren like for me to make them waffles when they come to my home. The youngest cracks the eggs and the older one measures the ingredients. I did not have them here to help me with these..
I made the whole wheat variation. I used a non-dairy milk because that is all we had in the house. I did not want to use up the half-and-half that we use for coffee. I have used that in a diluted form in the past as a sub in for milk.
2 eggs
1 3/4 cups milk
1/2 cup vegetable oil
2 cups whole wheat flour
4 teaspoons baking powder
1 tablespoon packed brown sugar
1/2 teaspoon salt
a little bit of wheat germ
a little bit of chopped walnuts
I mixed the ingredients in my blender. I do not have the world’s most powerful blender. It is an old Oster with two speeds. Hubby likes it that way. I think I would like one of the newer high-tech, lots of speeds one. But I am working hard at not buying replacements for things that are not broken. There is too much stuff in this house as it is.
Heat waffle iron as directed by manufacturer. Make waffles. The added nutrition to these is sprinkling a tablespoon of wheat germ (yes, I have this in my fridge) and a sprinkling of walnuts over batter immediately after pouring it onto the iron. Serve with butter and syrup.
I forgot the nuts on this one.
Thus far this plan of cooking from the Betty Crocker’s Cookbook is working out quite well. I wonder what I’ll make next?
This week’s Betty Crocker’s Cookbook makes are Crisp Ginger Cookies (page 276) and Crisp Waffles (page 196).
I was reading about how to reduce the sugar in cookies and got inspired by this to make ginger snaps. Hubby likes the crisp ones and I like the chewy ones. These are crisp. The recipe says one can roll them out 1/8-inch thick or paper-thin. I rolled them into a log and cut them into 1/8-inch-ish rounds. The majority of the sugar in these is the molasses and I did not reduce that at all. And the original recipe calls for shortening so I use butter instead.
1/3 cup molasses
1/4 cup butter
2 tablespoons packed brown sugar
1/2 teaspoon salt
1/4 teaspoon baking soda
1/4 teaspoon baking powder
1/4 teaspoon ground cinnamon
1/4 teaspoon ground ginger
1/4 teaspoon ground cloves
dash of ground nutmeg
dash of ground allspice
Mix the molasses, butter, and brown sugar. I whisk together the dry ingredients in a separate bowl and then add this to the butter mixture. Beat until combined. This makes a smaller amount of cookie dough than I expected. The recipe said it would make 1 1/2 dozen 1/8-inch thick cookies or 3 dozen paper-thin. Once the dough is mixed, put in refrigerator for 4 hours. I left mine in the fridge for almost 24 hours.
Instructions say to roll out and cut in 3 inch rounds. As I was preparing to do this, I found the the dough was just as easy to shape into a log. I figured this would be just as good, so that is what I did. I carefully sliced the dough and put it on parchment paper and baked these in 375 degree F oven for 8 minutes. I was not sure if that was enough time, they looked soft, so I left them in the oven for one more minute. I slid them off the parchment onto the cooling rack. As they cooled they became crisp.
I wanted to bake brownies. I did not need to make brownies. I do not need to eat brownies. But I wanted to make brownies. I knew that the Betty Crocker’s Cookbook uses chocolate squares instead of cocoa, so I thought maybe these won’t turn out good (or should this be well?)and I wouldn’t feel compelled to eat them. Well…it is the rare brownie that cannot be eaten. And these are very edible!
Not the best looking brownie.
Just uploading the photo made me go get a couple to nibble on.
So Hubby asked if I would put Walnuts in the brownies. Sure. While getting the ingredients together I found a bag of green and red M&Ms that I did not use for Christmas baking. I asked Hubby if he minded those in his brownies as well. So these brownies are loaded. I used the Fudgy Brownie variation, also on Page 271.
2 ounces unsweetened chocolate
1/2 cup butter
1 cup sugar
2 eggs
1 teaspoon vanilla
1/2 cup flour (I used whole wheat pastry flour; you know, to be healthy.)
1/4 teaspoon salt
1/2 cup chopped walnuts
1/2 cup M&Ms
Melt chocolate and butter together. Mix in sugar, eggs, and vanilla. Whisk this for a time, preferable 3 minutes, but I didn’t do that long. Supposedly that will help get the meringue crackly top surface. Stir in remaining ingredients. Spread into prepared pan and bake.
Preheat the oven to 350 F prior to mixing the batter. This variation called for a 9×9 inch pan or 12×7.5 inch pan. Neither of which I have. My brain had a glitch and I used a 13×9 pan. I’m not sure why I thought that was a good idea but by the time I had sprayed it and lined in with foil and sprayed the foil again, it was too late to turn back. I have 8×8 and a 10×6 but my brain was not working on this one. I figured they would be very thin (there is no rising agent in fudgy brownies) and I would bake them for the least time. I baked them for about 19 minutes.
They did turn out thin. They did turn out fudgy. They did not have that shiny crackly top. Remember to remove them from the foil while still warm; I have brownie chunks along with my nicely squared brownies.
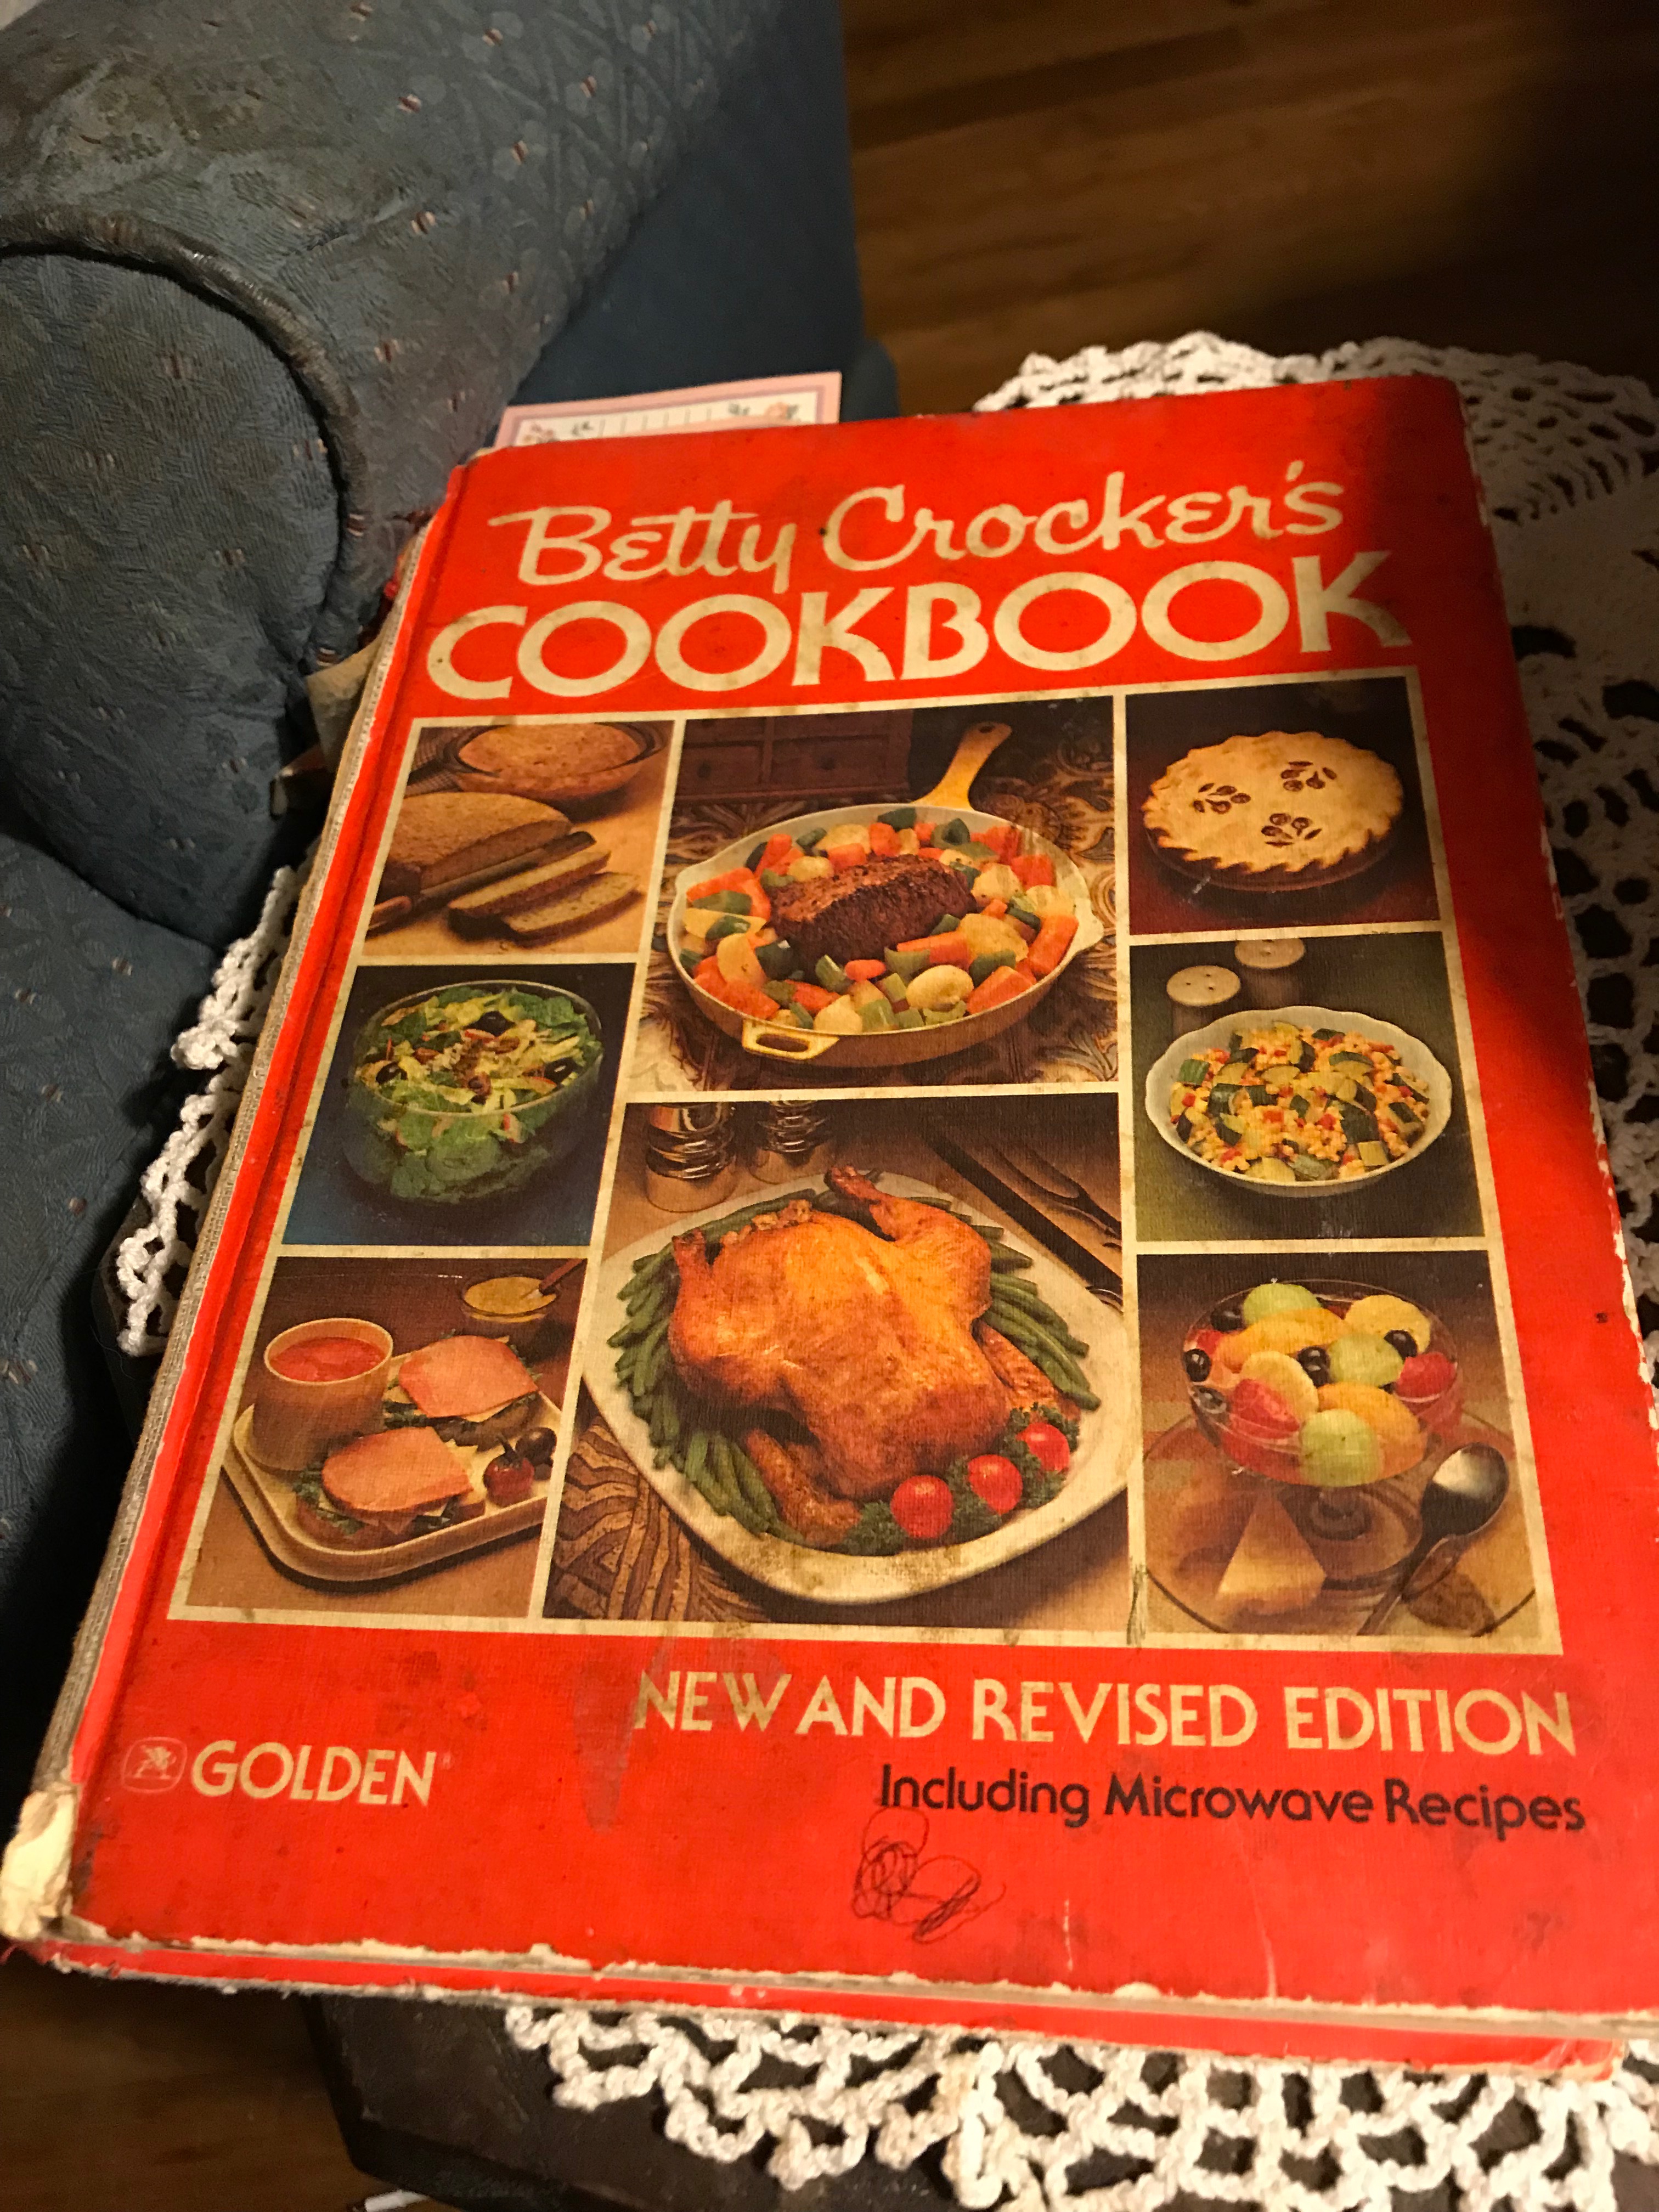
To be fair my 1978 edition of Betty Crocker’s Cookbook has no mention of quinoa anywhere in it. Not that quinoa was not known but it was not the superfood in popular cooking at that time. We older people struggled to learn how to pronounce the word.
I was actually looking for a recipe for sausages and rice that did not have tomatoes. We had been eating out at an Italian restaurant weekly and I wanted something differently seasoned. I also wanted something with vegetables. The following meal is inspired by Betty’s Rice and Corn Bake, page 109. That recipe is basically rice, corn, cheese, eggs, and milk. Mine is a little different.
2/3rd pound chicken sausage link cut into 1 inch pieces and sauted. The sausage I had was flavored with spinach.
2 cups frozen mixed vegetables; I thought about using only corn but I like color in my foods.
4 cups cooked quinoa; I had thought about using brown rice; maybe next time.
1 cup shredded cheddar cheese
1/2 cup milk
3 eggs
3/4 tsp dry mustard
salt and pepper to taste
1 tomato, sliced
Cook the quinoa as directed by the package. I cooked what I thought was the amount for 4 servings: 1 cup quinoa in 2 cups of water. Cook the sausages in a bit of oil. Heat oven to 350 F.
Now combine. First mix the vegetables, quinoa, and sausages in greased 2 quart casserole or baking pan. Sprinkle cheese on top. Combine eggs, milk, and seasonings. Pour this over the food in the pan. Place slices of tomato on top. Now bake for 40-45 minutes.
This made for a tasty and filling dinner. Hubby and I like to have “dinner in a bowl”. I deliberately arranged the tomato slices to make four servings. This was a lot of food and I wanted to insure two meals.
After thoughts: This is a lot of quinoa. I should have cooked 1/2 the amount. Actually I think brown rice may be a better choice for more appealing texture.
Happy New Year to all. I hope to write more, play Solitaire less, Facebook even less, and maintain Faith, Hope, and Love for all.
My sister had an idea a few years ago to cook through a cookbook in a year. I never could choose which of my 50+ books to use, but this year I will use Betty Crocker as my go-to book. This does not mean I will cook each and every recipe, nor each recipe exactly, but will use this standard American Cookbook as the first source of inspiration. For example, if I want to make to make pork chops I will peruse this book’s recipes to determine how to fix them. So I did make a breaded pork chop and Betty instructed to bake them on a rack in the baking pan in the oven. I did and they turned out nicely. I failed to take a picture so you must take my word for it.
Hubby was grilling ribs. Cole slaw is a nice side dish. I bought a package of broccoli slaw to use. I made a combination of Betty’s Coleslaw and her Old-Fashioned Cabbage Salad from page 138, plus ingredients from a variation.
1/2 package broccoli slaw
1 apple cored and diced
1/4 shredded cheddar cheese
2 Tablespoons dried cranberries
1/3 cup white wine vinegar
3 Tablespoons olive oil
1 Tablespoon sugar
pinch of celery salt
a few grinds of black peppercorns
My go-to pumpkin pie is Betty’s. I have made it before https://mykitchenmythoughts.com/2017/03/14/pi-day/. The problem I had this time is that the crust did not seem to bake through on the bottom. The edges were beautiful. What did I do wrong? I have never pre-baked the crust for pumpkin pie.
Hoppin’ John is on page 226. I did not use this recipe because this traditional New Year’s Day meal is made of rice, black-eyed peas, and pork in many different proportions and variations. I used bacon and added onion and spinach. The sprinkling of red pepper flakes was the only real thing I took from Betty.
Good morning readers. I just ate the most light and airy 210 calorie Brioche bun from a package from my Aldi grocery store. Heavenly! I have never made brioche. I do have a Fleischmann’s yeast recipe but why bake when one can buy the heavenly stuff? (Okay, there are plenty of reasons to do so if one is so inclined.) The Brioche bun goes very well with morning coffee.
Hubby wanted a mincemeat pie made with fruit and not meat. I’ve never had mincemeat made with meat. I’ve used jarred mincemeat for cookies before. I have made a plum based mincemeat before from a newspaper food column. I am not sure how long ago nor where the copy of that column is. So if Hubby is to have his pie, I needed to do research. I chose to look through my cookbooks instead of the web. I thought the older cookbooks would be the way to go but they had the meat in the mince. So this is based on the recipe from The Joy of Cooking 1997 edition. (So that is 20 years old but I have much older cookbooks (1940-1970) as well as some published in this century. It’s all perspective.
I made adjustments to the recipe so it is not Joy’s, it’s mine. And I had Hubby help since there was a lot of chopping involved and I had to figure proportions and get the ingredients together.
3 cups roughly chopped dried fruit; we used raisins, cranberries, dates, cherries, and apricots; I know these are small but chop them some more anyway
2 apples, peeled, cored, and chopped fine
2 largish pieces of crystallized ginger, chopped fine
1 cup walnuts, chopped
zest and juice of half a lemon
1/2 cup brown sugar
1/2 stick (4 Tablespoon) butter
1/2 cup apple cider
1 Tablespoon apple cider vinegar
1/4 cup brandy
1 teaspoon salt
1 teaspoon cinnamon
1/2 teaspoon ground nutmeg
1/4 teaspoon ground cloves
Don’t be intimidated by the list of ingredients. It’s mostly just chopping and then throwing everything into a pan.
in the beginning
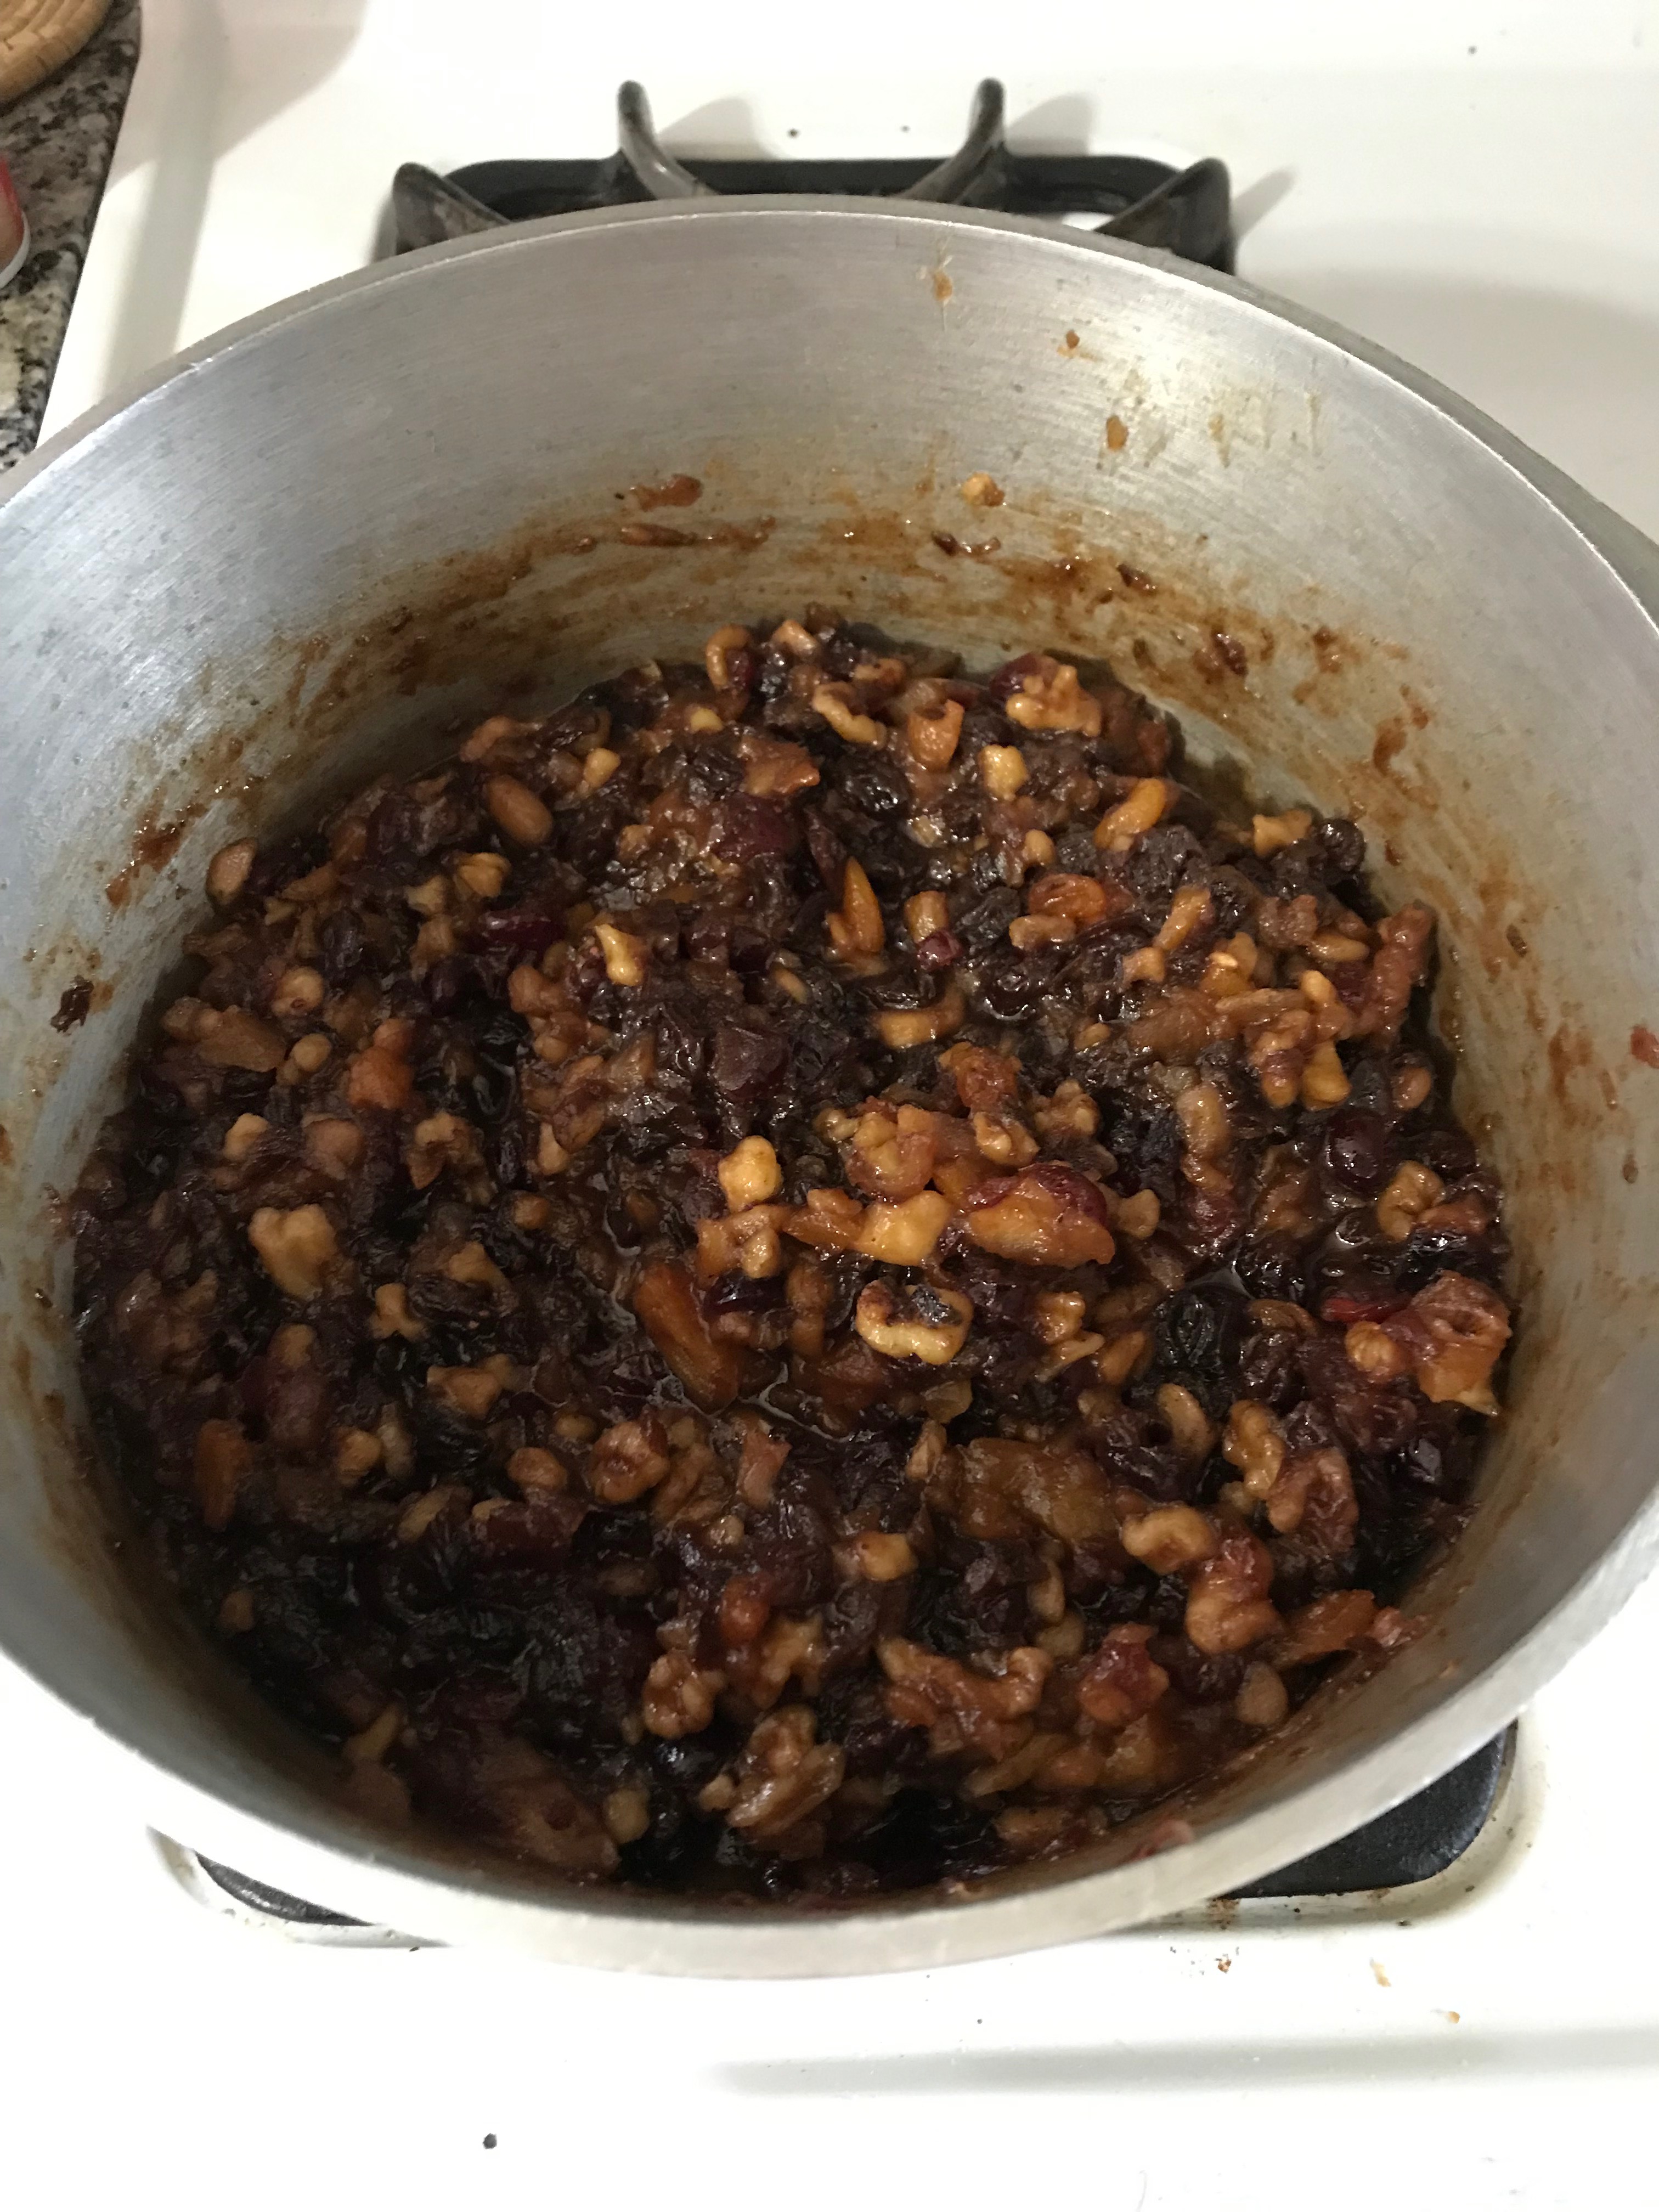
Bring the mixture to a boil, stirring occasionally. Lower the heat and simmer for 20 minutes, stirring occasionally. The mixture will come together and the bottom of the pan will be almost dry when scraped. This smells wonderful. Let cool.
after 20 minutes
Prepare pie crusts for a covered pie. This part is not homemade although I do know how to make and have one homemade pie dough disk in the freezer, but I needed two. So I have “emergency pie crusts” in the form of the “just roll and bake” type. I had rolled out the bottom crust into my favorite 9-inch pie pan and placed it in the fridge. I saw this, I think, on the GBBO or other baking show. This is supposed to help prevent soggy bottoms.
Scrape the mince mixture into the bottom crust and spread evenly. Top with the other crust any way you like. This could be lattice, solid, decorative. Cut vents or use a pie bird in a solid top crust. I thought I would be festive so got out the Christmas cookie cutters. Brush top with egg wash if desired: one egg or egg yolk with a splash of water. I also sprinkled the top with Demerara sugar.
In hind sight I would have cut the top crust differently but I am satisfied with the results. Paul and Pru would think it is a little sloppy, so no Star Baker for me!
should have put a star in the center
Bake the pie at 400 degrees F for 30 minutes. Then lower to 350 degrees F and bake for another 30-40 minutes. Cool on wire rack. (I think this is also to prevent soggy bottom.) Serve warm with ice cream.