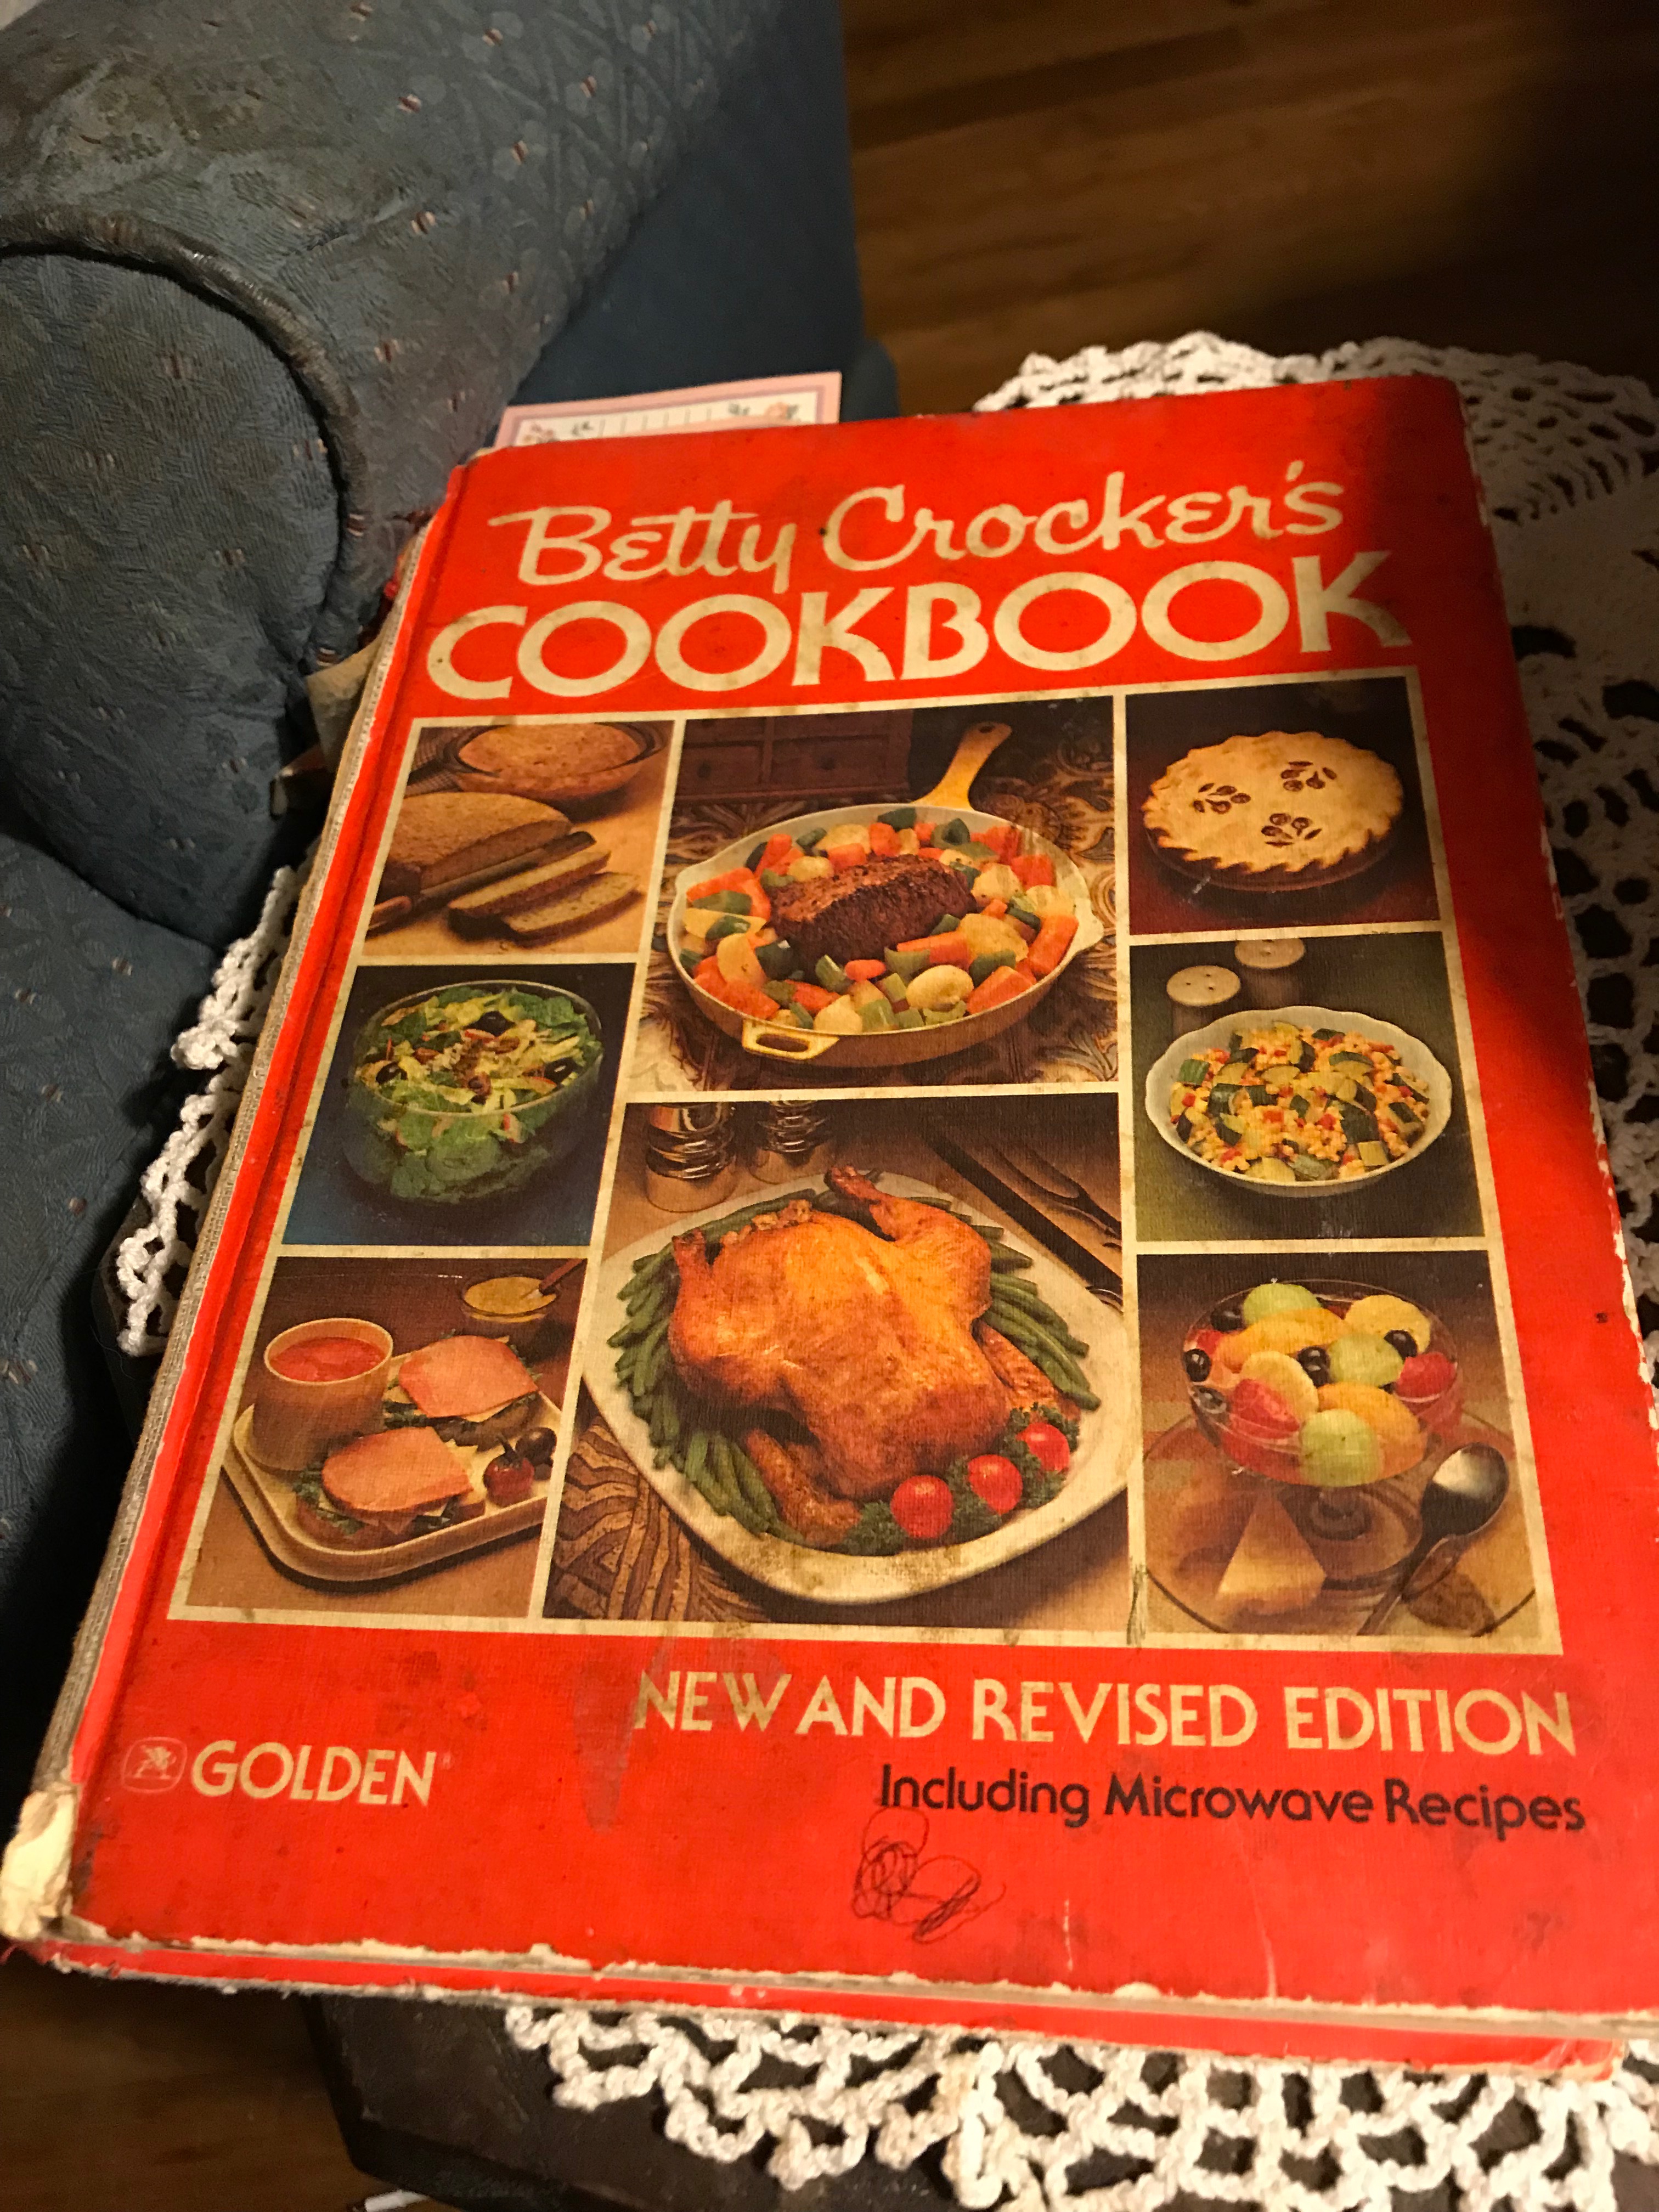
I like custard: tarts, pies, plain, caramel, the lot. I was wandering the house wanting to make a simple dessert of some sort. I looked up custard in several cookbooks and settled on the custard pie from Pushcarts and Stalls: the Soulard Market History Cookbook. When in St. Louis I like visiting the Soulard Market. Just walking into the spice shop is an olfactory treat.
I had one sheet of frozen puff pastry which I took out to thaw. I thought a puff pastry crust would add a bit of interest to a custard pie. Custard is milk/cream, eggs, sugar, and vanilla. Very simple and most ingredients are already in most kitchens.
- One unbaked pastry shell
- ½ cup sugar
- 3 eggs
- 2 cups cream: I had 1 1/2 cups cream so I topped it off with oatmilk.
- 1 teaspoon vanilla
- Nutmeg
- 1 egg white beaten until frothy
I omitted the last two ingredients. I forgot completely about the nutmeg, and did not bother coating the inside of the pie shell with the egg white.
I blind baked the puff pastry in the pie tin. I should have rolled it out a bit to fit better but I did not. This would have prevented a bit of seepage behind the crust. Ten minutes in a 400 degrees F oven did nicely.
Beat the custard ingredients in a mixer with a whisk or just by hand. Pour into the pie shell. Place on a baking sheet (important in case of leakage) and bake for 30 minutes.
In rereading the recipe now I find that I was supposed to reduce the temperature of the oven to 350 for the pie and the higher temperature was for the par-baking of the shell. Well, my pie took 35 minutes at the higher temperature anyway.
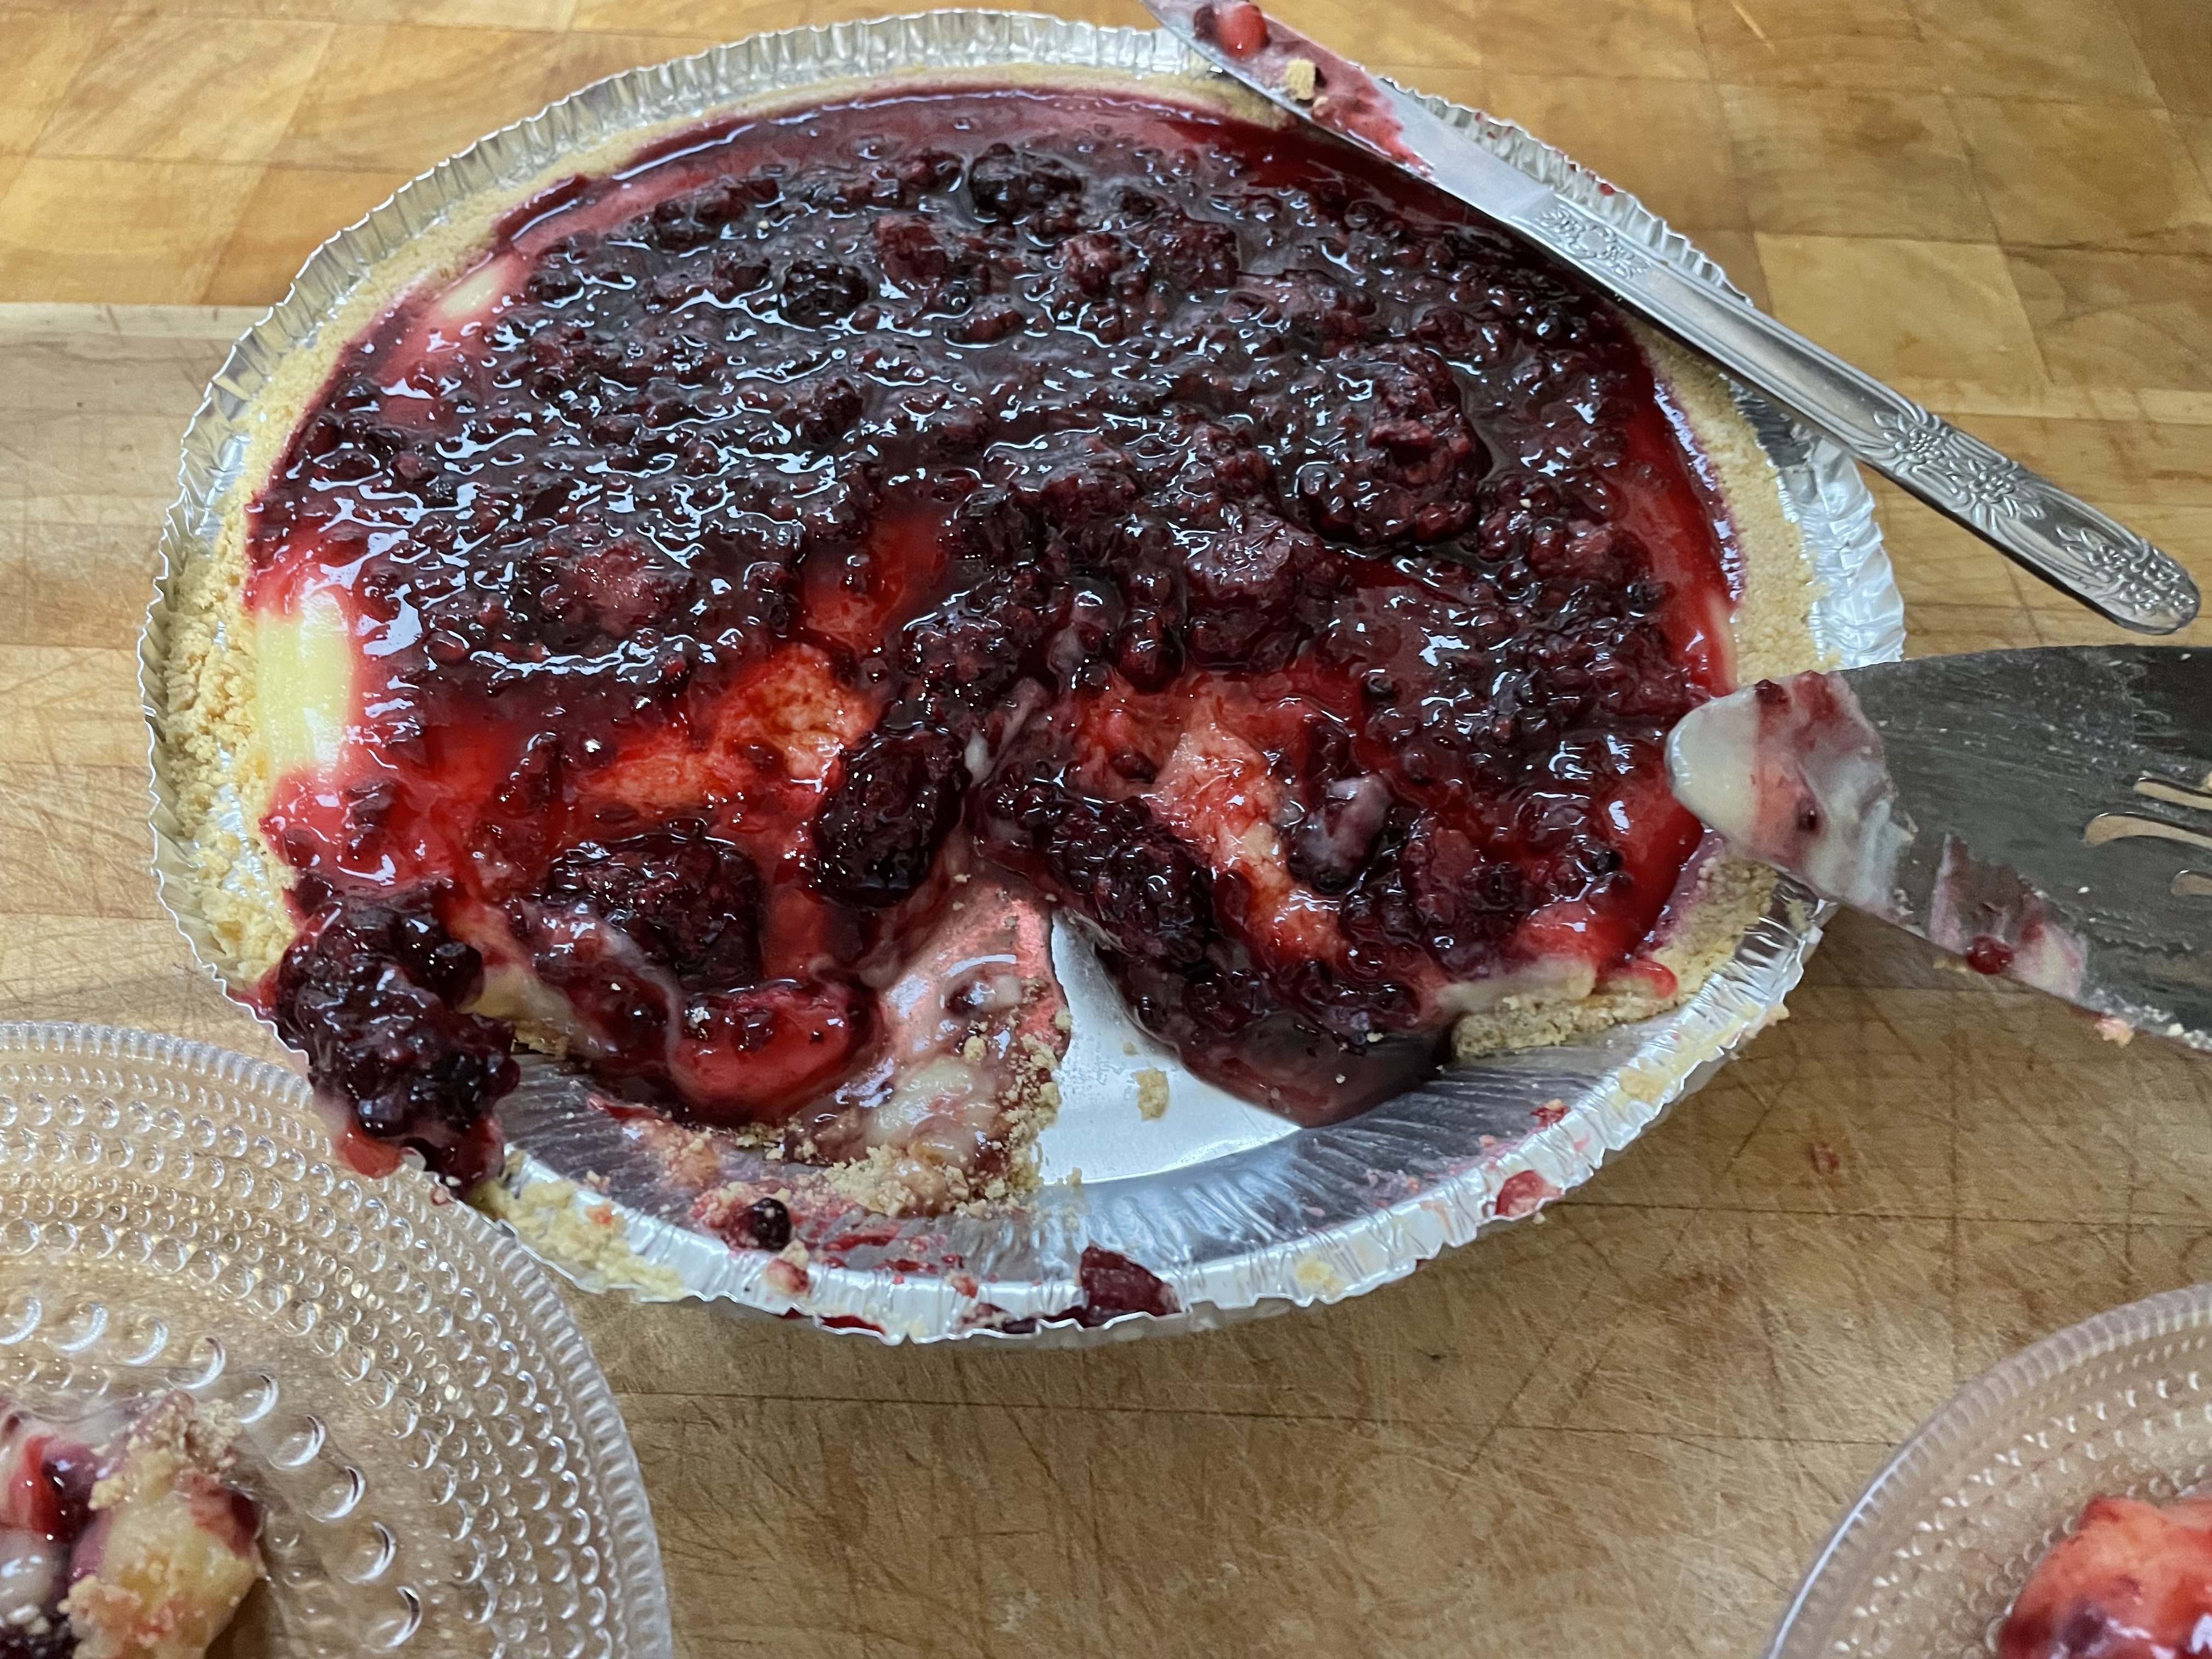
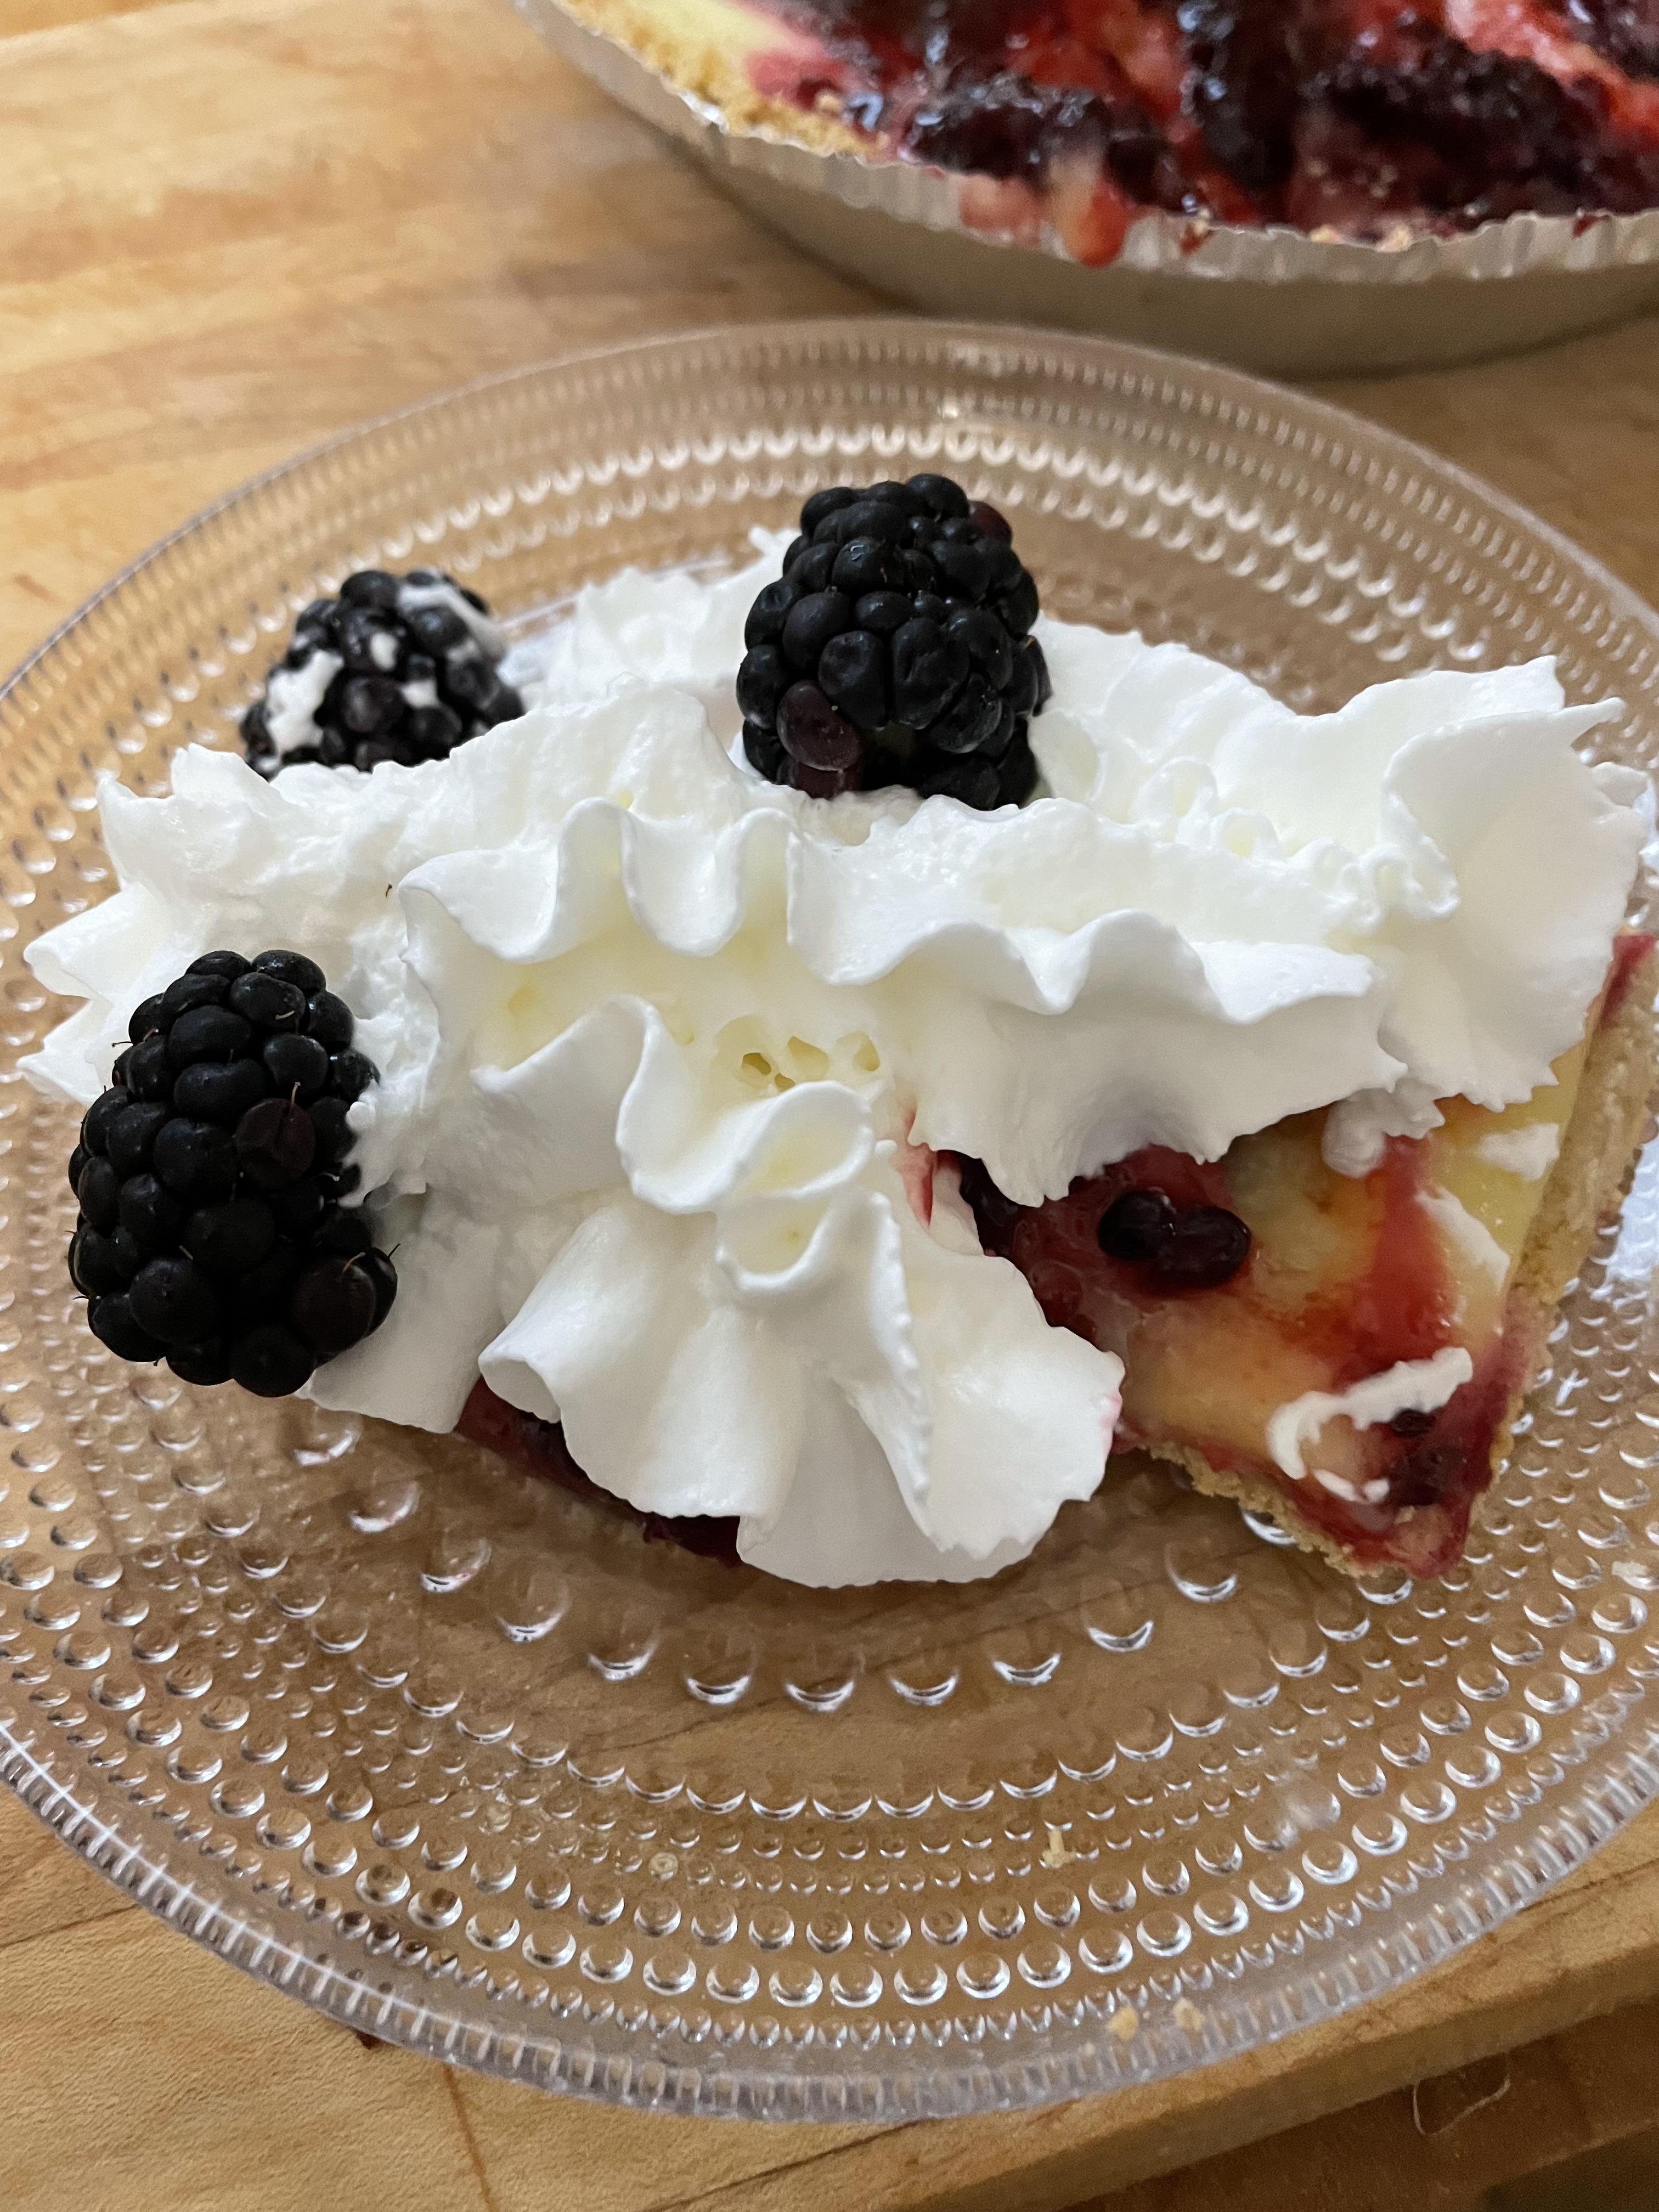
It was not that pretty coming out of the oven. So I found a small amount of frozen mixed berries in the freezer and cooked those down with a splash of cranberry juice to make a small compote to serve with the pie.

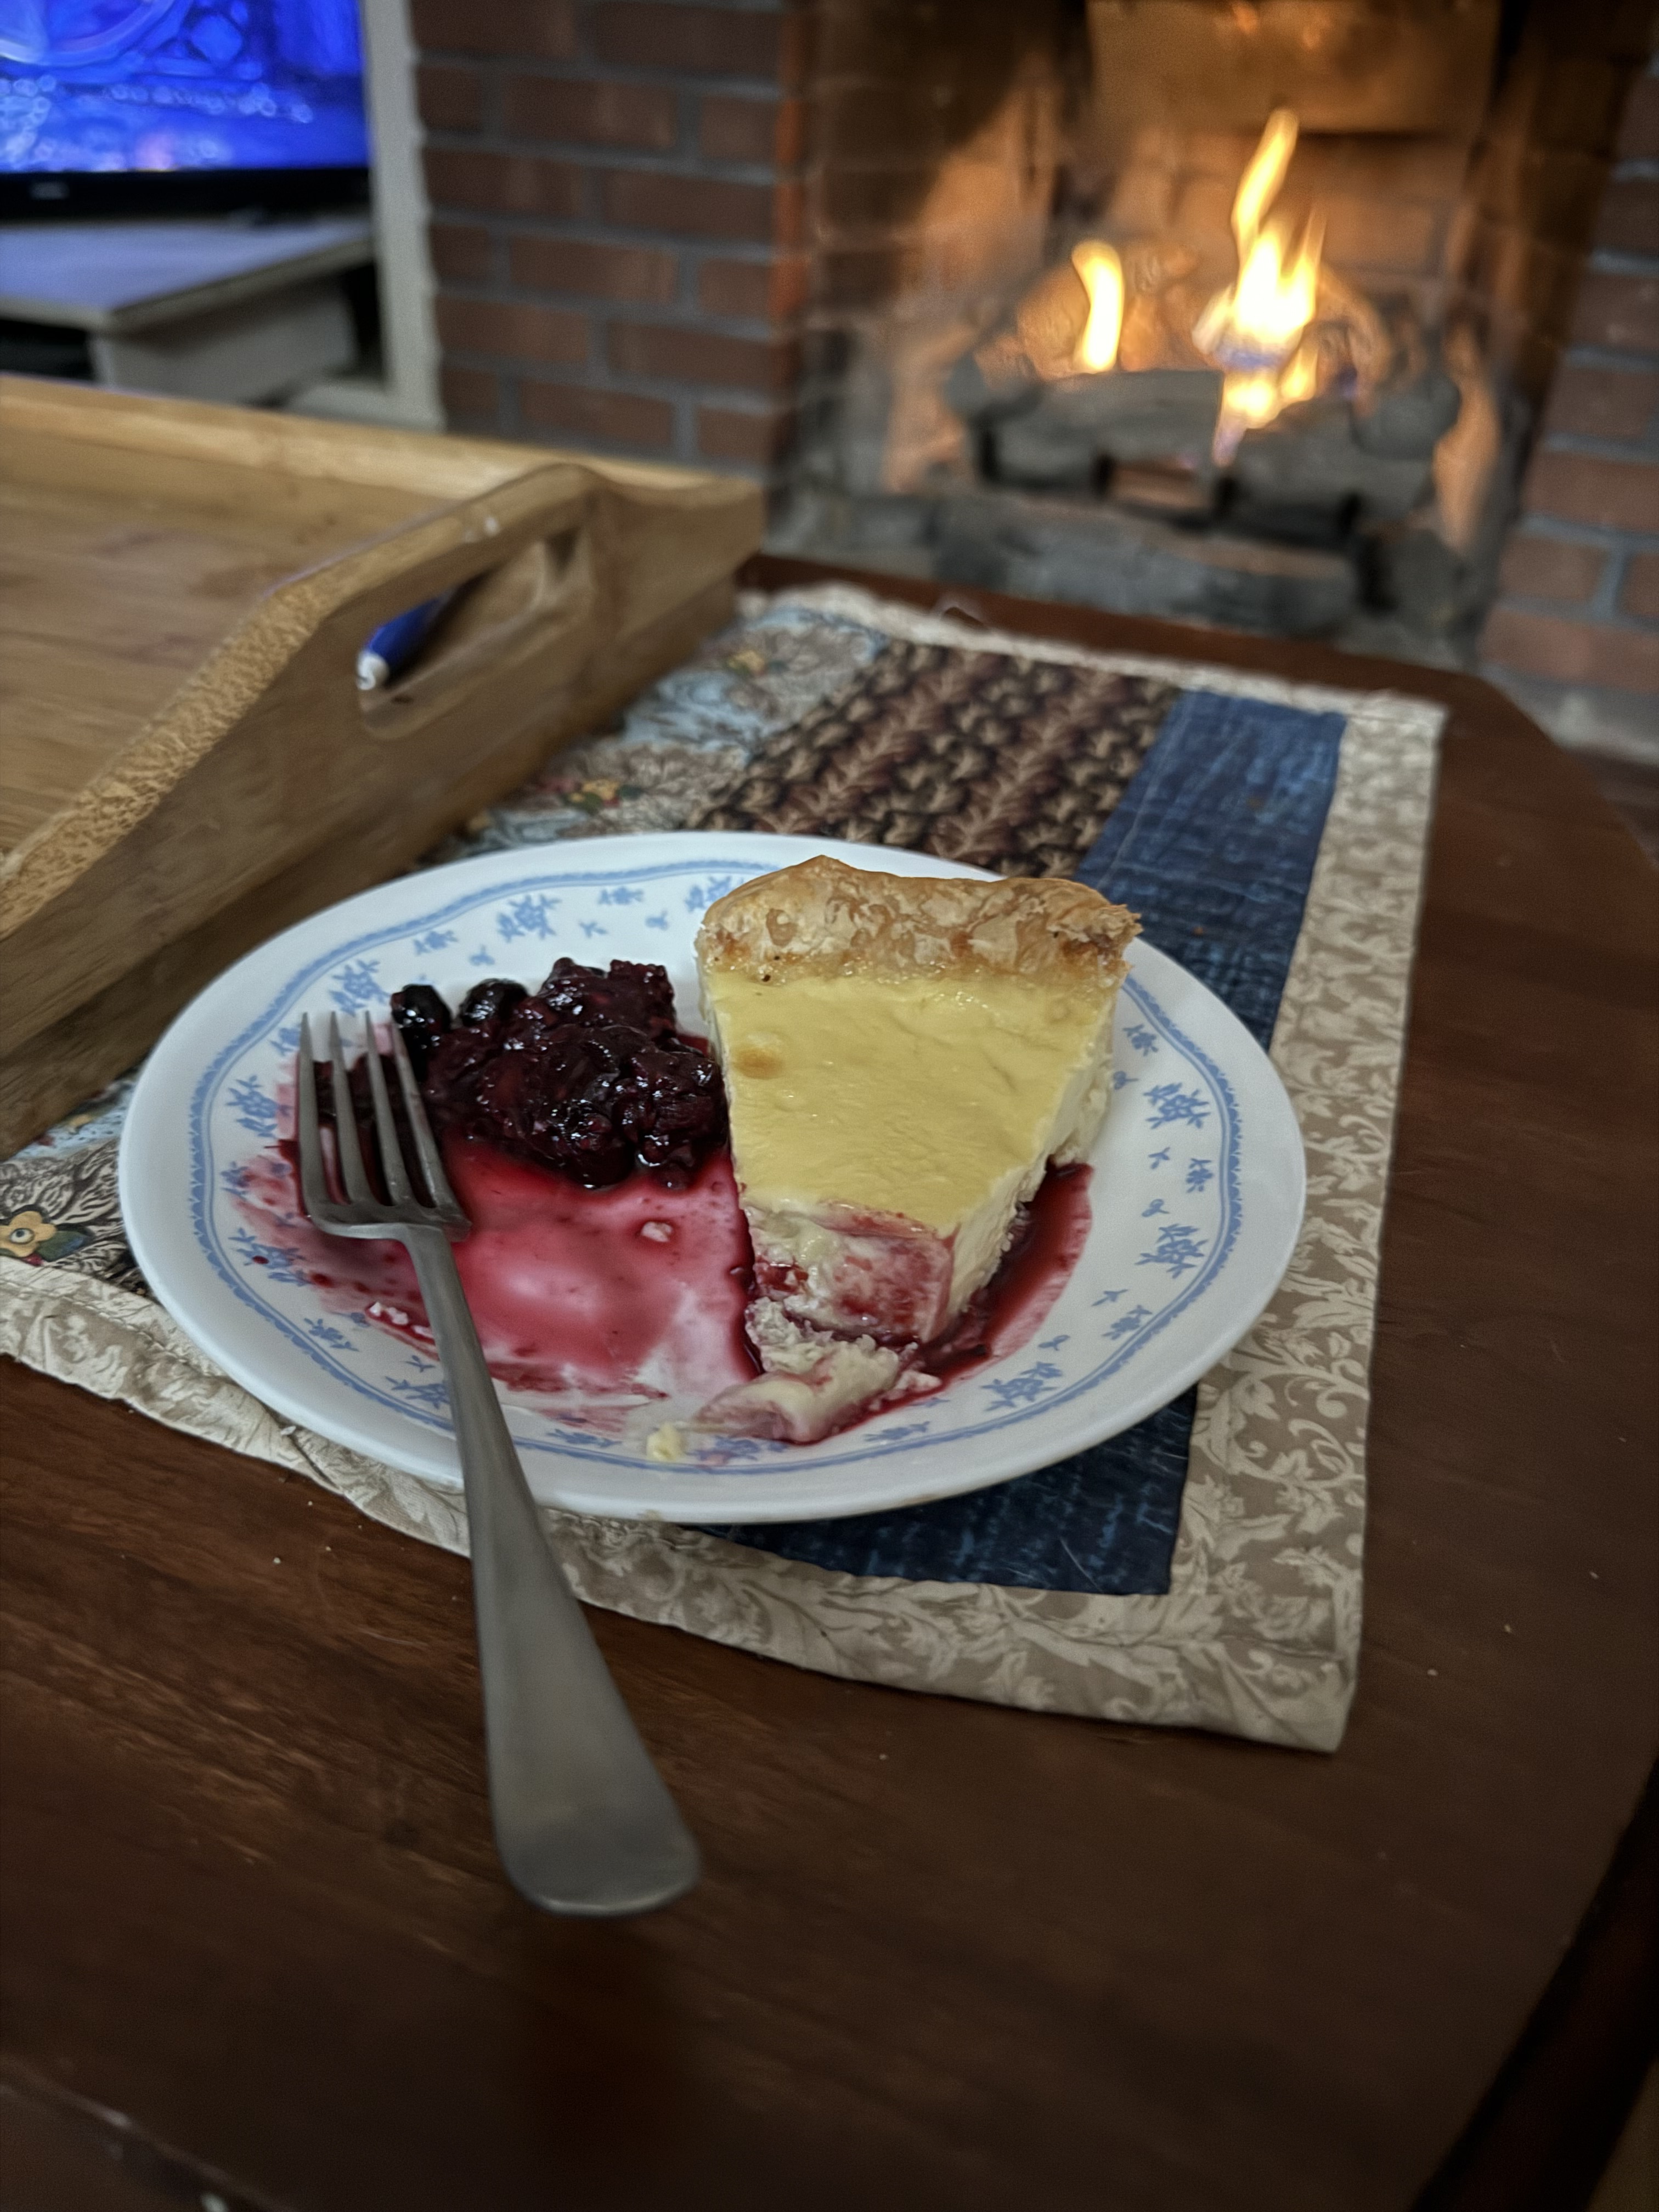
This was a tasty pie. It is not too sweet and the puff pastry was a nice shell for it. It made it a bit lighter than a regular piecrust. Yummy!