Everyday Table Bread…

On this cold New England winter-ish day, I bake bread. I also made a nice supper in the crock pot. Tomorrow I may even bake cookies.

20161210_220421418_ios

I sat at my kitchen table early this morning and wrote out my Christmas cards. Hubby has put the wreath on the front door and we play Christmas music. I have been looking at my cookbooks, not in them, just at them wondering about doing any Christmas baking. We did purchase Red and Green M&Ms so that is Christmas-y! We take the dog to a dog park. It is not crowded and is in a wooded area. Leo (our new old dog) is great. There was one other dog and Leo put up with the puppy’s antics. We also stopped at the Home Depot to buy a kitchen trash can with a lid because “you know who” thinks “dumpster diving” is productive daytime activity!

Back to bread. I have made this bread before but don’t remember how long ago. It has good stuff in it like cornmeal and oats. It is from the Soulard Market cookbook.

  • 2 1/2 cups whole wheat flour
  • 1 1/4 cups cornmeal
  • 1/2 cup rolled oats
  • 1 teaspoon salt
  • 2 packages active dry yeast; I use 4 1/2 teaspoons instant yeast
  • 1/3 cup butter
  • 2 1/2 cups warm water
  • 2/3 cup molasses
  • 2-3 cups all-purpose flour
  • 1 egg
  • 1 tablespoon water
  • rolled oats

In the large mixer bowl, I combine the first five ingredients. In a glass quart measuring bowl I put the water, butter, and molasses. I microwave for about 1 1/2 minutes, 30 seconds at a time, until the mixture is about 125 degrees F. Between 120 and 125 was close enough for me. Stir that into the flour mixture. Add enough of the all-purpose flour to make a stiff dough. I then kneaded this with my bread hook for 5 minutes.The dough was not very stiff so I kneaded in about 1/2 cup more white flour. Still none to stiff but I did not want it to be too dry so I pushed the dough around the bowl while I sprayed with cooking spray so it would rise in a greased bowl. Cover this with a tea towel and let rise until double. In just one hour it had reached the top of the mixing bowl.

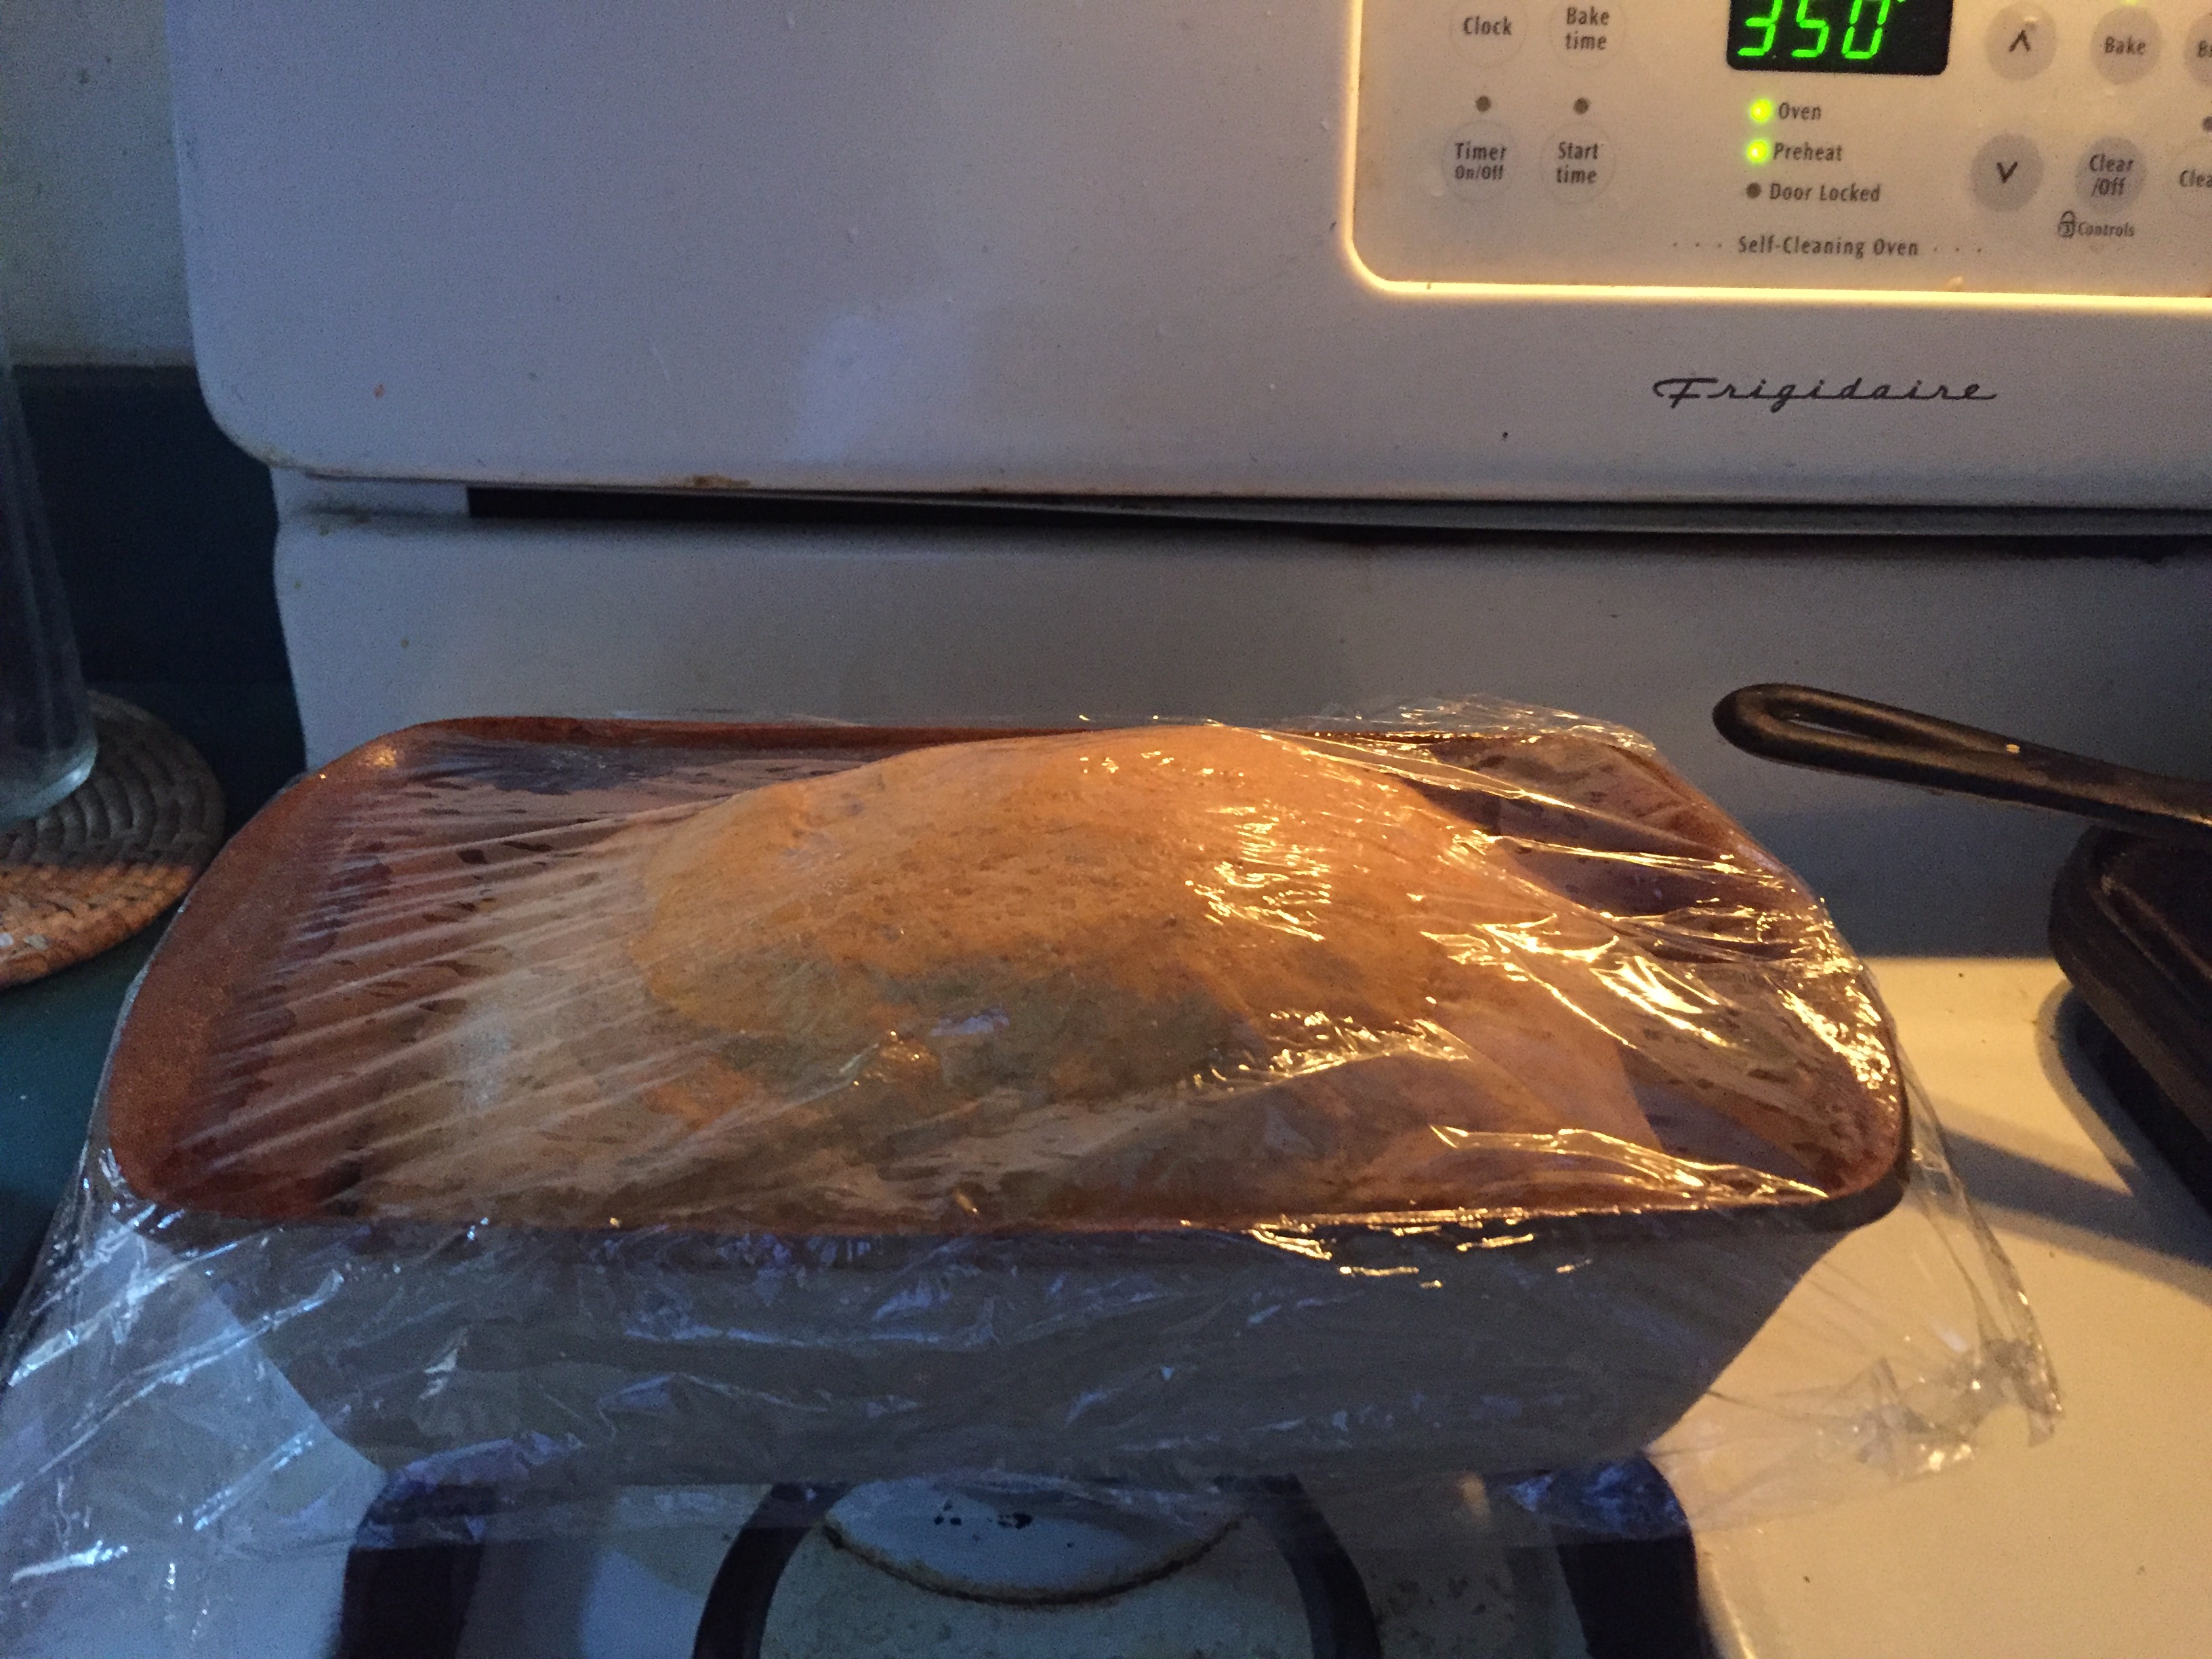
In reading the recipe it says to punch dough down and shape into round loaves. I don’t remember  these as being free form loaves, so I spray my two loaf pans and shape into loaves. Now let these rise for another hour or so.

20161210_205447339_ios
These have risen above the rims.

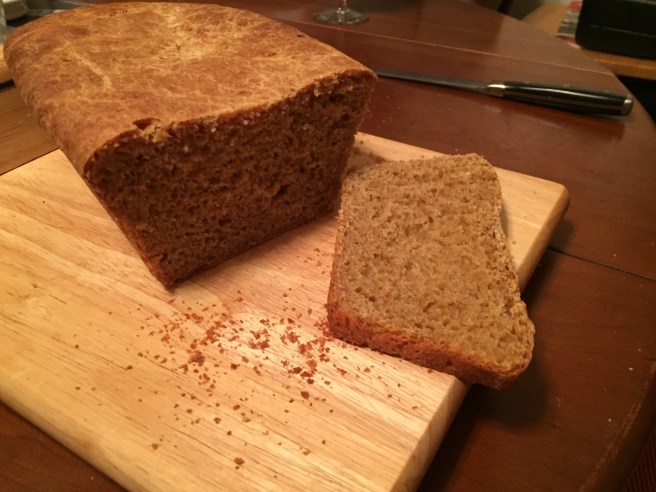
These are nicely risen. Make an egg wash with the egg and tablespoon of water. Brush this on top and sprinkle oats on top. Bake in 375 degree F oven for 45 minutes. If making round loaves check after 35 minutes for doneness (is that a word?).

20161210_223333876_ios
A good and hearty bread.

Questions:

  • Why does my bread not stay as high and risen as before baking?
  • Do I use too much yeast?
  • Did brushing on the egg wash deflate them?

I suppose I could call the baking hotline or I’ll just internet search it. I could even look in some of my bread-baking cookbooks. Meanwhile we enjoyed this bread with supper and then for toast at breakfast.


First Bread

Fall is here and the cooler weather begs for bread baking. A few years ago my son told me about the book Artisan Bread in Five Minutes a Day by Zoë François and Jeff Hertzberg. Now this recipe is all over everywhere, even on King Arthur Flour, recipe. I use the recipe for The Master Recipe: Boule (Artisan Free-Form Loaf) from the book.

  • 3 cups lukewarm water
  • 1 1/2 tablespoons granulated yeast
  • 1 1/2 tablespoons kosher salt
  • 6 1/2 cups unsifted, unbleached, all-purpose white flour, measured with the scoop-and-sweep method
  • cornmeal or pizza peel (or baking sheet)

I use an empty 5 quart ice cream tub. And I don’t care if it forms a seal when covered in the refrigerator. This is a super simple bread recipe. It does make an artisan bread so is not the same texture as sandwich bread or the standard bread kneaded with two risings. But it is good. If you are a novice bread baker this is a good bread to begin your bread baking.

Put your water in the tub. Sprinkle on the yeast and the salt. It may not dissolve completely. No worries. Add the flour all at once and mix with a long wooden spoon until no dry spots; all the flour is incorporated. Cover loosely and let sit at room temperature for at least two hours. I forgot about mine and it sat for 4 hours. (Binge watching television shows occupied my time!) And then put in refrigerator. The original recipe says it should be refrigerated at least 3 hours.

I baked the first loaf the next day. Sprinkle the top of the dough with flour. Reach into the tub and pull our about 1/4 of the dough. Oh, flour your hands first and sprinkle cornmeal on your pizza peel if you have a baking stone or on your baking pan. I used a baking pan because last spring my baking stone broke in two and I have not yet replaced it.

Add a little more flour to the dough in your hand and stretch the top onto the bottom shaping into a ball, smooth on top and bunched on the bottom. Put this on your cornmeal sprinkled pan. Let rise and rest about 40 minutes. Depending on how fast your oven preheats you want it to be 450 F when you are ready to bake your bread.

To be authentic there are instructions to heat a pan of hot water at the bottom of the stove but I did not do that for this loaf, nor for the second loaf!

Just before putting it in the oven, sprinkle the top with flour and slash the top with a serrated knife. This allows for an oven rise through the surface. Bake in the 450 F oven for 30 minutes. The loaf should be firm and nicely browned.

20160928_213937423_ios

Truth be told this does take more than five minutes per loaf. The actual time you spend with the dough is about that though. With a batch of this dough in my fridge I can come home from work and have bread on the table in just over one hour: 5 minutes shaping, 40 minutes rising, 30 minutes baking.


I miss my kitchen!


It’s not that my kitchen has gone anywhere, nor has it changed in any way, shape, or form. I’ve been back to work for about six weeks now and I miss sitting in my kitchen in the morning contemplating my day. I would have to get up at the crack of dawn to have about half of an hour to contemplate and it’s not easy to do that. It will get easier as daybreak comes earlier and earlier with the onset of spring. But I am not generally a crack of dawn person.

I signed up to make cinnamon rolls for a breakfast celebration at work. Sure, easy! No problem! I figured I would make  Alton Brown’s Overnight cinnamon roll recipe. I’ve made them before and it sounds perfect for a Monday morning work breakfast. That is one rich roll recipe: 4 egg yolks plus an egg and buttermilk, ¼ cup sugar. Then I think if it is such a rich roll how about making my mom’s Rich Rolls recipe.Now that one calls for 4 eggs, 1 cup butter, and 1 cup sugar. Whoa! Then in my most organized recipe notebook there is a sourdough roll recipe next to the standard Fleischmann’s. What to do? 

I decide on the Buttery Sourdough Buns recipe from King Arthur Flour. And these rolls were very nice when made for Thanksgiving. I’ll just roll cinnamon sugar into them. http://www.kingarthurflour.com/recipes/buttery-sourdough-buns-recipe

20160417_212912183_iOS

I have sourdough starter that needs to be used and fed.

The beauty of this recipe is the simplicity of the process of putting the dough together. Literally put everything in the bowl and mix. I used the dough hook and let it beat at 2-4 speed for about 5 minutes. I did add an extra 1/2 cup flour and the dough came together nicely. I let that rise in a greased bowl for about 1 1/2 hours. I then rolled it into a rectangle, spread three Tablespoons of melted butter and liberally sprinkled that with about 1/2 cup of cinnamon sugar (1-2 teaspoons of cinnamon to 1/2 cup sugar.

20160418_005308317_iOS
ready for the fridge to rise some more

I figure I can now cover this with plastic wrap and put it in the refrigerator overnight. I plan to take it out for 30-45 minutes in the morning to rest at room temperature before putting them in the oven to bake. These are to bake at 350 degrees F for 22-25 minutes. The recipe notes that they do not brown as deeply as most dinner rolls. I don’t know why this is. The KAF website might say.


They were a hit at work. I made a bit of glaze so folks could add a bit if they liked. One cup powdered sugar plus 1/2 teaspoon of vanilla and a bit of water made about 1/2 cup glaze. Almost everyone added the glaze. I was surprised at that but that is what it was there for.

20160418_113143304_iOS
A tasty light cinnamon bun


Easter chicks

I know that Easter is past. Life gets very busy so I don’t always have the time to write and post things as often as I had. But I wanted to share this fun roll recipe.

easter weekend 055

Don’t these look fun? And they don’t take all day to make either. I saved this recipe from a woman’s magazine ad for Fleischmann’s Rapid Rise yeast and PET evaporated milk. I am not sure the year of the magazine that I got this from. I have made these for my stepdaughters maybe 10 years ago but I think I had saved the magazine page before that.

easter weekend 002
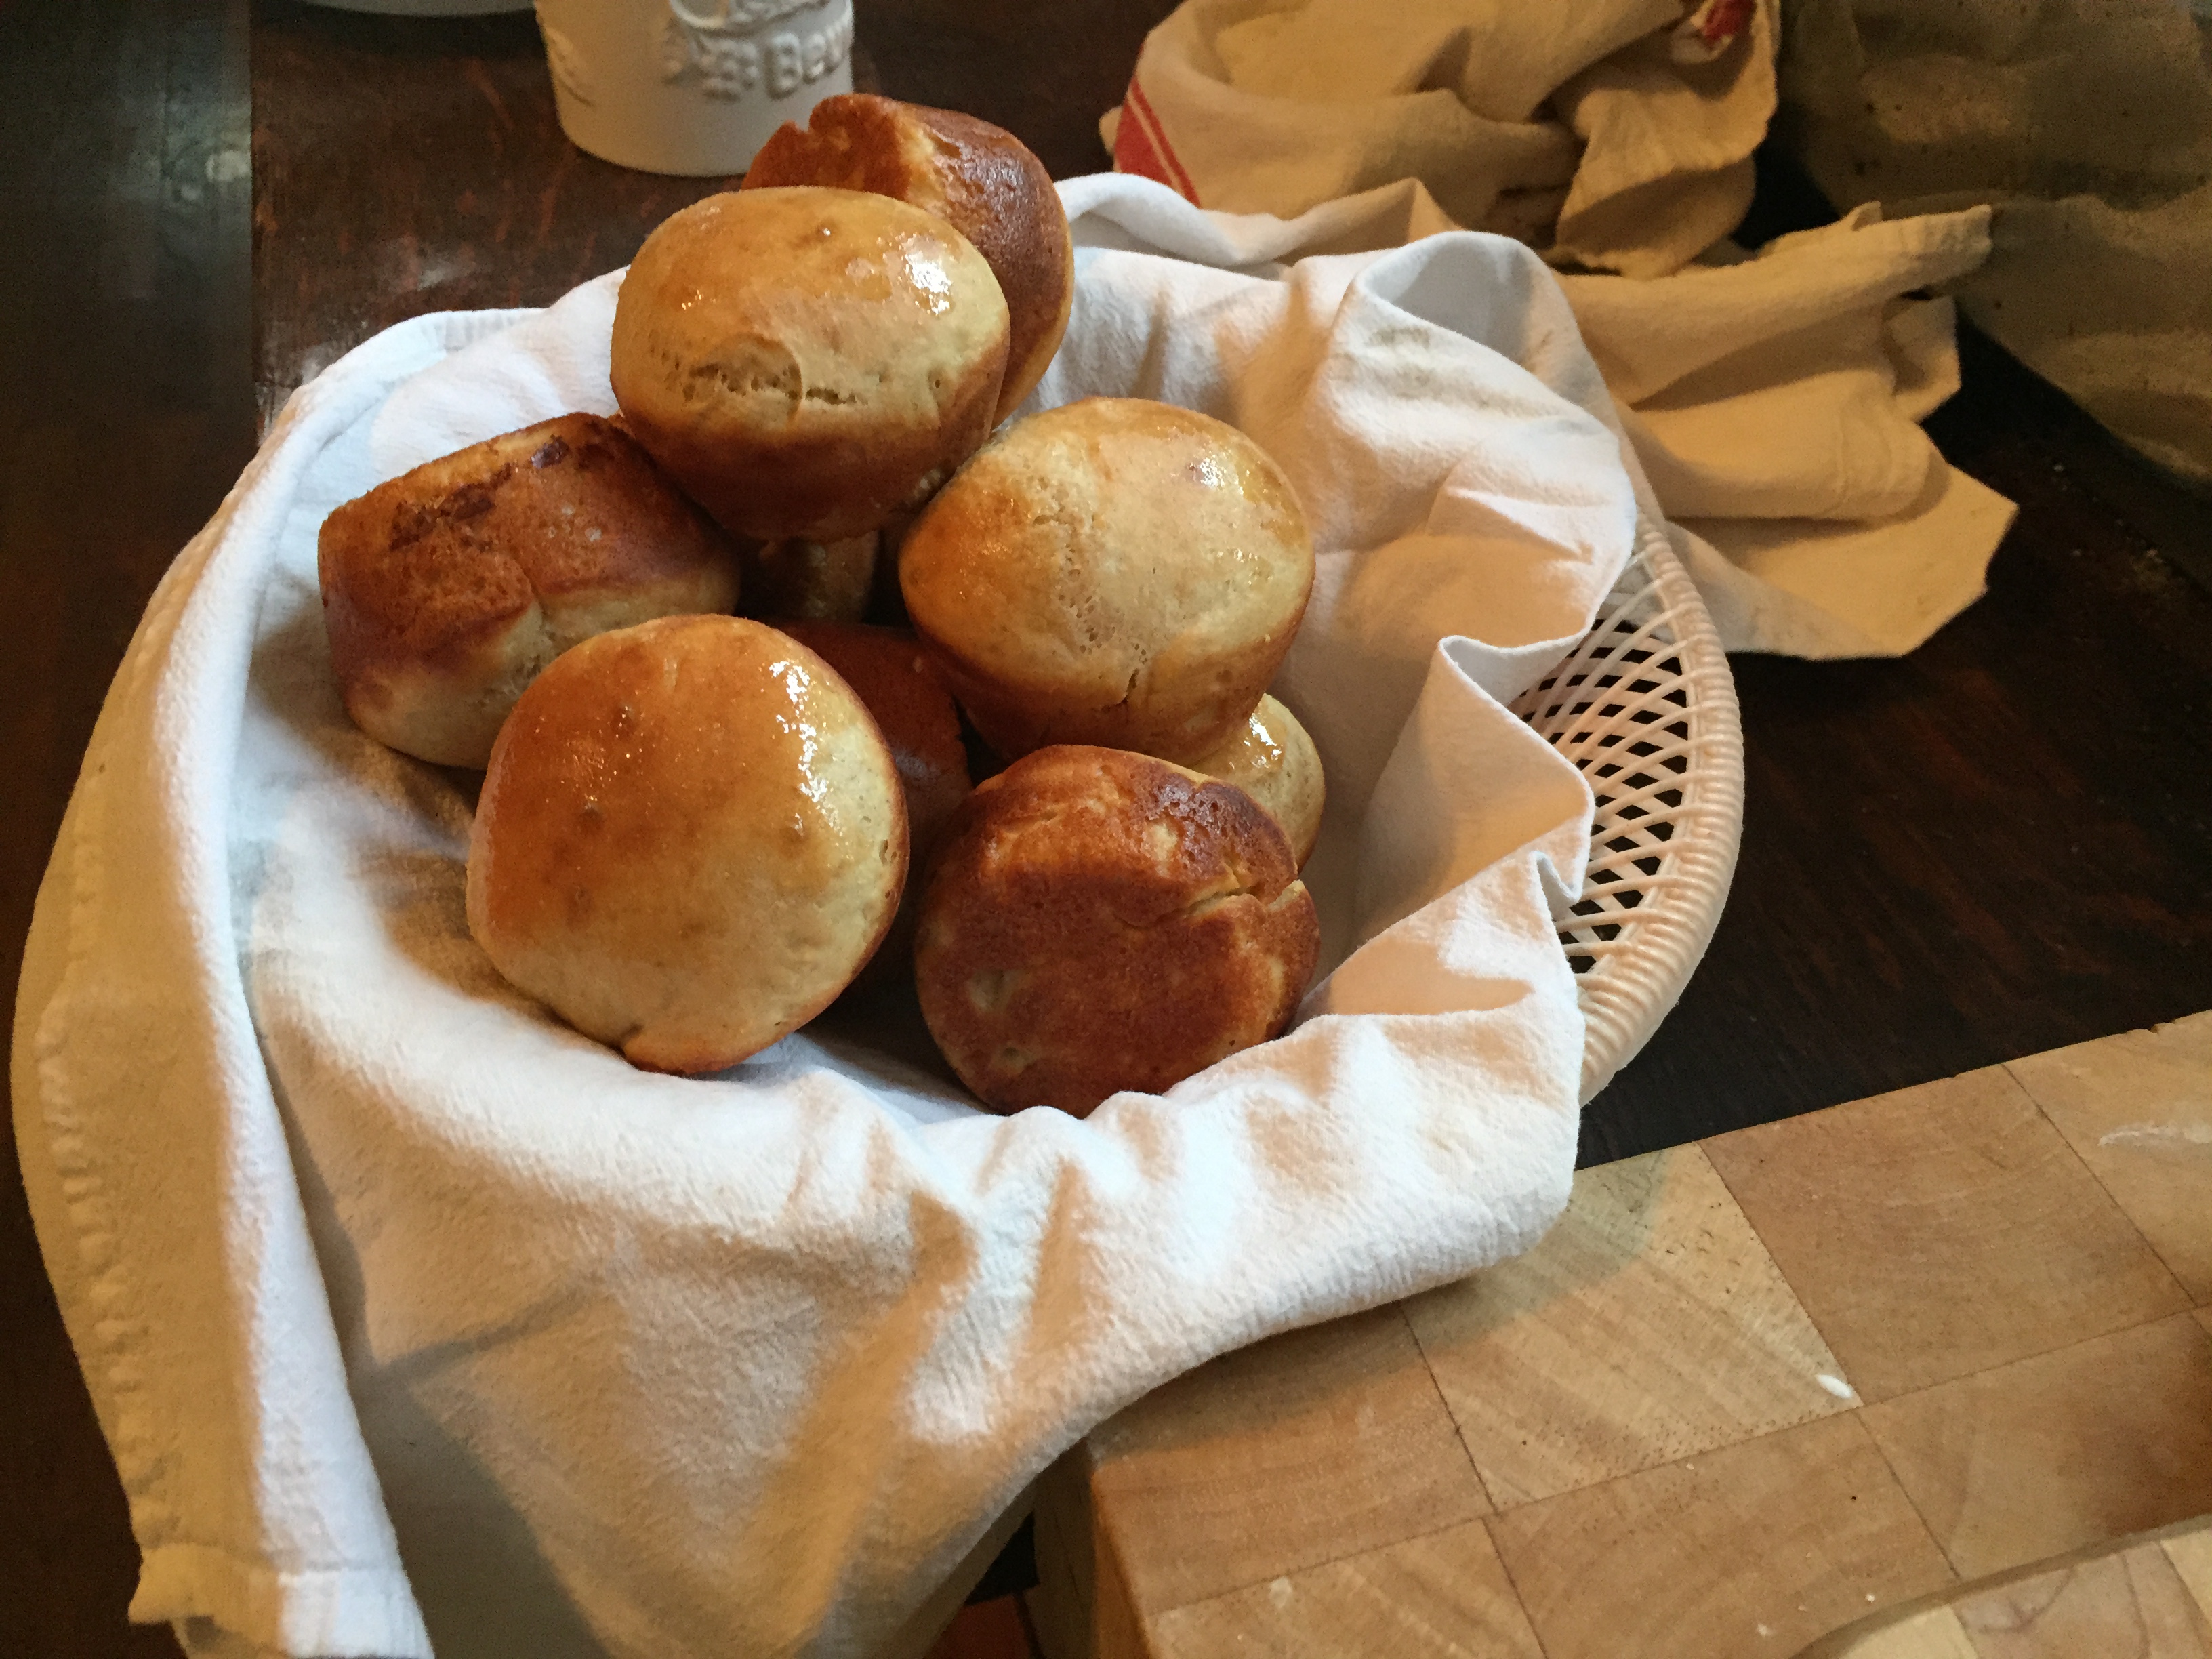
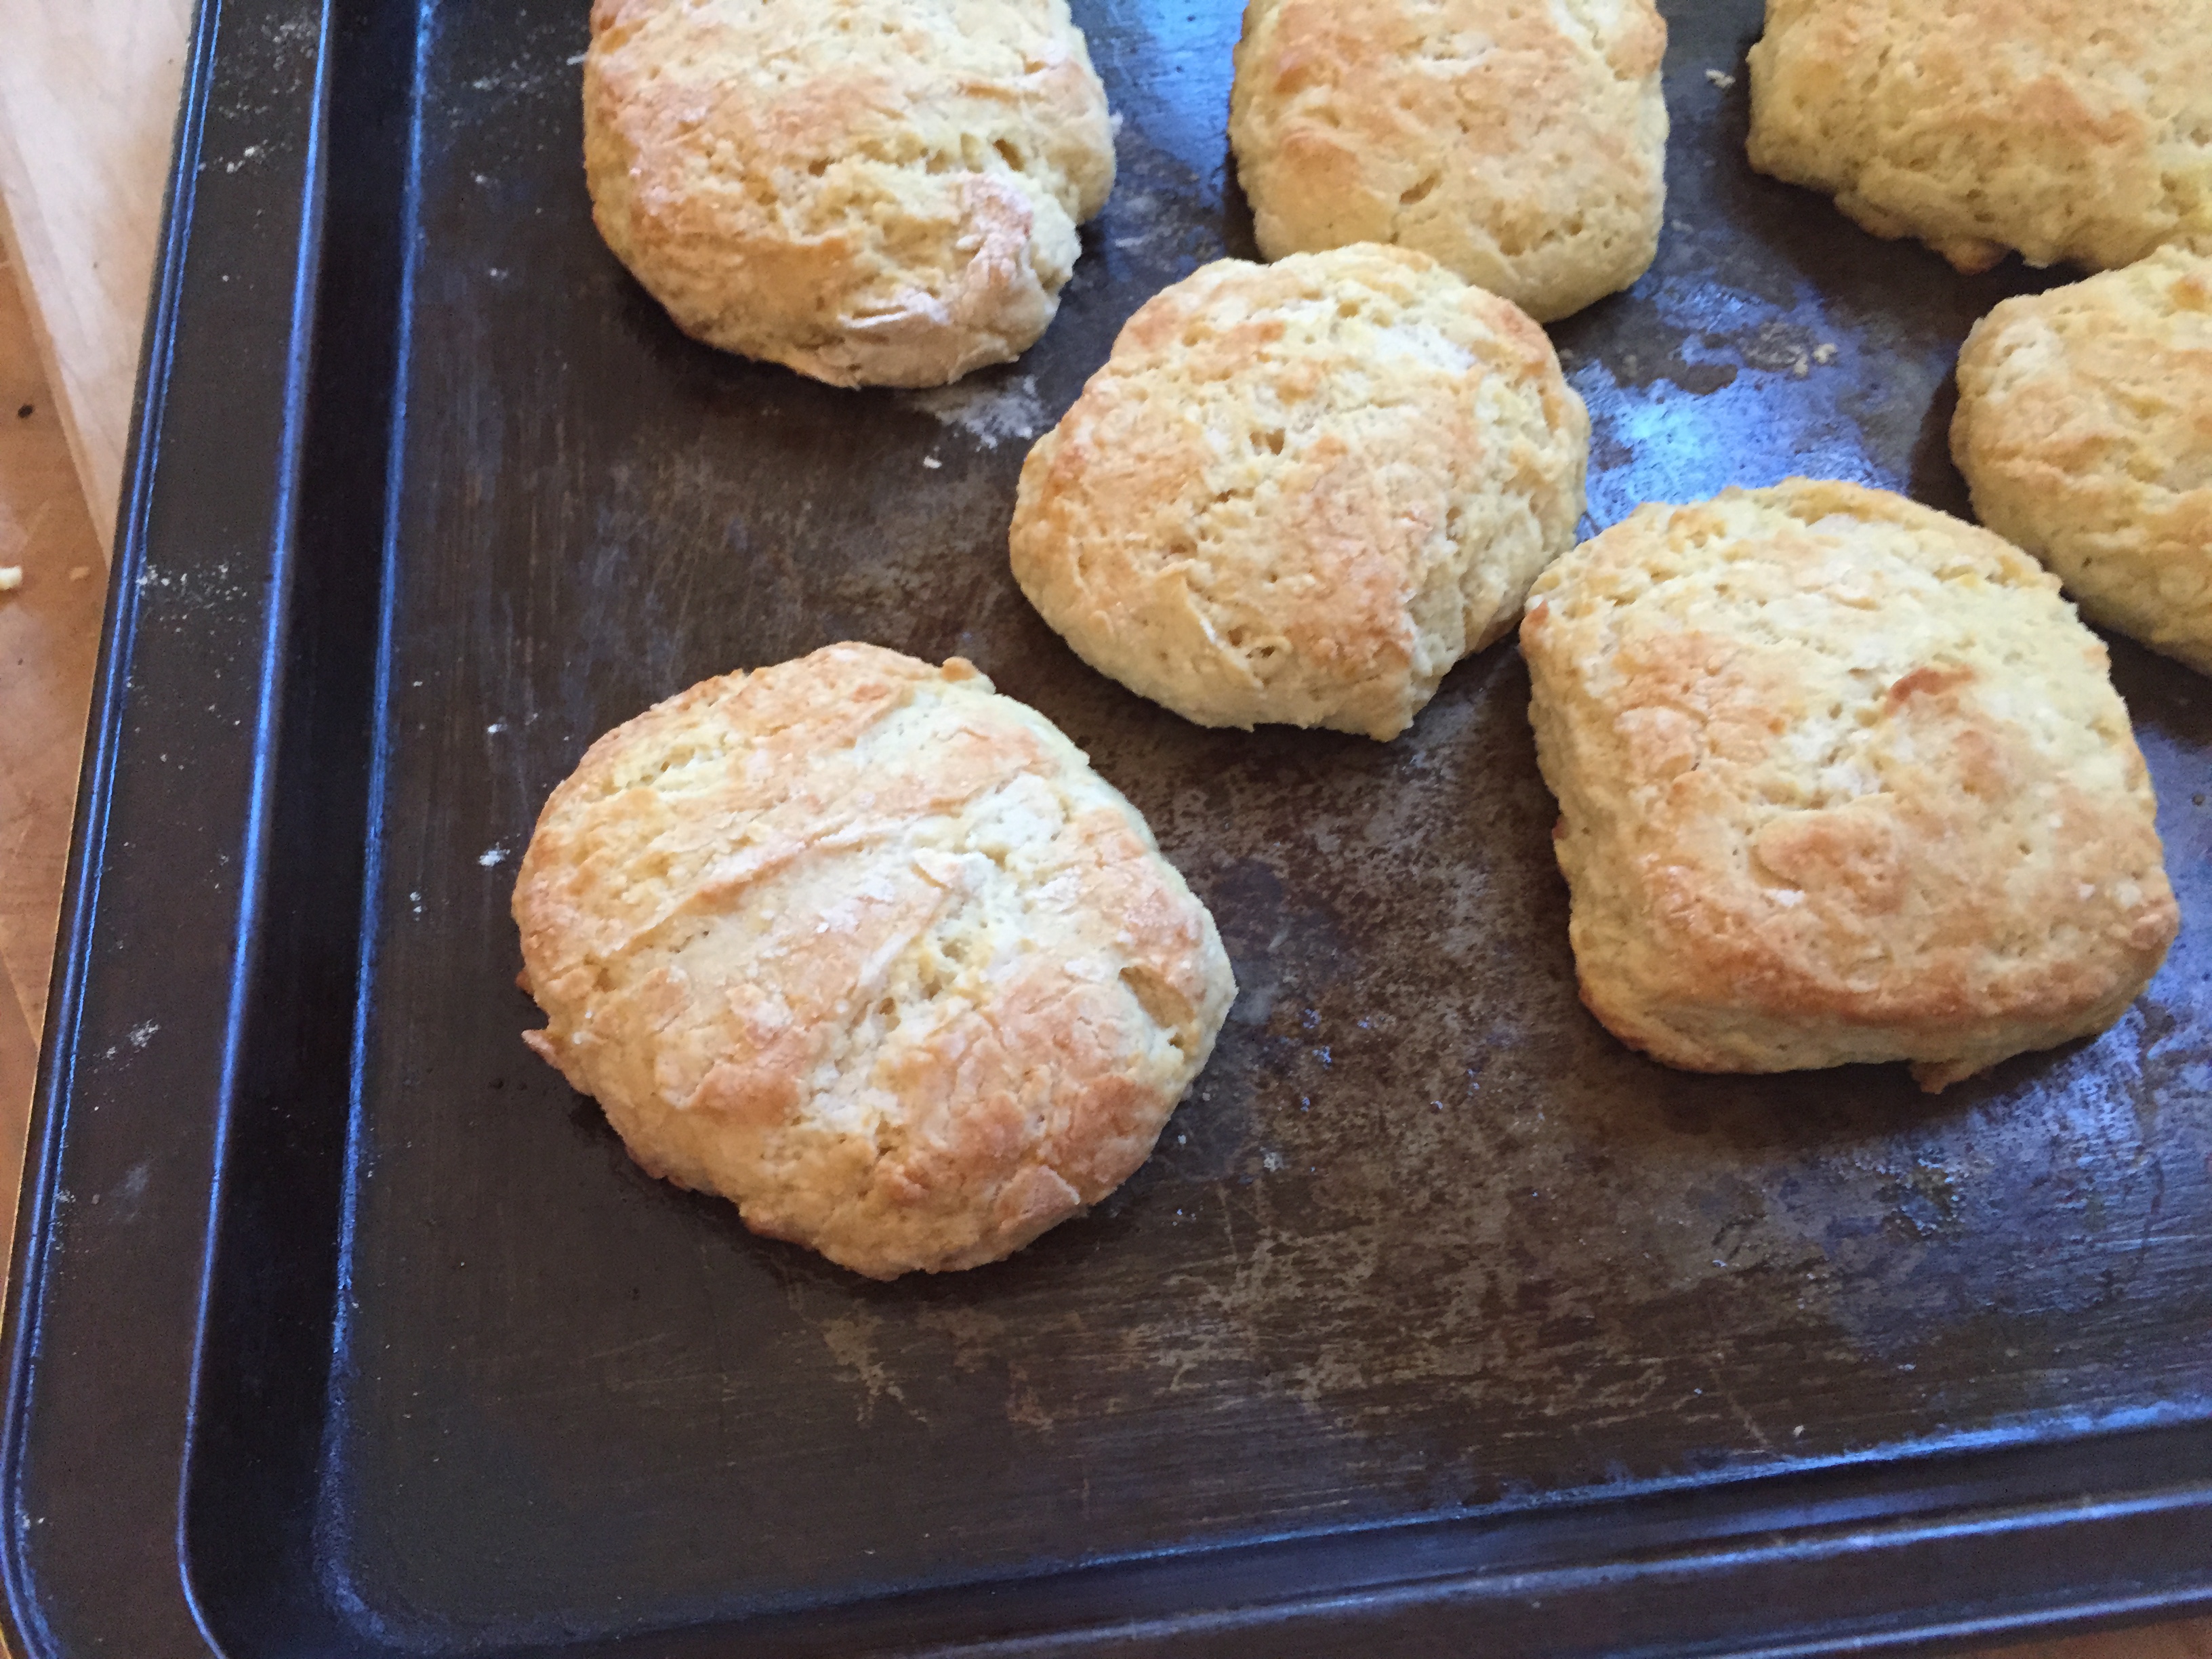
These pretty much can be ready for the oven in one hour. Pretty good for a yeast roll.

  • 5-5 1/2 cups all purpose flour
  • 1/2 cup sugar
  • 1 tablespoon grated lemon peel
  • 3/4 teaspoon salt
  • 3/4 cup evaporated milk
  • 1/2 cup water
  • 1/3 cup vegetable or canola oil
  • 2 eggs,slightly beaten
  • glaze, optional

The best part about baking these rolls again was baking them with my granddaughter. She has “helped” me bake before so I thought she would want to “help” again. And she did! I even made her her own apron for the occasion.

The recipe: combine 2 cups flour, the sugar, yeast, lemon peel,and salt. Heat milk, water and oil until very warm (125-130 F); stir in dry ingredients. Stir in eggs and enough remaining flour to make soft dough. Knead on lightly floured surface until smooth, about 4-5 minutes. Cover, let rest 10 minutes.

I have not kneaded yeast dough by hand for many years. That’s what my Kitchen-Aid mixer’s bread hook is for! But I am at my daughter’s house and needs must! While I am kneading the dough granddaughter is watching and starts kneading the flour on her small board. Daughter tells me that she is trying to do what I am doing, so I give granddaughter a bit of dough and she follows my lead and does a great job. Look at the concentration on her face.

Now it is easier to work with half the dough at a time to shape the rolls. These make a good size roll and will make 18. Cut each half of dough into 9 equal pieces. I did not get mine very equal but it’s home made, so who cares? Roll each piece into a 10 inch rope. Tie into a knot with one end shorter. This will be the head. Pinch this end into a beak and put tiny pieces of craisins (dates in the original recipe) for eyes. Flatten the other end into the tail and make a few cuts. Place on lightly oiled baking sheet. (If I were at home I would have lined the baking pans with parchment paper.) Brush oil over all (or spray with cooking spray), cover and let rise for 20-30 minutes. Or cover with plastic wrap and put in fridge from 2-24 hours. We placed these in the fridge for overnight so they could be baked fresh for Easter dinner. I took them out of the fridge about an hour before putting them in the oven. Bake at 350 F for 12-15 minutes.

I had packed the recipe card away and did not remember the amount of baking time. I guessed at 20 minutes but just before 15 minutes into the baking they smelled done. And they looked done. The bottoms were a bit browner than I like and I think that was because we oiled the baking pan. I think (but don’t quote me on this) that parchment paper would have been the better choice.  Optionally one can make a glaze with powdered sugar, milk or water, and food color to brush over the rolls to make them Easter colorful. I did not choose to do this.

easter weekend 061

And they were served with our Easter dinner of  Prime Rib Roast (cooked by son-in-law), along with cucumber salad and mashed potatoes.  Pies, Easter brownie bites, and cookies for dessert.

He is risen. He is risen, indeed! New life for all!

“Anna, damn her” bread

anadama bread 028

I will be able to go back to work soon. So now I feel all this pressure to get everything done that I can’t get done when I spend my days at work! This pressure comes from myself, I know this! So I have a list of sewing projects that need starting and finishing; I have a bunch of recipes I still want to try; there are books still to be read, solitaire games to play (oops!), and I have enjoyed the luxury of having mornings at my kitchen table writing and planning my days. But I am very much looking forward to going back to work, having a schedule, a broader purpose to the day, and seeing all my co-workers.anadama bread 018

This was my lunch. I saved this three ingredient pancake recipe on one of the many Facebook feeds I get from food and cooking sites. http://www.foodnetwork.com/recipes/food-network-kitchens/3-ingredient-gluten-free-banana-pancakes.html They are more like crepes and very light and tasty with a light banana flavor. Eggs and banana: protein and fruit!

That said, I was looking for an easy bread recipe and have always wanted to make Anadama bread. Basically this is a yeasted cornbread. The recipes in my many cookbooks vary using molasses or honey, using cornmeal or creamed corn, sometimes eggs sometimes none. The origin of the bread is in New England so I thought it appropriate to get out my cookbook The New England Table by Lora Brody and see if I could make that version. This recipe is  a “throw everything together in a bowl, mix, and knead”. What could be simpler?

The story, true or not, behind the bread is that a man was sent to work with cornmeal mush in his lunch box and kept asking his wife to put in bread instead. So he cursed her and added yeast, molasses, and flour himself to make the bread. I found this link to a food historian while googling the name of the bread: http://atasteofhistorywithjoycewhite.blogspot.com/2015/02/anadama-bread-new-england-tradition.html

  • 1 1/4 cup warm water
  • 3 cups all-purpose flour
  • 1 tablespoon instant yeast
  • 1/2 cup cornmeal
  • 2 scant teaspoons salt
  • 3 tablespoons vegetable oil
  • 3 tablespoons regular molasses

Handy hint: it does really work when you use oil in the measuring spoon before measuring the molasses. Slides right out!

I placed all the ingredients in the bowl of the stand mixer with the bread hook attached. I mixed it up and then set it on knead (speed 2) for 8 minutes. Sticky dough! To place in a greased bowl I pushed the batter to one side of the bowl, sprayed with cooking spray, pushed it back to the other side of the bowl, sprayed that side and made sure the batter was covered with the “oil”. Covered this with plastic wrap. This was to rise one-third. So I waited an hour and it looked nicely risen to me. The instructions are to gently deflate the dough and knead in some toasted sunflower seeds but I didn’t plan to add seeds so I left this step out. I then placed the dough in the prepared pan (9 x 5 loaf pan sprayed with cooking spray). Cover this with plastic wrap and let rise until almost doubled. Spray the plastic wrap so that the dough does not stick when you uncover it.

anadama bread 022


The loaf looks good at this point. Preheat oven to 375 F. Bake for 35-40 minutes. I checked it at 35 and it looked done to me although a bit flat. When I was much younger and baking bread the loaves would rise up out of the loaf pan. What is different now? Looking up on the internet it may be that I needed to bake it for the additional 5 minutes.

Dinner that night included this fresh baked bread. It was pre-breaded fish from frozen, leftover mashed potatoes, small spinach salad with olives and feta, and a citrus salsa. The salsa recipe is from http://jovinacooksitalian.com/2016/03/02/when-you-are-in-the-mood-for-seafood/. She has some nice recipes.

(If you look closely you can see the white paws of Felix the Cat in the background. He’s eating his dinner too.)


A good day for baking: what to make?

I slept in a bit in the morning. This allowed little cat to continue to curl up on the covers with me. It is a cold day but not quite as cold and windy as the day before. While sitting at my kitchen table having my morning coffee it occurs to me that this would be a good day to warm up the kitchen by baking something. But what? I do not want to bake something too sweet or something that there is a lot of. Chocolate always comes to mind but that may be too sweet.

raisin bread 003While perusing two of my cookbooks that were published in the UK, I come across a sultana and walnut bread recipe with photo. That looks good. It is yeast bread. Do I want to take that much trouble this morning? I have all the necessary ingredients. However, if I want to make raisin bread, this would make a nice toast for breakfast with my coffee; why not use the tried and true Soulard Market cookbook? I get this book out and I have all those necessary ingredients as well, including the chopped pecans. Decisions, decisions!

The perusing of the UK cookbooks was to find recipes for quinoa, bulgur, and barley. I bought packages of each of these interesting grains at my local Aldi store, and wanted to make something other than tabbouleh since I do not have fresh cucumber or cherry tomatoes. I find an interesting chick pea recipe and one for sweet potatoes. I will make the sweet potato recipe with ginger for supper. So the perusal was still productive in that since.raisin bread 002

I decide to make the Soulard Raisin Bread. My kitchen is cold and a yeast bread will take twice as long to rise and I am getting a late start to the day as it is. Not that I have anything to do except what I choose to do these days, at least for a few more weeks.

Quick-Stirred Raisin Bread:

  • 2 cups whole wheat flour ( in my experience baking with only whole wheat flour makes a product heavier than I like; I use 1 cup all-purpose and 1 cup whole wheat)
  • 1 teaspoon each of baking powder, baking soda, and salt
  • 1 egg
  • 1 ½ cups buttermilk
  • ¼ cup honey or maple syrup (I use honey; maple syrup is too dear and I want it for my waffles and pancakes when I get around to making some)
  • 1 cup raisins (see brilliant idea later in the narrative)
  • ½ cup chopped pecans

Like quick breads and muffins the dry ingredients are combined and then the wet put in all at once and stirred only until blended. I use a whisk to combine the dry ingredients.raisin bread 004 This is much handier than using a sifter. I had read a handy hint somewhere that spraying the measuring cup with cooking spray before measuring honey helps to ease all of the honey out of the cup and into your recipe. I did this and it really worked!

After the dry and wet ingredients are mixed it is time to add the “extras”. So I am pouring the golden raisins into the measuring cup when I have a brilliant idea! I have in my pantry a package of dried Berries and Cherries!raisin bread 005

These will go in this bread nicely. So I use ½ cup of the raisins and fill the rest of the cup with Berries and Cherries. These get stirred into the batter and put into the prepared pan (greased or sprayed with cooking spray. Now it is ready to go into the oven. Bake for 55-60 minutes.

The recipe directions then say to cool in the pan for 5 minutes before turning out onto a wire rack to finish cooling. Now comes the hard part: waiting for the bread to cool so that it slices nicely.

I spread this piece with cream cheese and enjoy. If hubby and I don’t eat all this evening for a dessert, I will toast a slice or two for breakfast in the morning. Yum!

Kitchen Gadgets

I like kitchen gadgets. Most of them are not multi-purpose so I try not to get things that are so specific. It is like having that one exotic ingredient in the pantry that gets used once and then is forgotten about. That reminds me, I should go through my spice cabinet and inventory what I have so I can use the ones I have forgotten about.

gadgets2 003
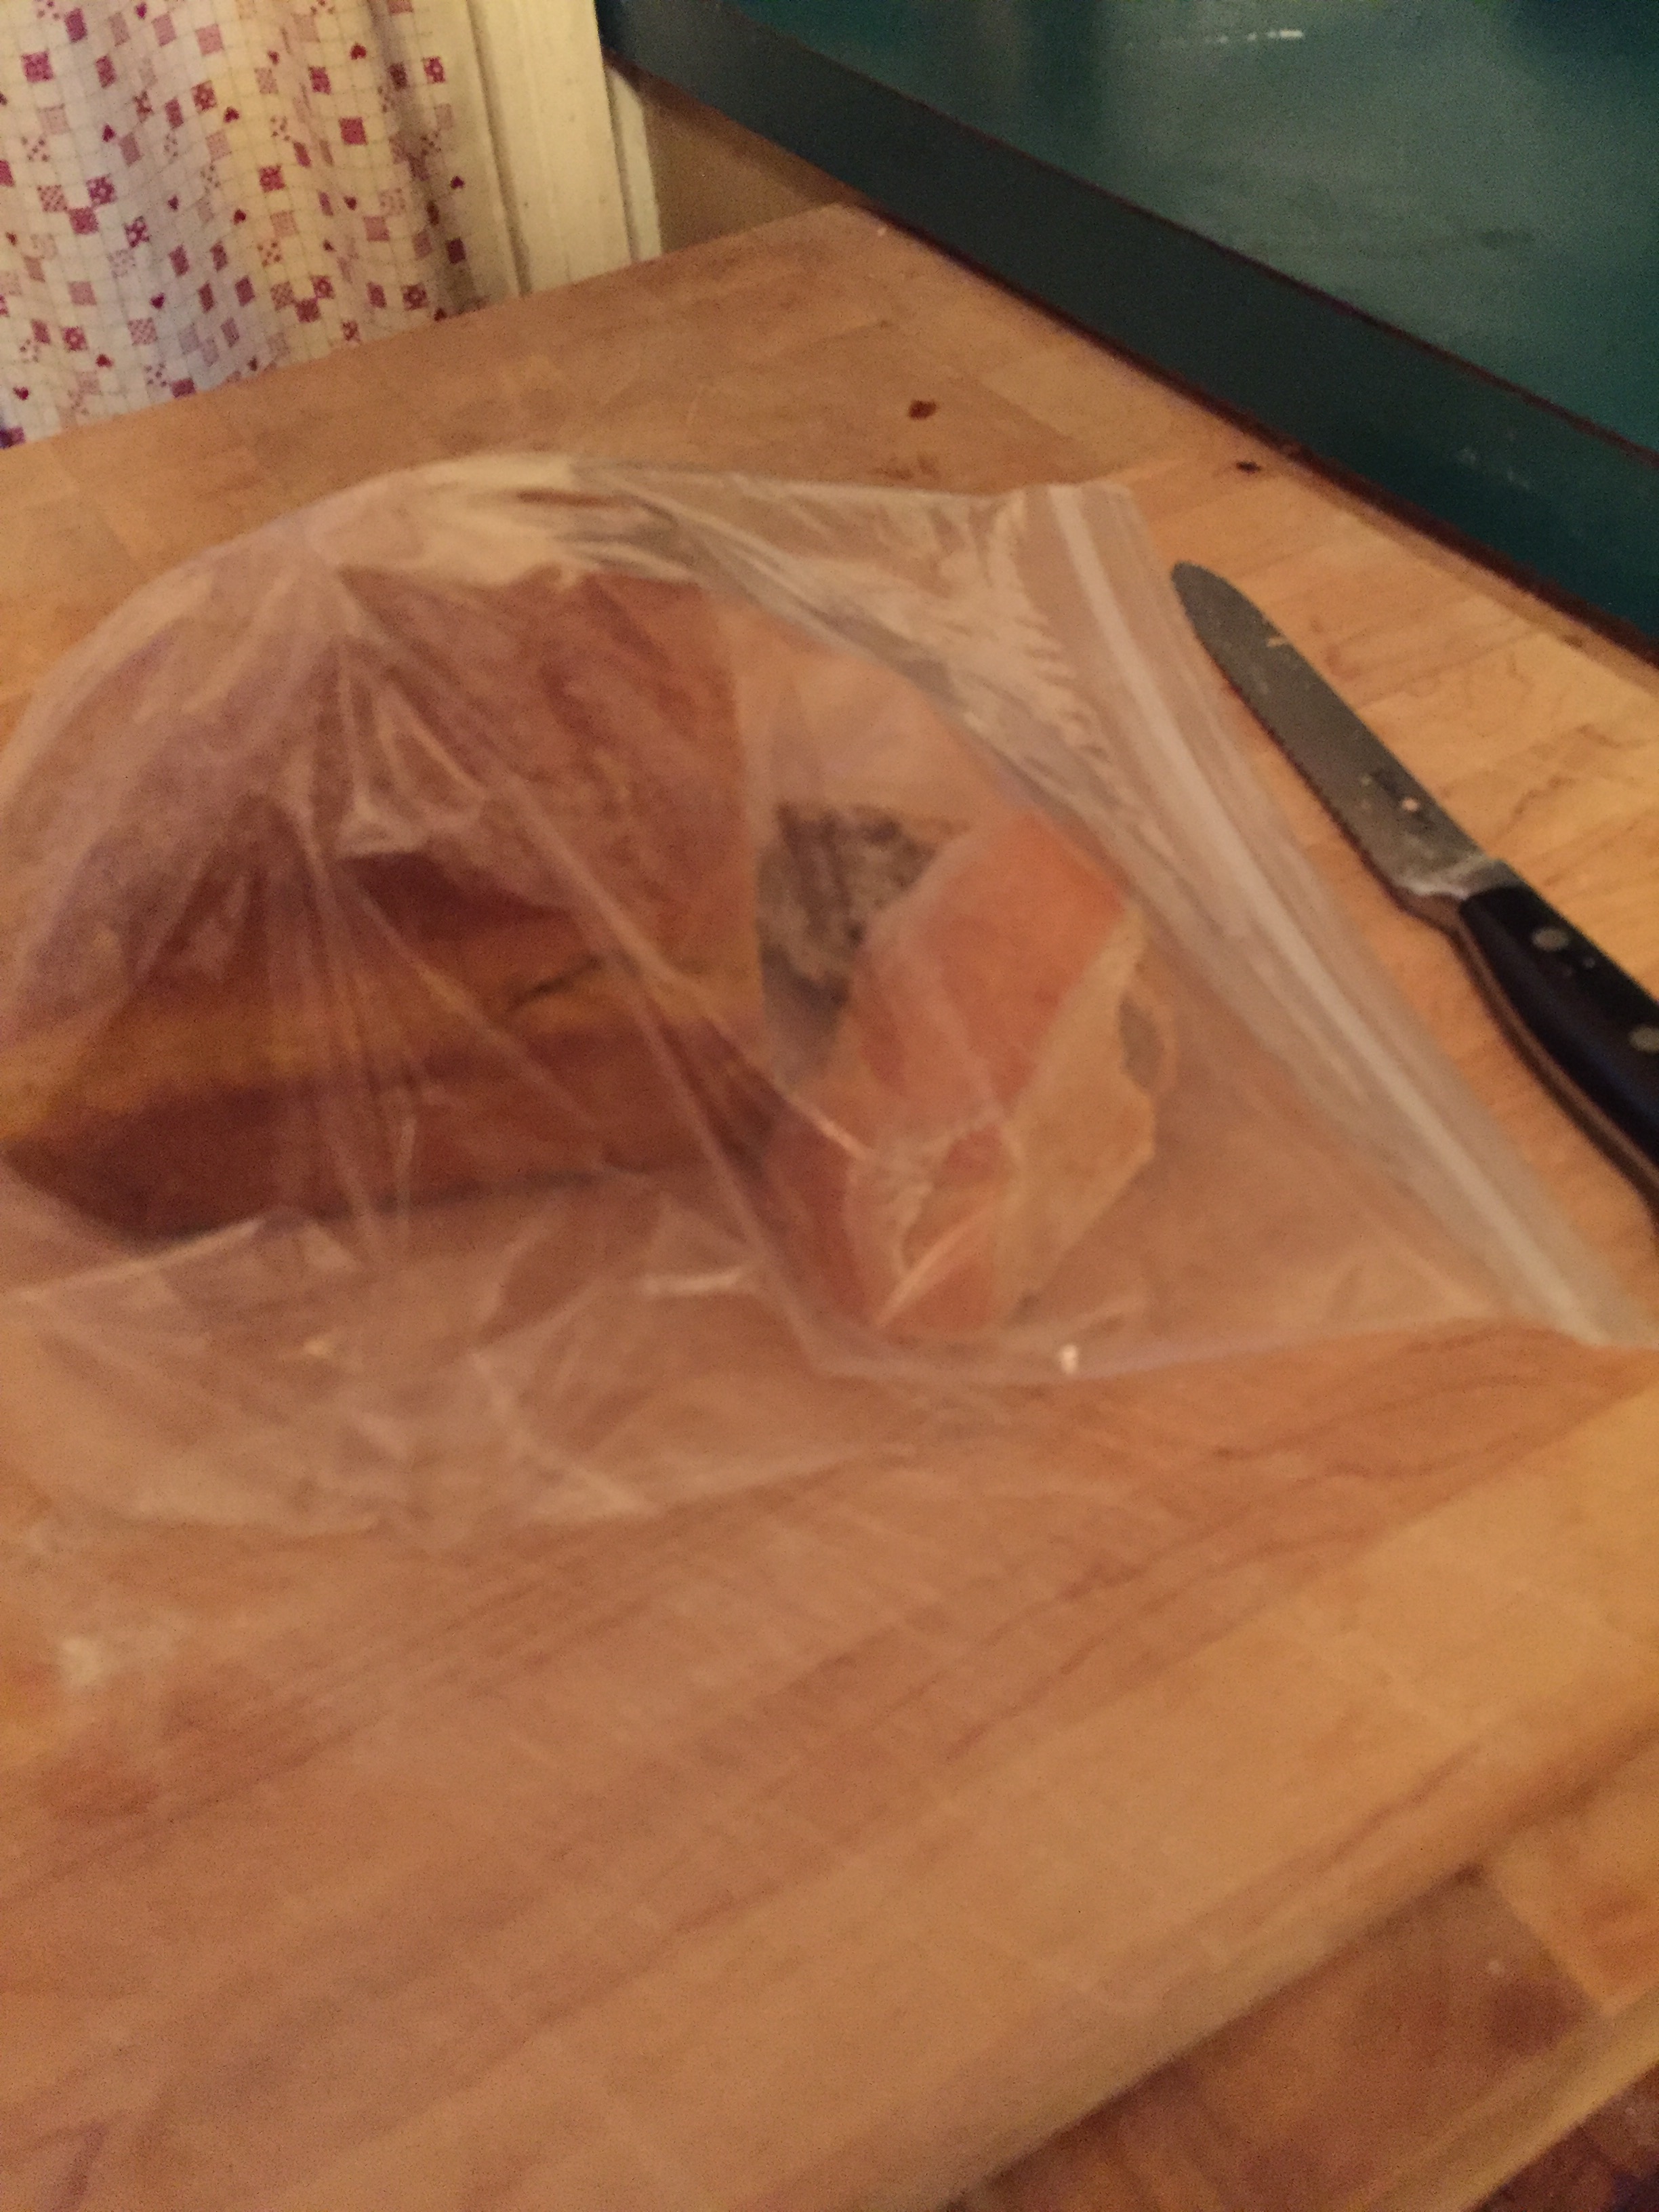
My newest gadget is a bread keeper. I have a wonderful old-fashioned bread box with a cutting board in the door similar to the one my mother had and the green one she gave me when I moved away from home. The green one did not have the cutting board in it. My aluminum bread box is supposed to work like this plastic one. There are vents in the sides so crusts stay crisp. The problem is in keeping the cut side from drying out.  I saw this bread keeper in a magazine and have seen it in catalogs over the years. I wondered if it would be good for keeping home made bread fresh.

But what is the definition of “fresh”? no mold? soft and fluffy? not hard as a rock?


Here I have several bread types in the gadget: home made bread (6 days old), biscuits (5 days old; from Popeye’s; I still have not mastered the fabulous biscuit!), and home made rolls (3 days old). I have examined them and there is no mold. They are not rock hard, but do not appear soft and fluffy. The exterior is beginning to feel stale. This means that they are edible and will need toasting to perk them up. So…what to do with them?

I planned on making chili for supper and cornbread, but why make more bread when there is this perfectly useful bread here? My son suggested that we put these on top of the chili to steam them. I used to make a Hungry Boy Casserole for him when he was growing up. This consisted of browned ground beef, onions, peppers, and a can of tomatoes baked with biscuits on top. Since these biscuits and rolls are already baked they may get a bit soggy but they will soften. Perhaps they will be like dumplings in the chili. Let’s see what happens!

Do you like kitchen gadgets? I have a number or them. I like the old-fashioned types: ricers, butter cutters, juicers. I even have a shredder. This is like a mechanical food processor. I picked this up for $3 at a tag sale. I used it a couple of times but it is a bit awkward.

I think there are basic kitchen gadgets/appliances one needs. I went years without a food processor or a blender. I absolutely love my KitchenAid stand mixer, especially the bread hook! The meat grinder attachment came with my hubby and we have used that to make breakfast sausage. Before the stand mixer I had a portable mixer, hand held. We have an immersion blender which is nice for making whipped cream and blending protein shakes. You can also make your own tomato juice by sticking it in a can of tomatoes! My Mom had one of those “old-fashioned” hand cranked mixers. It could blend eggs but not dough of any kind. I could ramble on and on about kitchen gadgets but I’ll stop now.

Go forth and cook!


Whole Wheat Buttermilk Bread

I found this interesting bread recipe while browsing through my Mom’s recipe notebooks. I had a carton of buttermilk in the fridge that needed to be used and I had exactly three cups of whole wheat flour, the white whole wheat variety from King Arthur Flour.


I gather up my ingredients and get to work. Reading through the recipe finds that there are three rising times for this bread and that it makes three loaves.

  • 2 packages active dry yeast (I use instant yeast at 1 3/4 teaspoons per active yeast packet for a total of 3 1/2 teaspoons)
  • 1/2 cup warm water (right from the tap)
  • 2 cups buttermilk
  • 1/2 cup butter (one stick, unsalted)
  • 4 tablespoons sugar or 1/2 cup honey (I use the honey)
  • 1/4 teaspoon baking soda
  • 1/2 to 1 teaspoon salt (I use 1/2 teaspoon)
  • 3 eggs
  • 3 cups whole wheat flour or cracked wheat flour, or combination (I use KAF White Whole Wheat Flour)
  • all-purpose flour to make a soft workable dough, about 5 cups
  • melted butter (optional, as I forgot to brush the tops with this as the loaves came out of the oven!)

Dissolve the yeast in the warm water. I do this even though instant yeast does not need to be activated. Pour the buttermilk in a saucepot, add the butter and heat until butter melts. Don’t mind if this curdles, it will not affect the final product.


wholewheatbuttermilk bread 007Meanwhile in large bowl mix the honey, baking soda, salt and eggs. The yeast mixture and the buttermilk mixture are to be added to this and stirred well. I find that this mixture gets quite hot and I need to let it cool down before proceeding.


Slowly add the whole wheat flour. The recipe clipping says to mix with a fork but I always use my Kitchenaid with the bread hook. After the wheatflour is added, add enough all-purpose flour to until you must use your hands to mix it in to make it soft and satiny. Here again I guesstimate this because I add  5 cups of the white flour and it is shiny and sticky. I knead this for 10 minutes with the bread hook and add one or two more handfuls of flour but it is still sticky. Supposedly one is supposed to have been able to turn this out on a floured board and knead it for about ten minutes. I did not want to keep adding flour and have a dry bread.

After this first kneading place in greased bowl, cover with plastic wrap and a towel, let rise for an hour to double in bulk. This rose nicely. Then punch dough down, knead lightly (it is still a bit sticky!) and then let rise again. This second rise time is not specified. I assume it is for another hour and that is what I allow. I had to flour the board quite a bit for the light kneading because the dough was sticky.

After second rising, turn dough onto lightly floured surface and knead lightly. Let rest for ten minutes. Meanwhile grease three loaf pans. I chose two loaf pans and one round pan to make rolls out of the third portion.Divide dough into three equal parts. Roll each part into a rectangle and roll up pinching edges and place in prepared pans. Let rise another 45 minutes.

Heat oven to 350 F and bake loaves for 35-40 minutes.  And then there is bread!

wholewheatbuttermilk bread 021

The clipping notes “the bread smells fantastic while baking” and “this whole wheat bread melts in your mouth.” We concur!


Leftovers/a novel bread baking experience/pictures of food

As the title suggests this will be a stream of consciousness blog about food …

leftovers 001

Leftovers from dinner

First: I miss having the kids around to eat all this food. Sometimes I like to set a table with a well-rounded meal: meat, veggie, bread, dessert, etc. My step-daughters are good eaters. They always seemed to rave about my cooking and baking. I miss having them around the dinner table. My son became a foodie and likes good tasting food of good quality. There came a time when he stopped eating packaged bread so I had to make bread or have bakery bread on hand, along with plain yogurt, fruit, carrots and the like. Hummus was very popular with him. My daughter eats well of the basic foods minus cheese and milk products. Now these family dinner tables are reserved for an occasional weekend visit or holiday meals. The wee ones are growing up and going out on their own, establishing families and lives of their own, as it should be. But I miss them.

leftovers 002

Leftovers are not always a problem. Sometimes leftover bread becomes a problem. Especially should I get the notion to make a new loaf or muffins when the first batch has not been completely consumed. Like this evening. I was reading the KAF 200th Anniversary Cookbook again and looking at batter breads. I have half a loaf of pumpkin bread and a few pieces of Artisan bread left here!

Second: I decided to make a yeast pumpkin bread off the KAF website. It was a cool fall day and we were hanging around the living room parallel playing on our computers in between the hubby sleeping off and on due to having come down with a cold. You must understand that there are members of my family that think I am a fabulous baker. I am mediocre at best but I do bake which makes me unlike other people who do not bake or obsessively think about baking. Actually I must correct this thought. I am not mediocre; I am pretty darn good, just not always creative, or that knowledgeable about the science of baking. Mind you I have several books in my repertoire/collection that could teach me about the science but I have not memorized the information. I can tell you bits and pieces only.

That said, the bread dough is stiff and I set it out to rise. The recipe said this would take 45 minutes. So after an hour and a half I “call up” the KAF baker for a live chat about this issue. I have never called a baking or recipe hotline! I was not sure what to expect. It turns out that trying to rise bread dough in a 65 degree kitchen is going to take quite some time especially since I used the scoop and sweep method of measuring the flour instead of the proper method: http://www.kingarthurflour.com/recipe/measuring-flour.html

So the KAF on-line baker told me to boil water in the microwave, remove the boiling water, and put the dough in there to rise. This creates a warm moist environment that the yeast will like. It worked!

pumpkin bread 001 pumpkin bread 002

So after the second rise I baked the bread in the oven and voila! pumpkin bread 004

This was fabulous.

Tastes good too!

Third: Since blogging about food I have been taking pictures of dinners and what I have made. I have not always written about a specific dinner but have enjoyed looking at the photos. Here are some in no particular order:

West point weekend 032spaghetti meal

fresh baked bread 001Irish soda breadfood 003 food 005

Cole slaw made in my food processor when I just realized that it had a shredder attachment. Served with ribs.

The Elusive Biscuit

bread and biscuits 002These are not biscuits. These are no knead dinner rolls from a Betty Crocker website. Very easy, very quick, and very good hot out of the oven. Do not put these in the microwave the next day as they will become hard as rocks. I did not get to eat a leftover roll with my salad at lunch the next day. Oops!

I have not been very successful at making biscuits. They usually end up like hockey pucks. Maybe when first out of the oven and very hot with melted butter they taste okay. I avoid this whole fiasco by baking muffins and popovers instead.

But my quest is to make biscuits that are enjoyable, light and fluffy, and do not have the chemical taste of canned biscuits. I made one of the recipes from KAF 200th anniversary cookbook, page 69, Bert’s Buttermilk Biscuits using the food processor method. They were good. They had a crisp outside. And they were fine the next morning as well. But they were small and were not fluffy.

bread and biscuits 006Getting them ready for the oven and

right out of the oven.bread and biscuits 012

Now for Grandma’s biscuits. My brother asked me not to share the recipe so I won’t. Let us just say it has a heck of a lot of lard in it. I cannot bring myself to use that amount of lard. No, no way! I am looking up biscuit recipes on the internet and in my many cookbooks and there is nothing that comes close to the amount of lard Grandma used, if my brother’s recollection is accurate. What to do?

After a more extensive search I find one, just one, recipe that calls for ½ cup lard AND ½ cup butter. So that is close enough so here goes…but I am still not sure. And those were baked at 500 degrees! Most recipes call for a 400 or 425 degree oven (Fahrenheit).

The other issue is that the “best” recipes are using self-rising flour. Grandma did not use self-rising flour. I don’t have self-rising flour. I do know how to make it myself though. Plenty of instructions on the internet. Here’s one: http://www.kingarthurflour.com/tips/homemade-self-rising-flour.html. What to do? Also the best biscuits are made with a sticky dough. I do end up adding a scant ¼ cup more of buttermilk. I bake these in a cast iron skillet. I am careful not to over handle the dough.

bread and biscuits 017 bread and biscuits 018

bread and biscuits 022 bread and biscuits 024Here they are.

Crumbly,

bigger than the others.

Crumbly, I may have under baked them so I leave them in the oven a few minutes longer. I miss the butter flavor. I am not sure if I would describe them as light. Maybe next time, using half butter. And half the amount of fat! Hubby likes them but would like them to be less crumbly but likes the crustiness. Could be lighter on the inside. Will be great with jelly. He tasted the butter which was brushed on top. I was disappointed in the rise. I think they taste like Grandma, fat and floury!

These are big enough to toast on the griddle the next morning. Be sure to add butter and jam. They still are missing the buttery flavor. The fat and flour fill the mouth.

The verdict: we are not biscuit people. I should go back to muffins, rolls, and popovers. However there are more biscuit options to try. Perhaps sour dough biscuits will be next. My mother cut out recipes from the newspaper many years ago that featured a variety of breads to make with sour dough starter. These are yellowing in one of my notebooks but still legible. A friend from church recently gave me a portion of his starter that he made from scratch (without yeast) two years ago.  There’s also the possibility of getting some self-rising flour. I’ll have to see what strikes my fancy next!