Birthday pie: lemon meringue

My stepdaughter is having a birthday and then she’s going off to join the Air Force. Wow! It is tradition to have the birthday child to select the type of dinner and cake she/he would like for their celebration. This one likes pie. Apple pie, lemon meringue pie, pie! This year she has selected barbecue ribs (Hubby’s job to grill) and lemon meringue pie which is mine to make.

I have a French cookbook of the coffee table variety which has a wonderful recipe for lemon meringue pie with a lemon curd. That uses butter. I also looked at one of my British baking books which has both a lemon curd tart and a lemon meringue pie. Which to make?

I decide to go with the lemon meringue pie from Home Baking: Cakes, cookies, pies, pastries, bread (Paragon Publishing 2005). I am not following this exactly because…well, just because! Almost, but adding one more egg and one more lemon. Here are my ingredients:

  • single pie crust; I recently made a batch of the apple cider vinegar pie crust and have one disc in the freezer. I thaw this out.
  • 3 tablespoons cornstarch
  • 1 1/4 cups cold water
  • juice and grated zest of 3 lemons
  • 1 cup of sugar, divided
  • 3 eggs, separated

The pie crust needs to be pre-baked. i do not do this well. I want to buy some of those pie beans or some such to learn to do this better. But I have to make do with what is available. I do not have dried beans in the pantry. What to do? Last time I tried to pre-bake a crust I put a pot lid on it and this was not successful. It puffed up underneath the lid and the edges shrunk. This time I fit a disposable foil pie tin inside the pie pan and then put the lid on it. The recipe says to prick the crust all over and bake at 350 F for 15 minutes. I did this and then uncovered the crust and let it bake for another 10 minutes raising the temperature to 375 F. This worked nicely, light brown, no shrinkage.

20161020_214726222_iosNow for the filling. I do a nice mise en place. I have misplaced/lost the insert to my old-time juicer so juicing the lemons is not as fun or simple as it was before.

Mi the cornstarch with 1/4 cup of the cold water. Put the remaining water in a medium sized pot along with the lemon juice, zest and cornstarch paste. Bring to a boil, stirring, and cook for 2 minutes. Let cool slightly. Stir in 5 tablespoons of sugar and the egg yolks. I temper the egg yolks by stirring in a little of the lemon mixture first so as not to have scrambled eggs in the lemon pudding. Pour all of that into the pie shell.

Whip the egg whites until stiff and then whisk in the remaining sugar. I read up on meringues and later figured there should have been more sugar and I should have waited to put the sugar in and should not have whipped them so stiff. Anyway I then had to spread this carefully over the top of the pie. And since it was so stiff it did not spread easily.

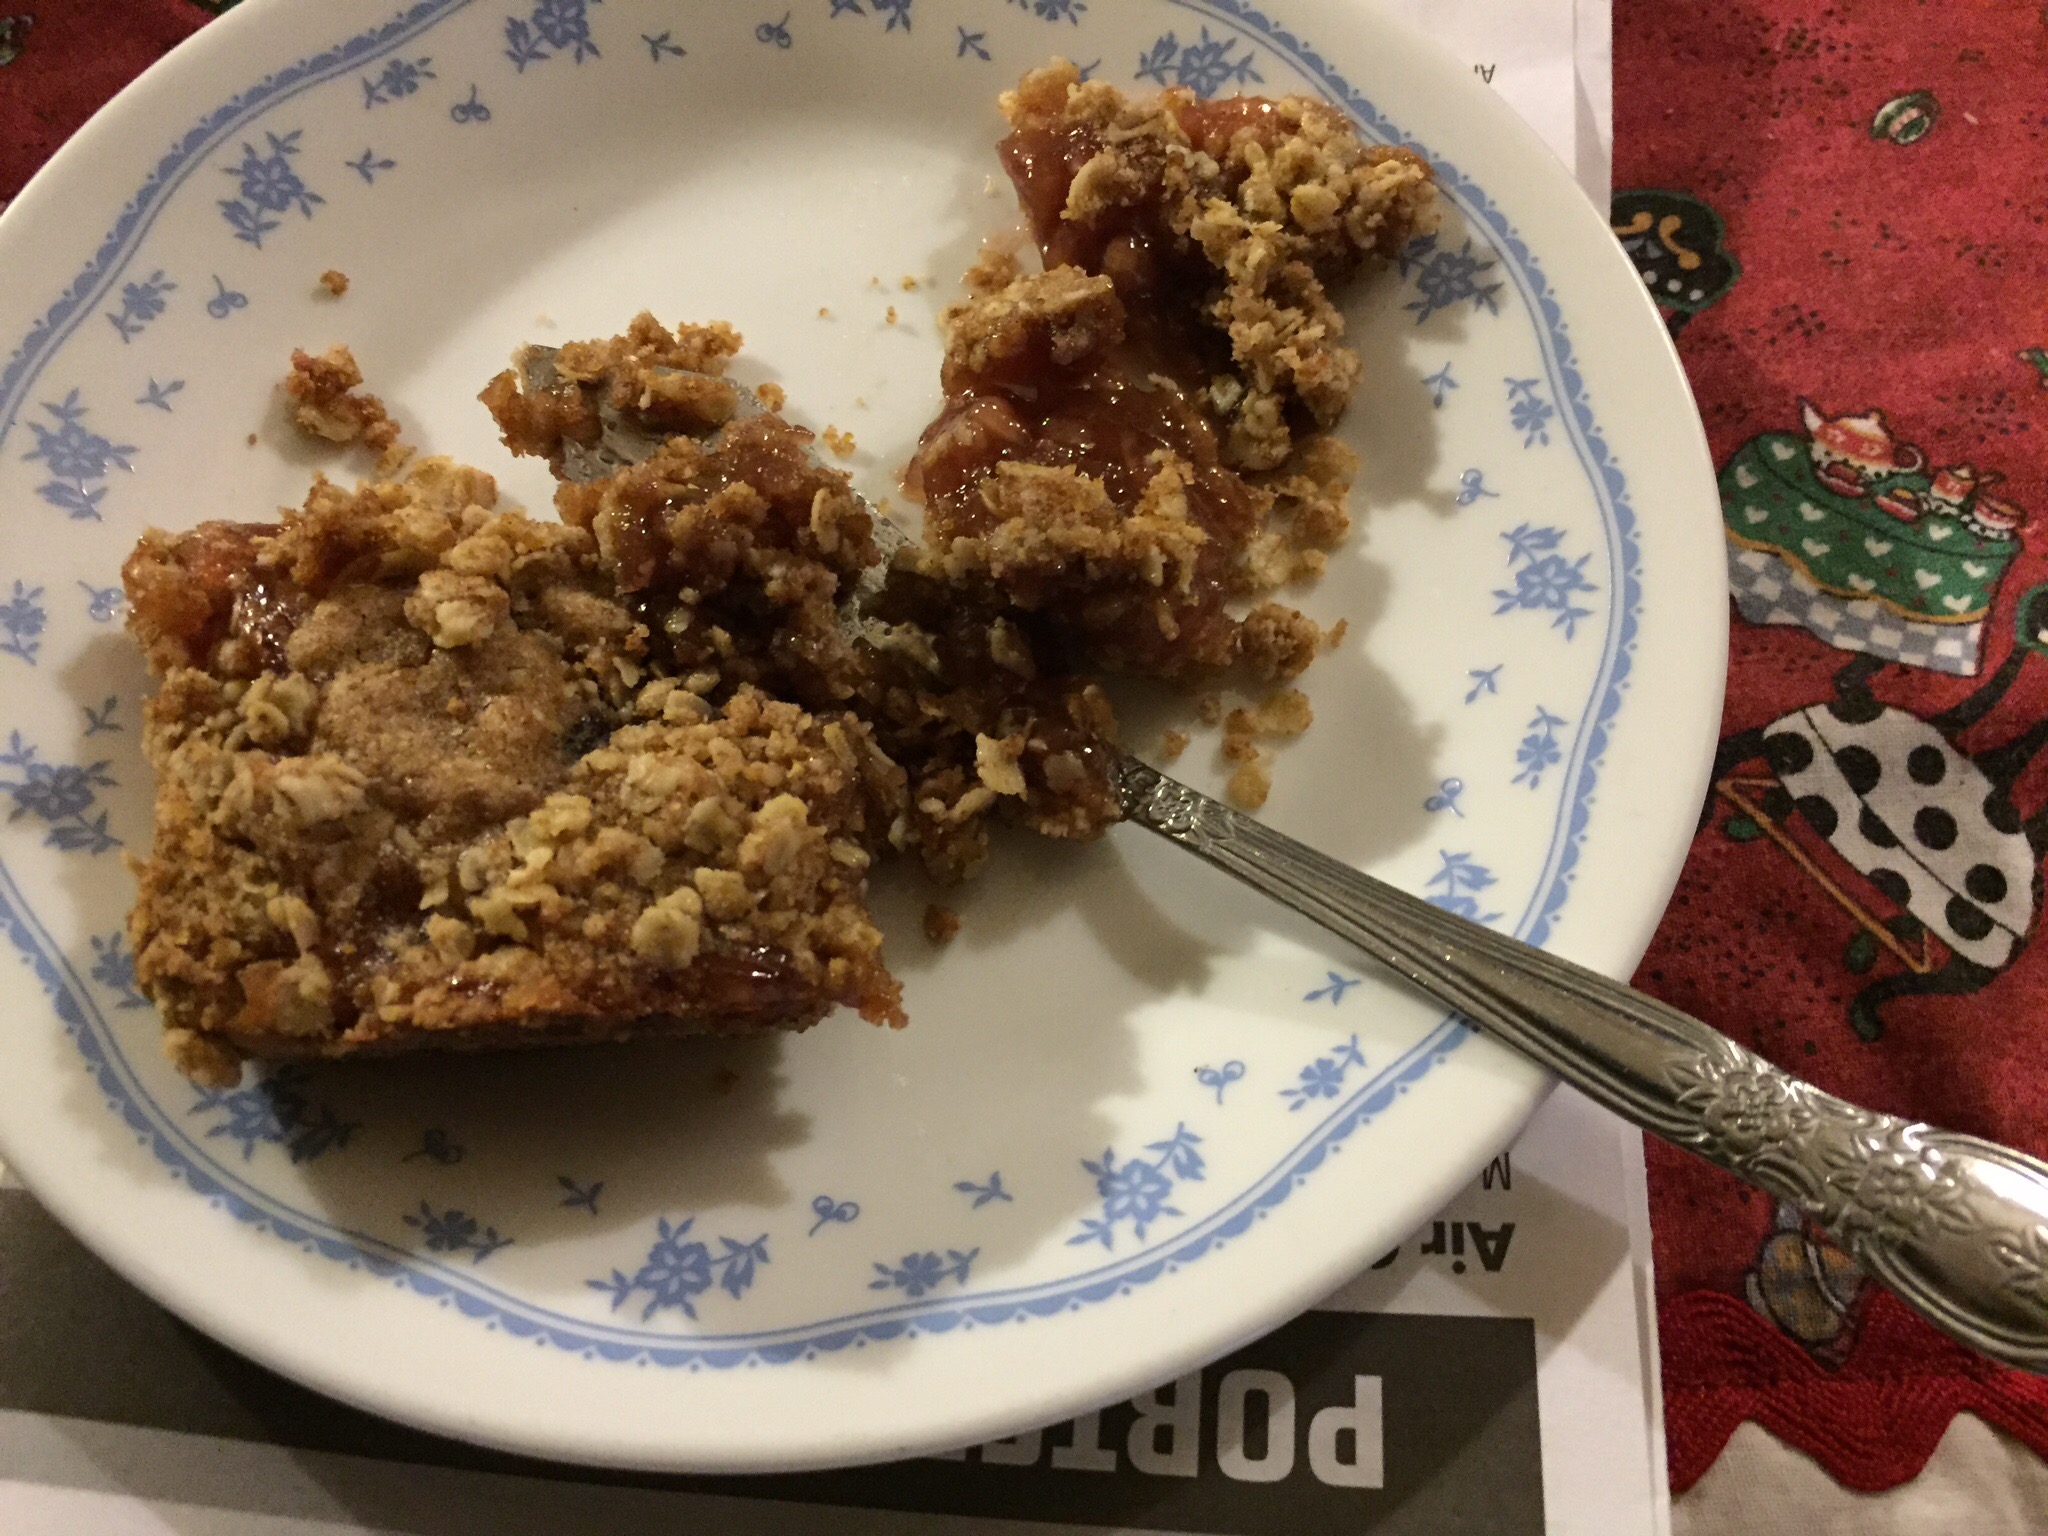
Very lemony taste! I am not sure why the meringue cracked unless it was because i whipped the egg whites too stiff.  It was enjoyed by all!

First Bread

Fall is here and the cooler weather begs for bread baking. A few years ago my son told me about the book Artisan Bread in Five Minutes a Day by Zoë François and Jeff Hertzberg. Now this recipe is all over everywhere, even on King Arthur Flour, recipe. I use the recipe for The Master Recipe: Boule (Artisan Free-Form Loaf) from the book.

  • 3 cups lukewarm water
  • 1 1/2 tablespoons granulated yeast
  • 1 1/2 tablespoons kosher salt
  • 6 1/2 cups unsifted, unbleached, all-purpose white flour, measured with the scoop-and-sweep method
  • cornmeal or pizza peel (or baking sheet)

I use an empty 5 quart ice cream tub. And I don’t care if it forms a seal when covered in the refrigerator. This is a super simple bread recipe. It does make an artisan bread so is not the same texture as sandwich bread or the standard bread kneaded with two risings. But it is good. If you are a novice bread baker this is a good bread to begin your bread baking.

Put your water in the tub. Sprinkle on the yeast and the salt. It may not dissolve completely. No worries. Add the flour all at once and mix with a long wooden spoon until no dry spots; all the flour is incorporated. Cover loosely and let sit at room temperature for at least two hours. I forgot about mine and it sat for 4 hours. (Binge watching television shows occupied my time!) And then put in refrigerator. The original recipe says it should be refrigerated at least 3 hours.

I baked the first loaf the next day. Sprinkle the top of the dough with flour. Reach into the tub and pull our about 1/4 of the dough. Oh, flour your hands first and sprinkle cornmeal on your pizza peel if you have a baking stone or on your baking pan. I used a baking pan because last spring my baking stone broke in two and I have not yet replaced it.

Add a little more flour to the dough in your hand and stretch the top onto the bottom shaping into a ball, smooth on top and bunched on the bottom. Put this on your cornmeal sprinkled pan. Let rise and rest about 40 minutes. Depending on how fast your oven preheats you want it to be 450 F when you are ready to bake your bread.

To be authentic there are instructions to heat a pan of hot water at the bottom of the stove but I did not do that for this loaf, nor for the second loaf!

Just before putting it in the oven, sprinkle the top with flour and slash the top with a serrated knife. This allows for an oven rise through the surface. Bake in the 450 F oven for 30 minutes. The loaf should be firm and nicely browned.

20160928_213937423_ios

Truth be told this does take more than five minutes per loaf. The actual time you spend with the dough is about that though. With a batch of this dough in my fridge I can come home from work and have bread on the table in just over one hour: 5 minutes shaping, 40 minutes rising, 30 minutes baking.


Maple Pound Cake

I have been baking, and cooking, just not writing! We got a late start on camping this summer so are trying to make up with the weekends that are remaining through October. There’s something about camping that makes sitting around doing nothing very productive. This is compared to sitting around at home doing nothing which is just plain laziness.

I am back to using King Arthur Flour recipes. I have not yet taken up their current bake-along challenge but may do so in the future.The catalog flyer they send each month has a few recipes in it along with the promotions of their products for sale. This latest had a Maple Pound Cake with Maple-Rum Glaze recipe which looked and sounded tasty and seasonal. It is definitely fall in New England and the Sugar houses will be full of maple syrup soon. Here is the link to the recipe on their website. http://www.kingarthurflour.com/recipes/maple-pound-cake-with-maple-rum-glaze-recipe

I followed the recipe almost exactly because that is just the kind of baker I am! Mise en place is essential for baking and I failed to pay attention to the recipe and what ingredients I had in the house. What type of baker runs out of butter! I had only some butter so I substituted coconut oil. This was solidified being less than 70 degrees F in my pantry. I also made my own cake flour using the directions from Mark Bittman’s book How To Cook Everything.

  • 1 3/4 cups all-purpose flour whisked with 1/4 cup cornstarch (OR 2 cups cake flour)
  • 1 teaspoon baking powder
  • 1/4 teaspoon baking soda
  • 1 teaspoon salt
  • 10 tablespoons coconut oil and 2 tablespoons butter (OR 3/4 cup butter, softened)
  • 2/3 cup dark brown sugar, packed
  • 2 large eggs
  • 1/2 cup dark maple syrup
  • 1 cup sour cream
  • 1 teaspoon vanilla extract (the recipe also calls for 1/4 teaspoon maple flavor but this I do not have)

Sift the first four dry ingredients in a bowl. Cream the coconut oil/butter with the brown sugar in separate bowl. To this add and beat eggs one at a time and then add the maple syrup. Now add half the flour mixture followed by the sour cream and vanilla. Then add the remaining flour. Mix just until combined.

You will have preheated the oven to 350 degrees F and lightly greased a 9-10 cup bundt pan. Pour batter into the pan and bake for 45-50 minutes until cake test done. Let cool in pan for 10 minutes and then turn out on a cake plate. My cake did not come out cleanly. I had to patch some of the pieces of the top (or bottom, depending on your perspective) of the cake back to the cake like a puzzle. Luckily this does not affect the taste. No Star Baker for me though!

While the cake is baking, or actually when you pull it out of the oven, make the glaze by combining 2 tablespoons butter (I found a partial stick of butter in the camping butter container), 1/4 cup maple syrup, and 1/4 cup rum (or water) in a saucepan. Bring this to a rolling boil, lower the heat, and simmer for 5-8 minutes until thickens to a syrupy consistency. I forgot to check the consistency and just simmered it for 8-10 minutes. Remove from heat and pour over the warm cake.

The directions say to let the cake cool completely before serving. What? Why?

I let it cool just a bit while finishing an episode of the current Binge Watch on Amazon!

20160925_231212604_ios

This is a flavorful and moist cake. Hubby asked for a piece to put in his lunch the next day. This recipe is a definite keeper. Ice cream or real whipped cream could be added but is not necessary.


Cherry Custard Tart!

I confess this is an experiment. I long to make cherry cafloutis and have not been successful. I think it is the texture that is foreign to this mid-American palate of mine! And ever since I watched all of the BBC series As Time Goes By I have urges to make Custard Tarts which were Lionel’s favorite teatime treat.

The weather cooled off sufficiently for me to want to turn on the oven. What to bake? I dream of biscuits, cakes, pies…and custard tarts! I have a pie dough circle in the freezer and get that out to thaw. I go through my French Feasts cookbook looking for custard. There are lots to choose from. Questions flood my brain: do I pre-bake the crust? which custard cream can be baked? do I bake the cream in the crust? Should I make the whole recipe or half. I see that I and the son have marked the recipes on Page 456 with the amounts for half recipes.

I chose the creme patissiere (pastry cream). I chose to prebake the crust and possibly bake it again with the cream filling. I do not spend any time researching what to do through cookbooks or the internet. I roll out the crust and try to fit it to an 8 inch spring form pan. This was my first mistake: I should have used a regular 9 inch pyrex pie pan. Who knew?

I also decide to make a topping using canned tart cherries. I “melt” 1/2 cup apricot jam in a small sauce pan and add 1/2 can of cherries. Bring to boil and stir.

20160911_215721278_iosFor the “creme pat”:

  • 4 cups milk; I make this with 2 cups half-and-half and 2 cups water. The only milk I have in the house is almond milk and that has very little fat in it.
  • 2 eggs
  • 4 egg yolks
  • 1 cup sugar
  • 2/3 cup flour
  • 1/3 cup butter

Whisk the eggs, yolks, and sugar until pale. I don’t think mine got to pale. I used a hand whisk and not the mixer. I add about 1/2 teaspoon vanilla to add some flavor. Meanwhile put the milk in a heavy bottomed saucepan with the butter. And scald. To this I added the zest of one lemon to augment the custard for the cherries. Add a little of the scalded milk to the egg mixture and then return to the saucepan whisking constantly while adding. I then remembered to add 2/3 cup sifted flour to the egg mixture before I had added it all to the milk. I got that sorted out and this mixture gets cooked gently for 10 minutes. I whisked it a lot of that time to be sure it would be smooth. It came out nicely. I have too much pastry  cream for the little crust I had formed.

I baked the crust for 10 minutes with lid used for the baking blind. I have to get me some of those “baking stones” soon! Ugly, ugly, ugly! And not so crisp. The sides shrunk down as well. I have very little success pre-baking pie crusts. I put it back in the oven for 5 minutes without the lid in it. Now it looks a bit browner. Maybe it is okay. I decide at this time to just add the pastry cream and chill.

20160911_224653447_ios

The mistakes I made:

  1. not properly shaping and pre-baking the pie crust in the proper pan. This is not a short crust but a flaky crust that most of us Americans use for all pies.
  2. making too much pastry cream and not letting it cool before filling the pie crust.
  3. not cooking down the jam and cherries long enough to make a thicker sauce.

But how does it taste? Let’s find out.

20160911_233612020_ios

Nice flavors. The custard was loose. Perhaps more time in the refrigerator will set it better. I will find out tomorrow. The crust was nicely colored and crisp on the bottom. Good bake! I have lots of pastry cream leftover so cream puffs may be on the menu this week!

Blueberry Pie

Hubby and I took a Sunday drive to look around some of the local campgrounds to see if any looked inviting for weekend camping trips. It is the second half of the season for camping and I may or may not find a Labor Day weekend spot but it is worth the effort. In the rural areas of this small state there are farms and farm stands. We found one that also is a new winery with a wine tasting happening so we had to stop! And because they took “plastic” for payment I bought plenty of fresh locally grown produce and homemade preserves and a fancy bottle of wine!

They had only four pints of blueberries left so I bought two of them. Pie, I was thinking! I had two discs of pie dough in my freezer so this should be easy! Easy as pie! 🙂

I do not like to cook up the fruit before filling the pie crust. I also wanted to use just one pie crust and fold it over the top of the fruit so it looks rustic. I am not sure what that is called but I’ve always wanted to try it.

  • one pie crust, unbaked and rolled out to a 12 inch circle; I love the apple cider pie dough recipe here.
  • 3 cups blueberries
  • 1/2 cup sugar
  • 1 tablespoon cornstarch
  • 1 tablespoon lime juice; I read some time ago that lime is nice with blueberries so i thought I would try lime instead of lemon juice

Heat oven to 400 degrees F. Roll out crust and place in 9 inch pie pan. Mix the fruit with the other ingredients and pour into the crust. Fold the crust over the fruit filling. Bake for 35-40 minutes.

I also sprayed the crust with butter flavored cooking spray and sprinkled on some sugar before baking. I figured this would make a nice golden brown.

And here is the final product:

20160808_001618315_iOS

The filling was a bit runny. This may be because I cut it when it was still warm. But it tasted good and fruity. The filling broke through the crust so I would not be able to pull it out of the pan to place on a serving plate. Did I roll the crust too thin? Hmmm?

Jam bars

More jam or too much? That is the question. 

I was looking for something to bake using homemade jam a neighbor gave me. He didn’t make it but someone at his work. I recently learned he is a chef at a local bar/restaurant. Not going to tell him about my food blog. Too much pressure!

These are from a Quaker Oats recipe booklet from 1982. Wow! That is older than my oldest child! Anyway I’ve used this for the banana crunch cake recipe and wanted to try some of the others. Over the years I probably have made a few but I just don’t remember. I came across these Wholegrain Jam Squares. They are whole grain because of the two cups of oats not because of anything whole wheat. In the 80’s oat bran, etc. was the key to lowering cholesterol. I also remember oat flour (made by grinding up oatmeal in the blender) was the secret ingredient in Mrs. Field’s cookies. Or so a letter circulated at the the time “revealed”. It would be a chain letter similar to and just as annoying as those Facebook posts telling you to “share if you agree”. (I admit I have succumbed if I was feeling particularly impassioned about something at the time. But mostly I roll my eyes and wonder if the poster will think I’m a heartless b—-!”)

Alright, enough about me, let’s get to the recipe. It is basically an oatmeal shortbread with jam and a streusel. Heat oven to 400 degrees F. Grease or spray a 9 x 13 inch baking pan. 

  • 2 cups oatmeal, uncooked 
  • 1 3/4 cups flour, all purpose 
  • 1 cup butter
  • 1 cup packed brown sugar 
  • 1 teaspoon cinnamon 
  • 3/4 teaspoon salt 
  • 1/2 teaspoon soda
  • 3/4 cup preserves (or more as you will see below)

I left out the 1/2 cup chopped nuts. Add them if you would like. Mix everything together except the preserves. It helps if the butter is at room temperature. I use my kitchen aid mixer and it’s mixed in no time! Reserve two cups and then press the rest into the pan. Flatten with back of spoon. Now for the jelly! For the first batch I used a 4 ounce jar of homemade blueberry jam. It barely covered half the pan! So I spread a mixed berry preserves from my fridge (store bought) on the other half. Crumble the reserved mixture on top. This covers the jelly pretty evenly and thoroughly. Bake for 25-30 minutes. Cool. Cut in squares. Eat. Might be nice served with ice cream. We just ate them and not all at once. I think they lasted 5 days or more! These were tasty but the fruit was barely noticeable. They looked marvelous!


I tried again. I figured twice the amount of jam and raspberry would be a stronger flavor. I used an entire ten ounce jar of raspberry jam. Whoa! I also inadvertently baked these at 350 F instead of 400. They looked a little under done and I cut them while warm. Tasty but gooey. Did I use too much jam?


The next day they firmed up nicely. The flavor of the fruit was definitely present. These just may become my “go to” recipe for coffee hour, bake sale, work pot luck, and “bring a dessert ” dinner invitations. 

For store bought jams and jellies be sure to read the ingredients before buying. Fruit should be the first ingredient listed. The only other necessary ingredients are pectin and sugar, preferably cane sugar or honey. Three ingredients is all that is needed in the real stuff. Beware of high fructose corn syrup. It’s what’s making America fat!

Pork Pies

20160525_224843711_iOS
Pictured here are just pie dough and jam, sprinkled with cinnamon sugar: not the recipe below!

I’ve been meaning to write this post for a little while now. I have these in my freezer, we ate some for a supper, and even took some camping and toasted them up on the grill. The pastry is from a recipe that I copied out of a book The Make Ahead Cook. I don’t remember the author. I found this in my “want to make” recipe notebook.

I had some seasoned pork that my stepdaughters’ aunt puts together for pork pie. My youngest stepdaughter made pork pie for us one time and it is delicious! I found a recipe for pork pie in the Yankee magazine after the girls told me of it. I had never heard of it before. It is ground pork seasoned with onion, cinnamon, cloves, and allspice. I think each family recipe is probably a variation on that. Hubby mentioned that I needed more puff pastry so I could use that with the seasoned pork which the family calls “gratin”.  I did not have any puff pastry so this recipe came in handy. And its a bit different than regular pie pastry. Here are the ingredients for the crusts:

20160526_202002378_iOS

  • 4 cups all purpose flour
  • 2 teaspoons salt
  • 1 teaspoon baking powder
  •  8 tablespoons butter, cut into pieces (the original recipe called for shortening)
  • 1 cup chicken broth
  • 2 large eggs, lightly beaten
  • 5 tablespoons vegetable oil

A food processor is a fabulous appliance for making pastry dough.

20160526_203351193_iOS
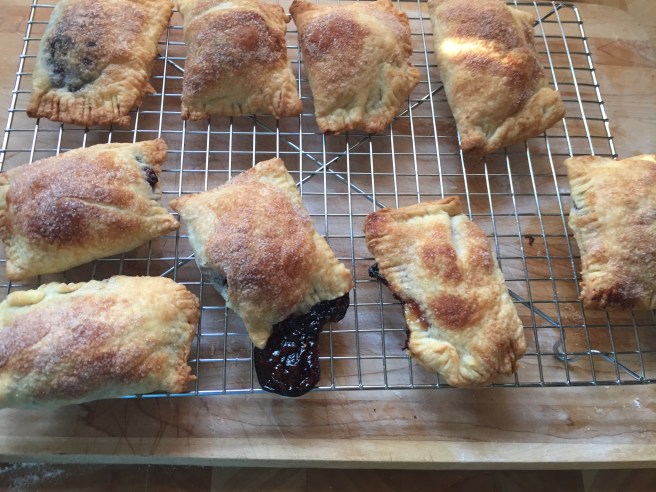
Process flour, salt, and baking powder in food processor until combined, about 3 seconds. Add butter and pulse until mixture resembles coarse cornmeal. (I did not cut the butter into small enough pieces so ended up with chunks that made the rolling out of the circles a little more difficult than should be).Add broth and eggs until dough comes together. This took more than the 5 pulses in the original recipe. Transfer dough to a lightly floured board. Knead by hand to form a smooth ball and then divide into 16 pieces.

Roll each piece into a circle of about 6 inches diameter. Place 1/4 cup filling on half, brush edges with water, fold over and seal. I have to admit my 6 inch circles were approximate and “circle-like”! Half way through I ran out of the prepared pork (already cooked) and made a quick extra filling by cooking some breakfast sausages and scrambled eggs with a touch of grated cheese. (The original recipe called for a meat mixture made with 1 1/2 pounds of meatloaf mix.)

These get baked on cookie sheets preheated in a 425 degree F oven. When the pans are heated drizzle 2 Tablespoons of oil on the pan before placing the pies on them. The original recipe said to brush the other Tablespoon of oil on the tops. I sprayed them with cooking spray and for the second pan I did not drizzle the oil. The oil drizzled pans did produce a browner, crisper crust. So it might be worth the effort to do so next time as well.

I sprinkled paprika on the scrambled egg ones to distinguish them from the pork. This is a recipe that I will use again. It made 14, not 16, but that was the extent of the filling available. The crust is flavorful, like a biscuit, but thin and crisp. They are definitely not just pie dough and filling. These will be handy for a grab and go lunch or super easy supper on a busy night, or when I am just too lazy to cook!

20160526_215445735_iOS


Puff tarts!

These are totally inspired by Lana-Once Upon a Spice and her Pie Week: “Pop tarts”. I have made homemade pop tarts with a short crust pastry before but this time I am using the one sheet of puff pastry that is leftover in my freezer. So they don’t end up flat enough for the toaster, so they are jam puff tarts! I love pie, any kind of pie. Well, I am not that fond of key lime or rhubarb, but just about everything else.

20160518_222518653_iOS
The ingredients

Roll the pastry. I actually did not even have a whole sheet of pastry. I rolled it thin to about 12 inch square  on a floured surface. After thawing it, of course! Cut that into 4 squares, heaped a large tablespoon of the jam (technically not a jam or jelly or preserves, but a fruit spread), rubbed water on the edges and folded and crimped the edges with a fork.

20160518_214541037_iOS
And I poked each one in the middle with the fork.

Before putting them in the oven at 425 degrees F for 15 minutes, I sprayed the tops with cooking spray and sprinkled on a very little bit of granulated sugar. I thought this would help them brown a little.

So does the water, cooking spray, and sugar make it five ingredients instead of two?

20160518_222436074_iOS
Voila!

I miss my kitchen!


It’s not that my kitchen has gone anywhere, nor has it changed in any way, shape, or form. I’ve been back to work for about six weeks now and I miss sitting in my kitchen in the morning contemplating my day. I would have to get up at the crack of dawn to have about half of an hour to contemplate and it’s not easy to do that. It will get easier as daybreak comes earlier and earlier with the onset of spring. But I am not generally a crack of dawn person.

I signed up to make cinnamon rolls for a breakfast celebration at work. Sure, easy! No problem! I figured I would make  Alton Brown’s Overnight cinnamon roll recipe. I’ve made them before and it sounds perfect for a Monday morning work breakfast. That is one rich roll recipe: 4 egg yolks plus an egg and buttermilk, ¼ cup sugar. Then I think if it is such a rich roll how about making my mom’s Rich Rolls recipe.Now that one calls for 4 eggs, 1 cup butter, and 1 cup sugar. Whoa! Then in my most organized recipe notebook there is a sourdough roll recipe next to the standard Fleischmann’s. What to do? 

I decide on the Buttery Sourdough Buns recipe from King Arthur Flour. And these rolls were very nice when made for Thanksgiving. I’ll just roll cinnamon sugar into them. http://www.kingarthurflour.com/recipes/buttery-sourdough-buns-recipe

20160417_212912183_iOS

I have sourdough starter that needs to be used and fed.

The beauty of this recipe is the simplicity of the process of putting the dough together. Literally put everything in the bowl and mix. I used the dough hook and let it beat at 2-4 speed for about 5 minutes. I did add an extra 1/2 cup flour and the dough came together nicely. I let that rise in a greased bowl for about 1 1/2 hours. I then rolled it into a rectangle, spread three Tablespoons of melted butter and liberally sprinkled that with about 1/2 cup of cinnamon sugar (1-2 teaspoons of cinnamon to 1/2 cup sugar.

20160418_005308317_iOS
ready for the fridge to rise some more

I figure I can now cover this with plastic wrap and put it in the refrigerator overnight. I plan to take it out for 30-45 minutes in the morning to rest at room temperature before putting them in the oven to bake. These are to bake at 350 degrees F for 22-25 minutes. The recipe notes that they do not brown as deeply as most dinner rolls. I don’t know why this is. The KAF website might say.


They were a hit at work. I made a bit of glaze so folks could add a bit if they liked. One cup powdered sugar plus 1/2 teaspoon of vanilla and a bit of water made about 1/2 cup glaze. Almost everyone added the glaze. I was surprised at that but that is what it was there for.

20160418_113143304_iOS
A tasty light cinnamon bun


Banana Muffins

I was reviewing the variety of foodstuffs I have blogged about and did not find any on muffins. I have a whole section in one of my recipe notebooks devoted to muffins. This is because I used to always have a batch  of muffins baked and ready to be grabbed for a quick bite to eat as family members started their day. When I was “dieting”, the recipes I would try would be low-fat, chock full of vegetables, made with applesauce, made with whole wheat flour, etc. But now that it is just Hubby and I in the mornings, I haven’t really made muffins on a regular basis. Shall I remedy that situation?

There are two cookbooks that I use for a basic muffin, my Betty Crocker Cookbook and Mark Bittman’s How to Cook Everything. In Betty Crocker the muffin recipe is on page 199. Bittmans’ is almost the exact same recipe but giving suggestions for using melted butter or oil. The amounts of milk differ by 1/4 cup.

plain cooking 005

On this day I have two very ripe bananas that need to be used. I have never used frozen bananas in baking, just in smoothies. These bananas will need to be used or frozen. I decide to make muffins. I use the Bittman recipe, page 832, using the variation for Banana-Nut Muffins.

  • 3 Tablespoons melted butter or neutral oil (Oh my! As I am writing this it occurs to me that I left this out COMPLETELY!)
  • 1 cup all-purpose flour
  • 1 cup whole wheat flour
  • scant 1/4 cup cane sugar
  • 1/2 teaspoon salt
  • 3 teaspoons baking powder
  • 1 egg
  • 2 very ripe medium sized bananas, mashed
  • 1/4 cup coconut milk (I did not have regular milk in the house and did not want to open the new carton of half-and-half and did not think that chocolate cashew milk would be appropriate. But now that I think about it, hmmm?)

Mix all dry ingredients in a bowl. I whisk these around with a whisk. Mash bananas in another bowl. Add milk to equal 1 cup. My two bananas were just about a cup as they were. I added a bit of coconut milk at that time and then a little more to the batter because it looked so dry. See note above about the melted butter to know why!

To the dry ingredients I added 1/4 cup dried cranberries, 1/4 cup chopped walnuts, and 1/4 cup chocolate chips. I like stuff in my muffins! I put the egg in the wet ingredients and mixed that up. I then added the wet ingredients to the dry ingredients all at once and stirred until incorporated. This looked dry so I added a splash more of the coconut milk.

I sprayed the muffin pan with cooking spray. Preheated the oven to 375 F. Portioned the batter into the muffin pan. This made eleven, not twelve. Baked these for 20 minutes. They smelled nice and came out of the pan perfectly.

plain cooking 007

I  serve two for Hubby and me. They are light and fluffy even with whole wheat flour. And they look nice and taste good, too.

plain cooking 006

Conclusion: I think the banana acted as an adequate substitute/replacement for the fat in the original recipe.

Lesson to learn: Mise en Place